
Can you believe it’s been six weeks since I started the playroom and One Room Challenge?! It seems like much longer to me because it’s been so much work, but it makes me so happy to know every detail from start to finish has been checked off in just six weeks! I think this might be the best way to renovate (as I think of all my other half-finished rooms!). I have so many pictures to share, so scroll to see if you’ve been following along! But if you’re not familiar…
… the One Room Challenge, created by Linda of Calling it Home in 2011, is a biannual event in which 20 featured designers chosen by the One Room Challenge team each work to overhaul one room in 6 weeks. Along the way, the featured participants post updates each Wednesday detailing their process and updating readers on their progress.
In addition to the featured designers, anyone with a blog is free to take part as a guest participant and link their progress up to the One Room Challenge site every Thursday. That’s what I’ve been doing!
If you missed my previous updates, check them out here: Week One, Week Two, Week Three, Week Four, Week Five.
And be sure to check out all of the other guest participants here!
BEFORE AND AFTERS
First, I’m going to share some before-and-afters with you, because they are so much fun to see! Then I’ll go into more detail below.
This room went from the ugliest, least functional room in our home to the most finished, cheerful and purposeful — everything I wanted it to be!
AFTER

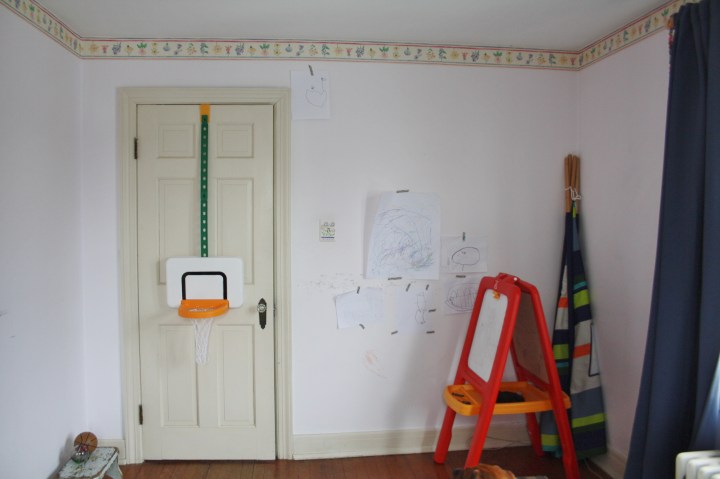
BEFORE

AFTER

BEFORE

AFTER

BEFORE

AFTER

BEFORE

AFTER
BEFORE

AFTER
BEFORE
This is my first time seeing the transformation side by side as I’m writing this post, and WOW. I’m really glad I never have to look at the before room ever again!
Isn’t it crazy how a thoughtful use of space makes a room look 10x bigger?
THE DETAILS
I’m going to start in this corner and move clockwise around the room.
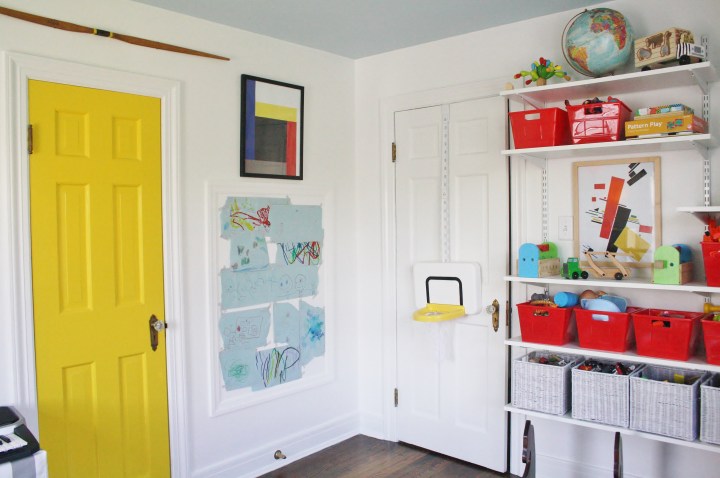
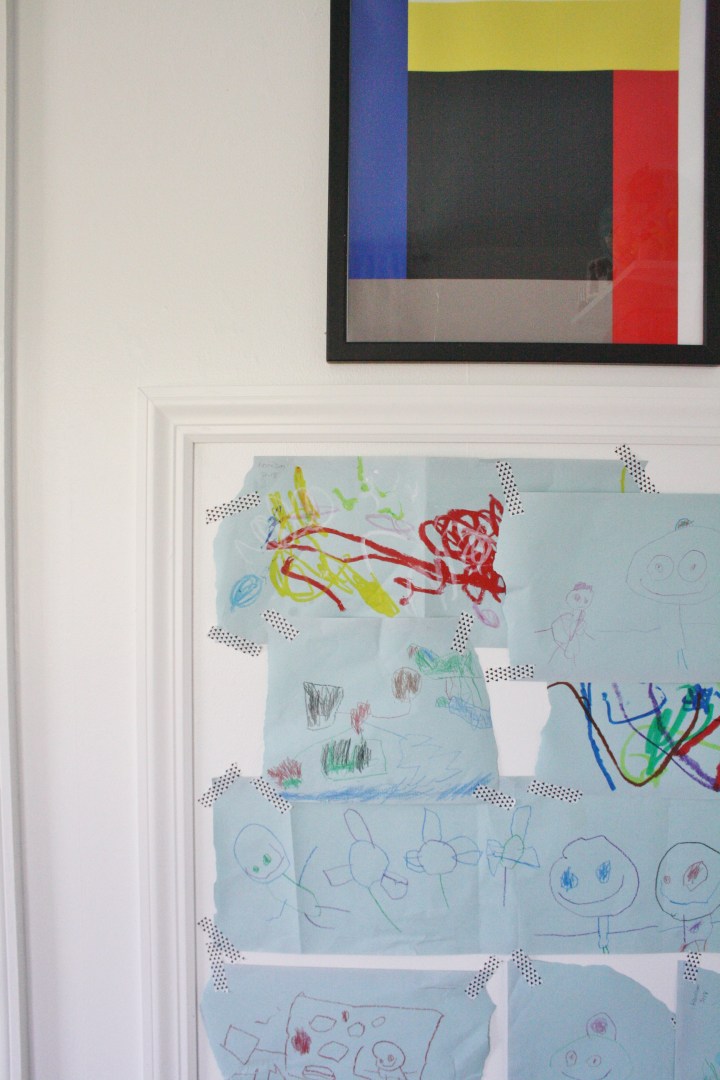
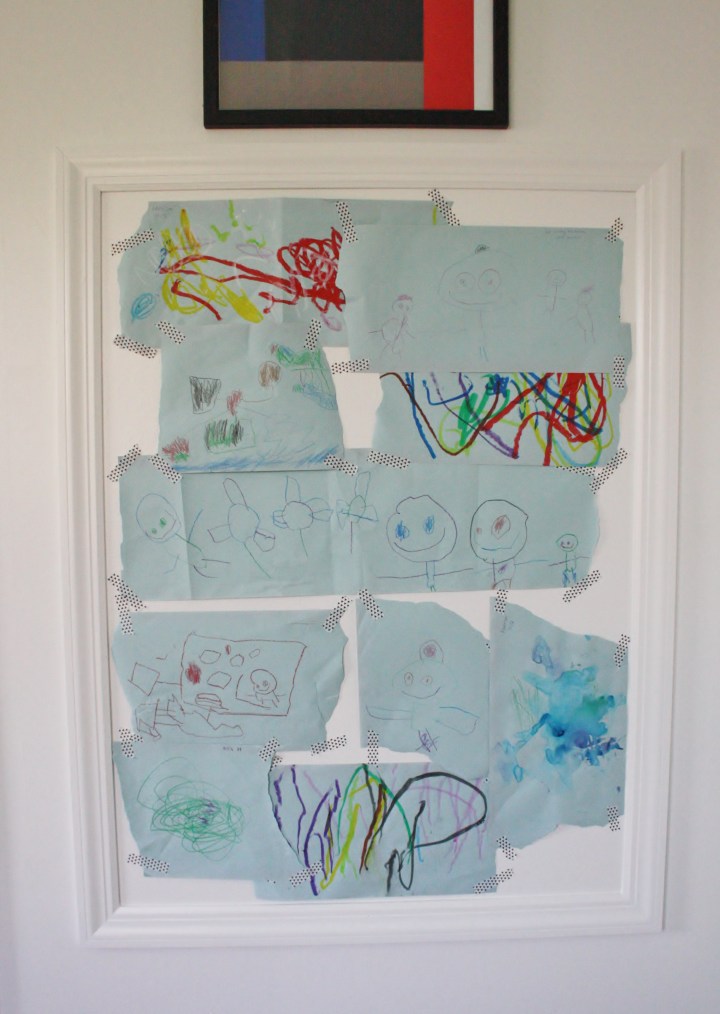
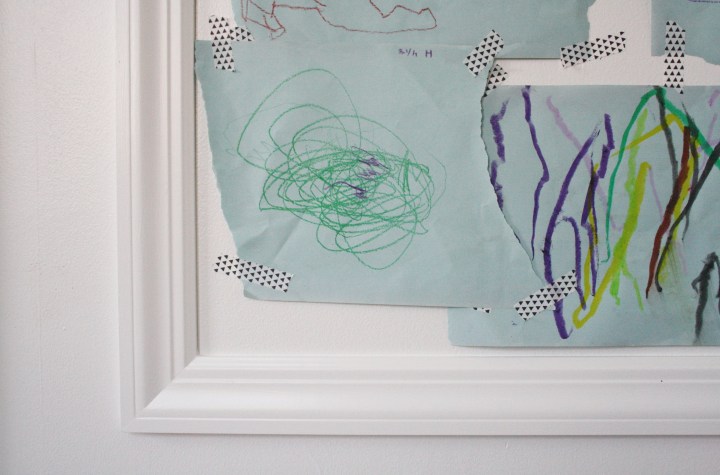
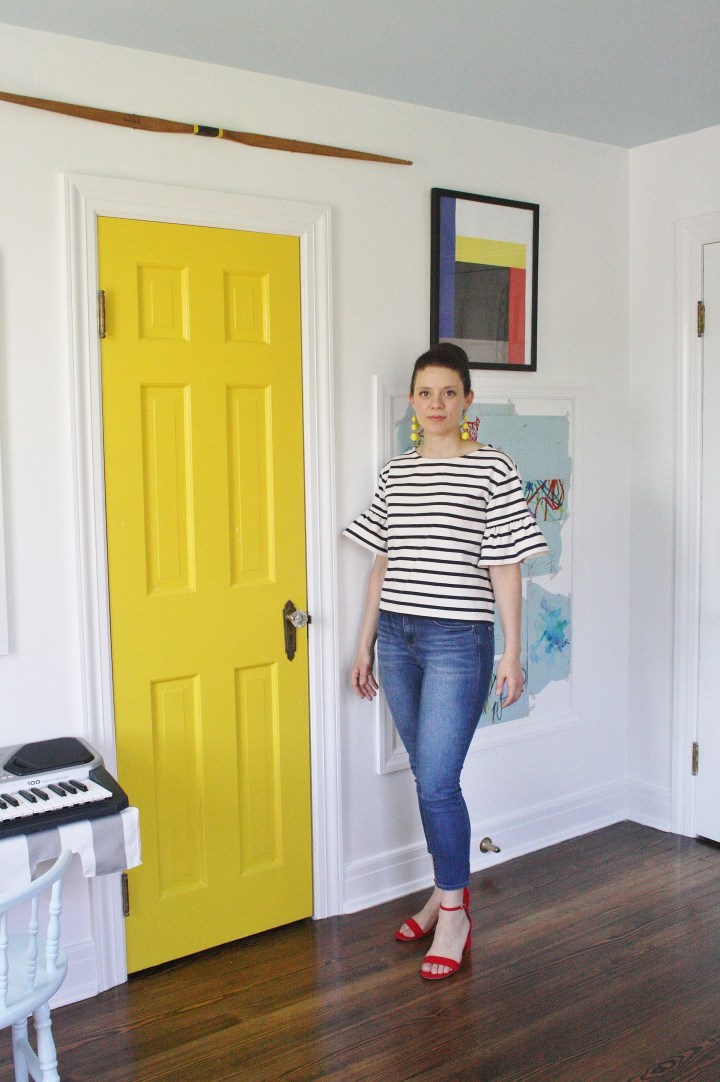
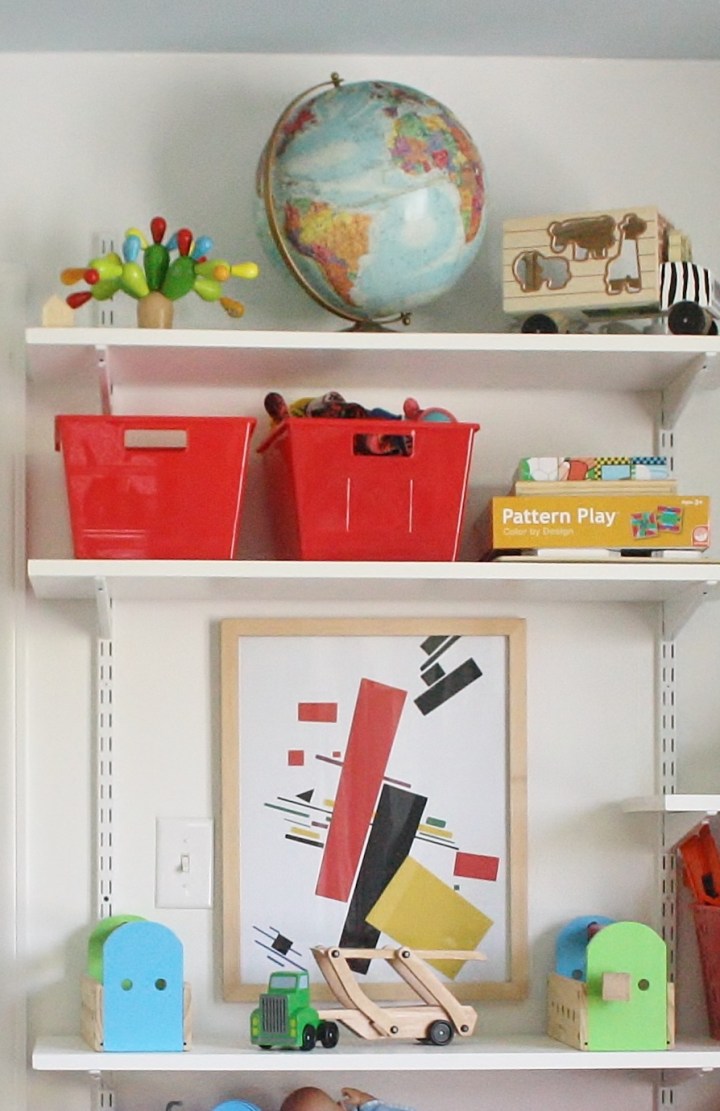
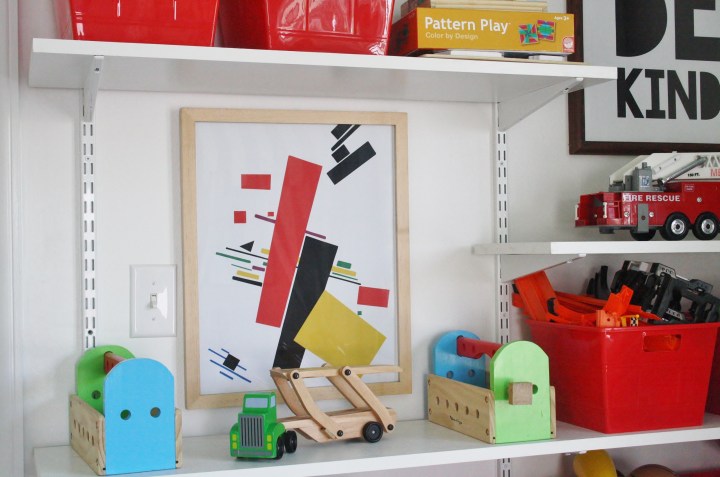
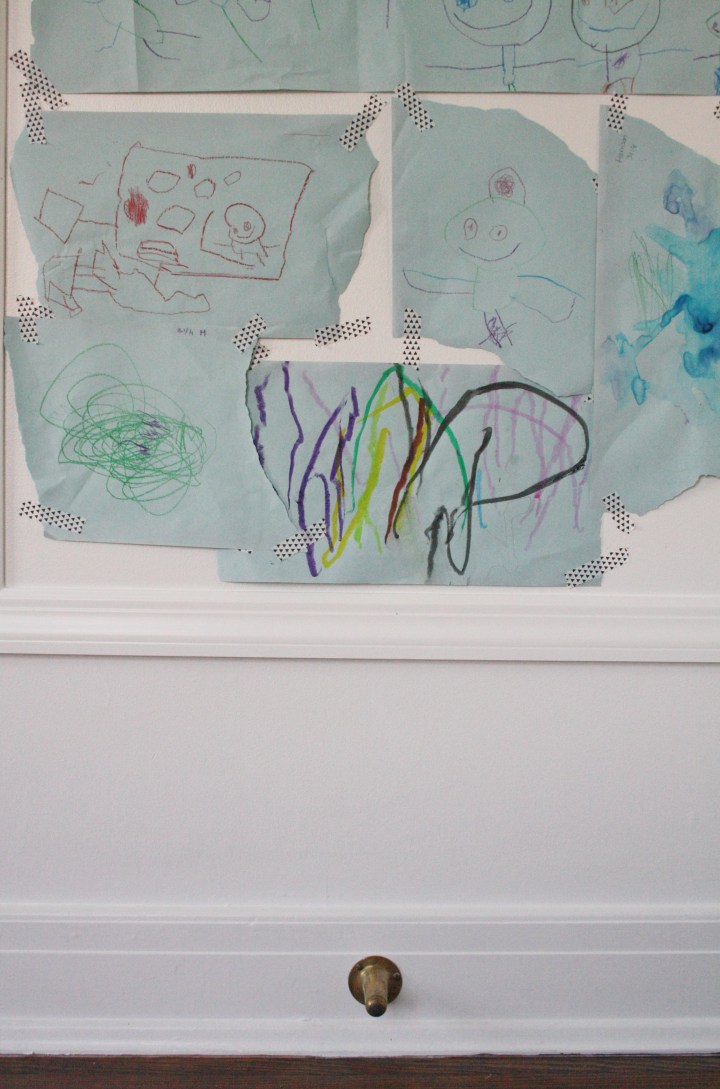
I loved picking art that I thought would be inspirational, engaging and fun for the boys to look at, but I also want this room to empower them in small ways. I love how excited they get when I display something that they made, so a spot to hang their art was a priority for me. I made a simple frame with molding from Lowes, glued it together and nailed it to the wall. After a little spackle and sanding I painted it the trim color and used washi tape to hang some of my favorite Graham and Harrison originals. Harrison’s scribbles and swirls are precious and so colorful, and how sweet is the way Graham draws people? Always with big smiles, and girls are always wearing a bun, because mommy always does. How funny is that? The geometric art above the frame is from Etsy.


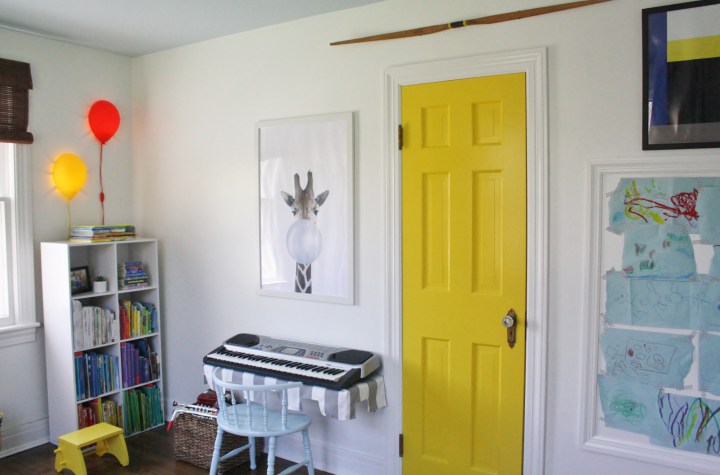
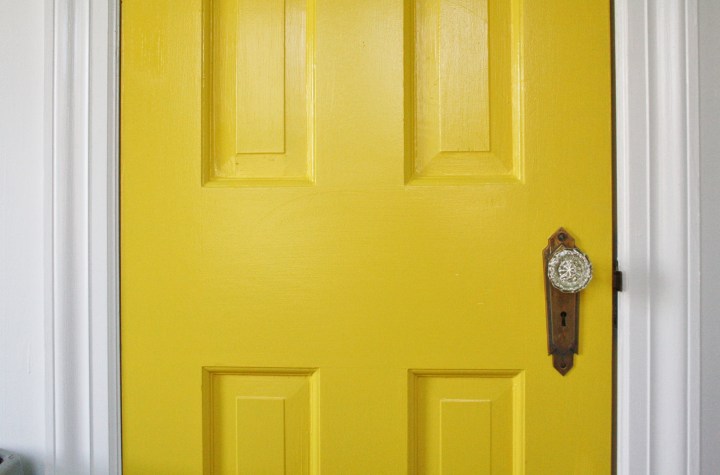
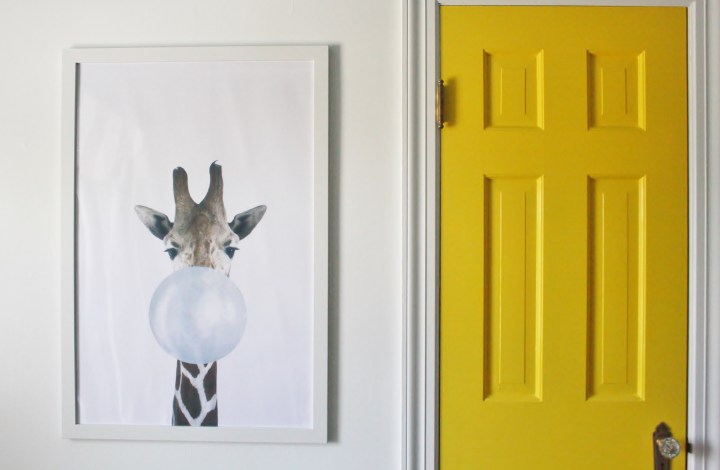
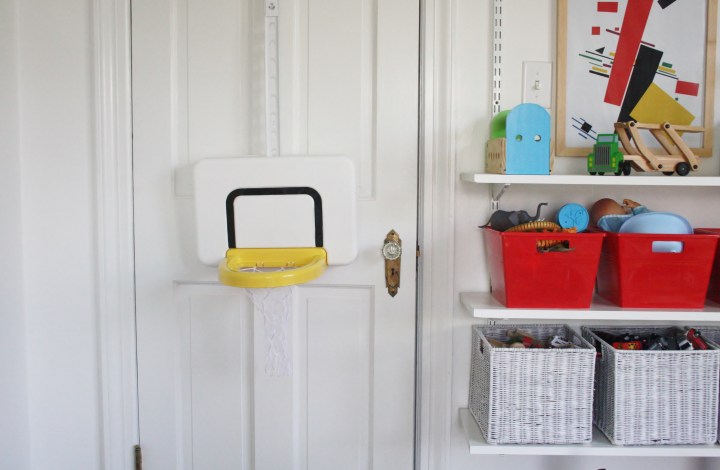
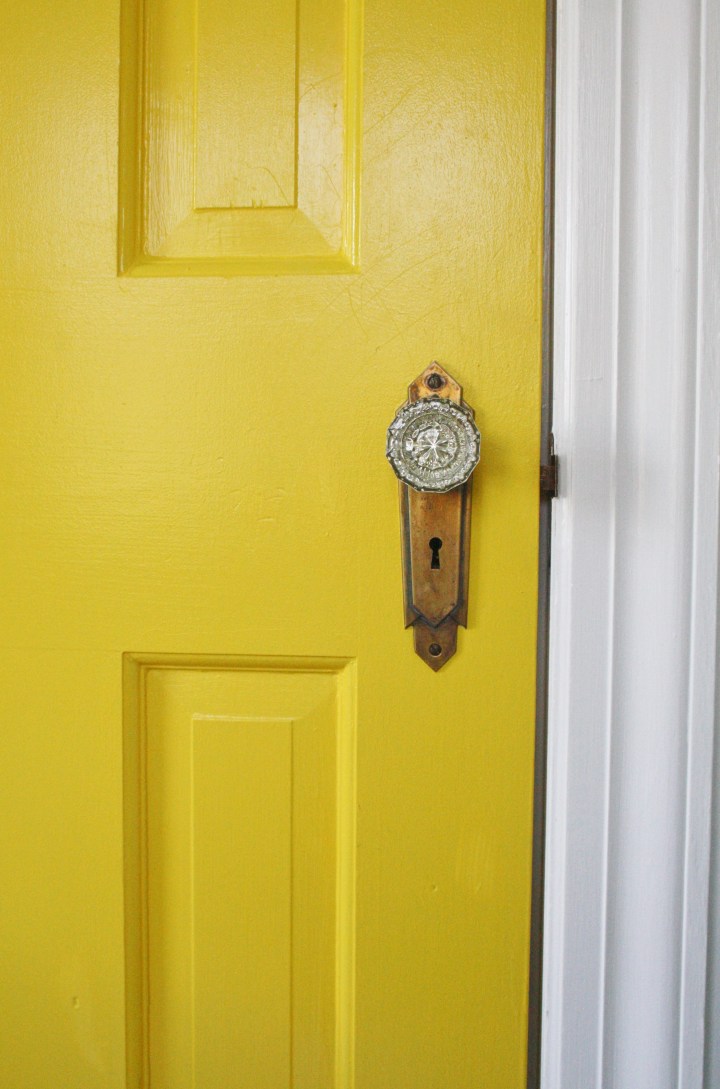
This yellow door is hands down my favorite part of the room. It’s so fun and doesn’t yellow just put you in a great mood? The color is Sherwin Williams Geometric Yellow.
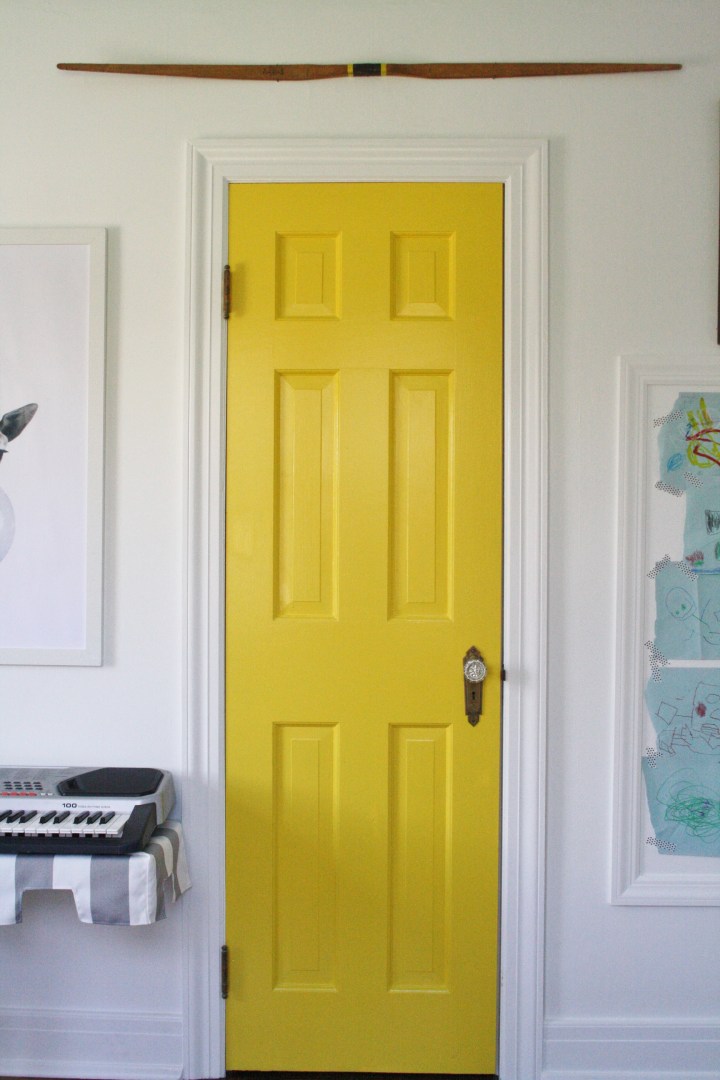
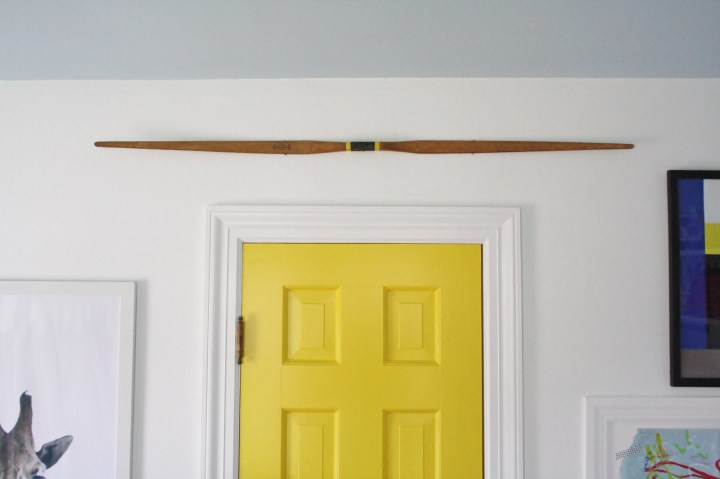
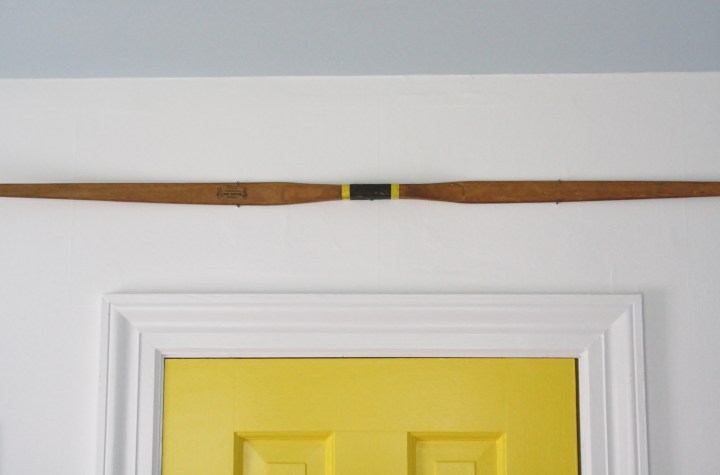
At the last minute I decided to hang this old hickory bow, that we found in the attic at our beloved first house, above the closet door. I wanted to bring in as many warm, vintage and wood touches as possible because this room feels so bright and modern compared to the rest of the house. It’s a great reminder of the house we brought both of our babies home to.
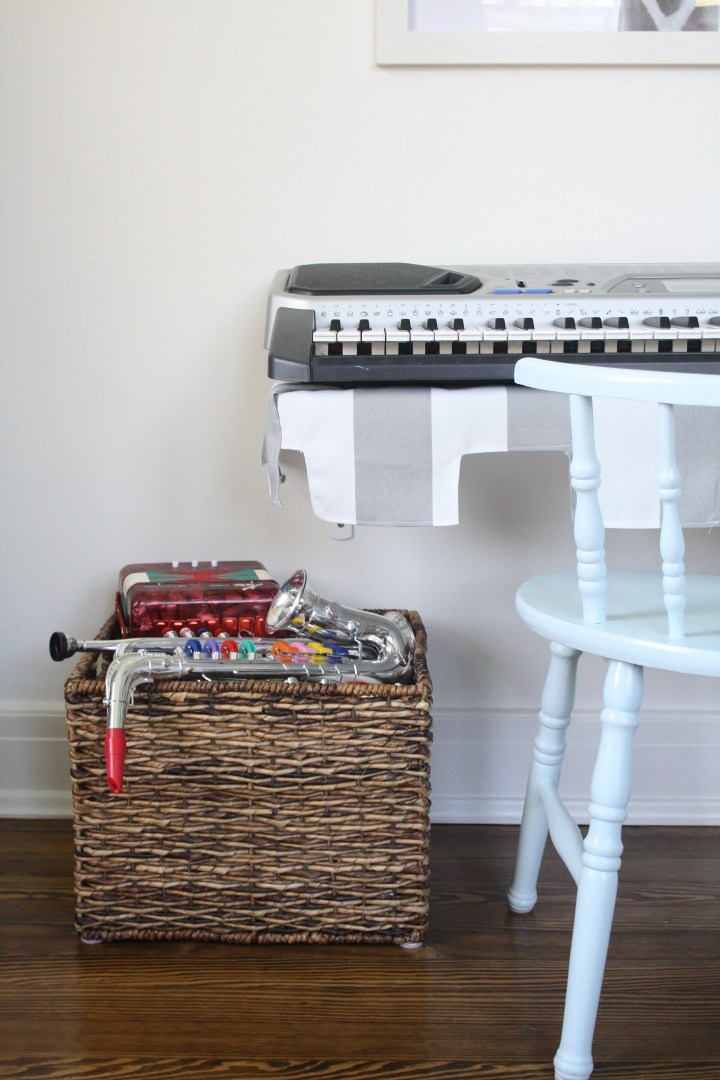
I really wanted to make a little music station for the boys. Playing an instrument was a big part of my life growing up (the flute, if you were wondering), and Steve is a closet music expert (he knows the names and artists of every song on the radio, and the words to most of them — which constantly amazes me), so we both want to encourage the boys’ appreciation of music. Like most kids, they already love music and dancing, so this station kind of helps them to experiment and makes it easy for them to put on concerts (one of their favorite activities). The giraffe print is from Etsy, the blue chair is a lucky thrift store find painted in the ceiling color, and the instruments basket is from Target.


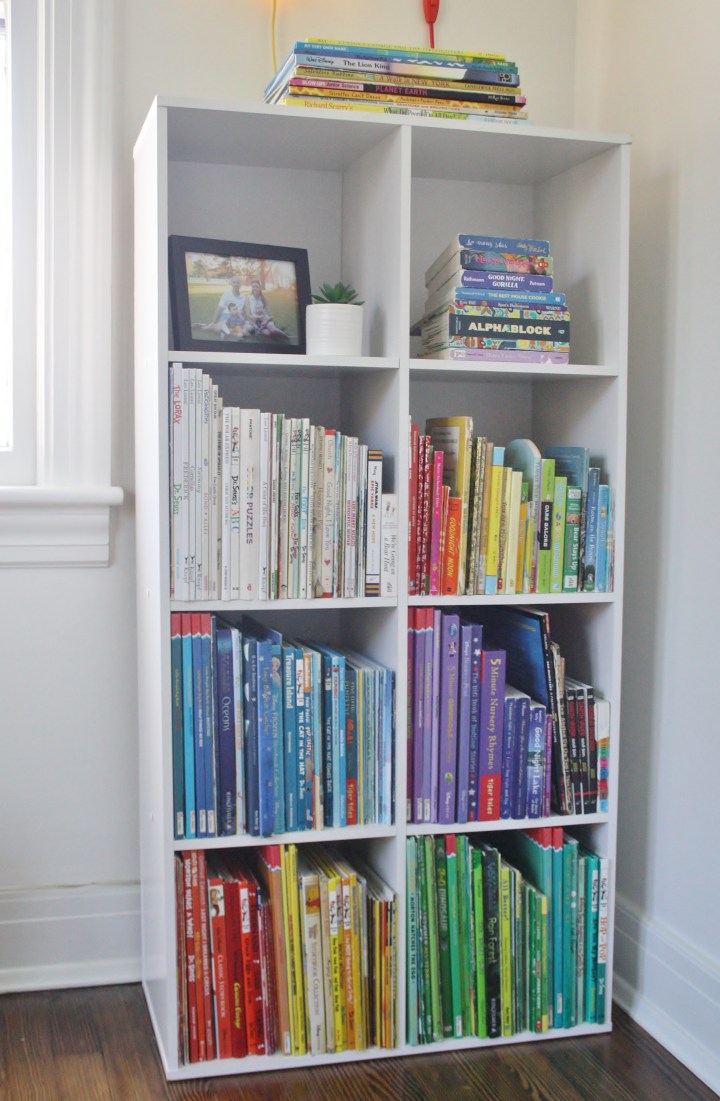
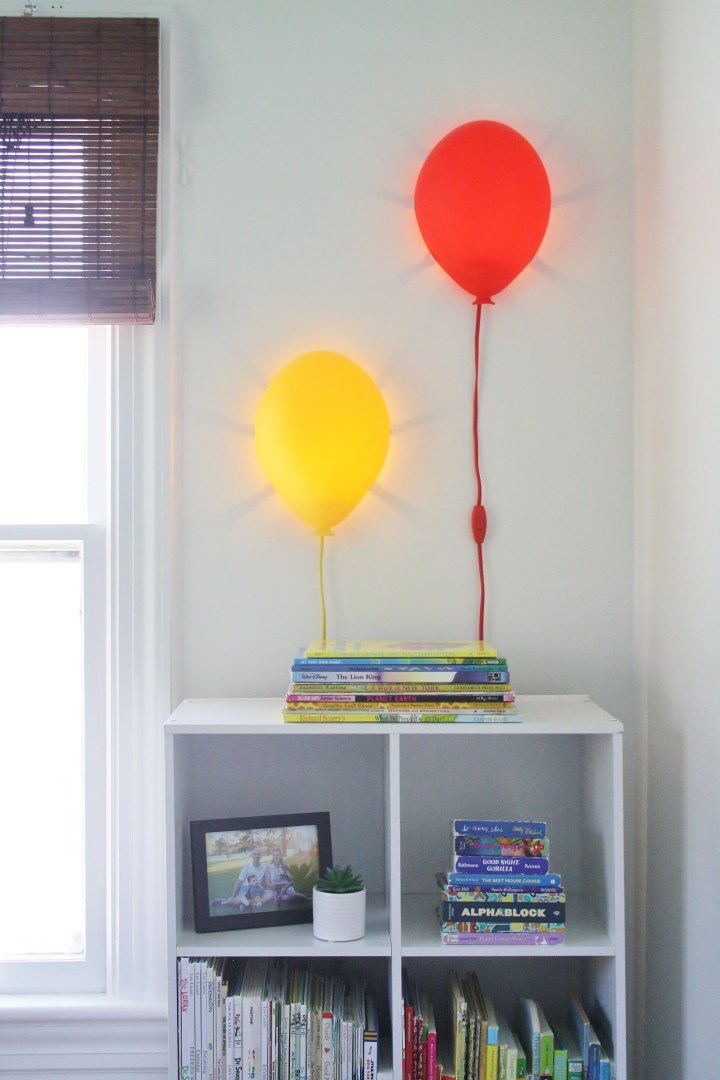
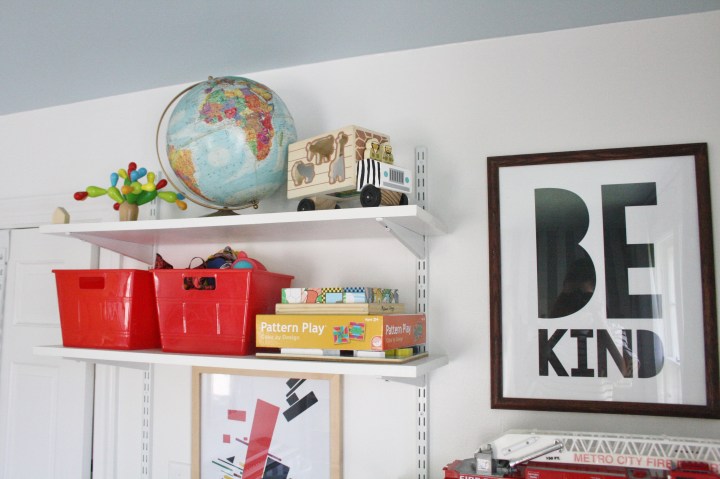
This cube shelf from Target was the perfect size for this spot, but when I put the books on it a week or two ago it was rocking really badly when the kids touched it. I grabbed a piece of sturdy MDF, had my dad cut it to size on his table saw, painted it in un-tinted Ultra Pure White semi-gloss, and nailed it on the back. Now, it’s so sturdy and I don’t have to worry about it collapsing on the kids! I organized the books by color solely for these photos — rest assured they will be stuffed in completely willy nilly for the remainder of their time in this room. Graham requested a family picture and balloons for this room, so those he received. The balloon lights are the Dromminge from Ikea, found via Amazon.


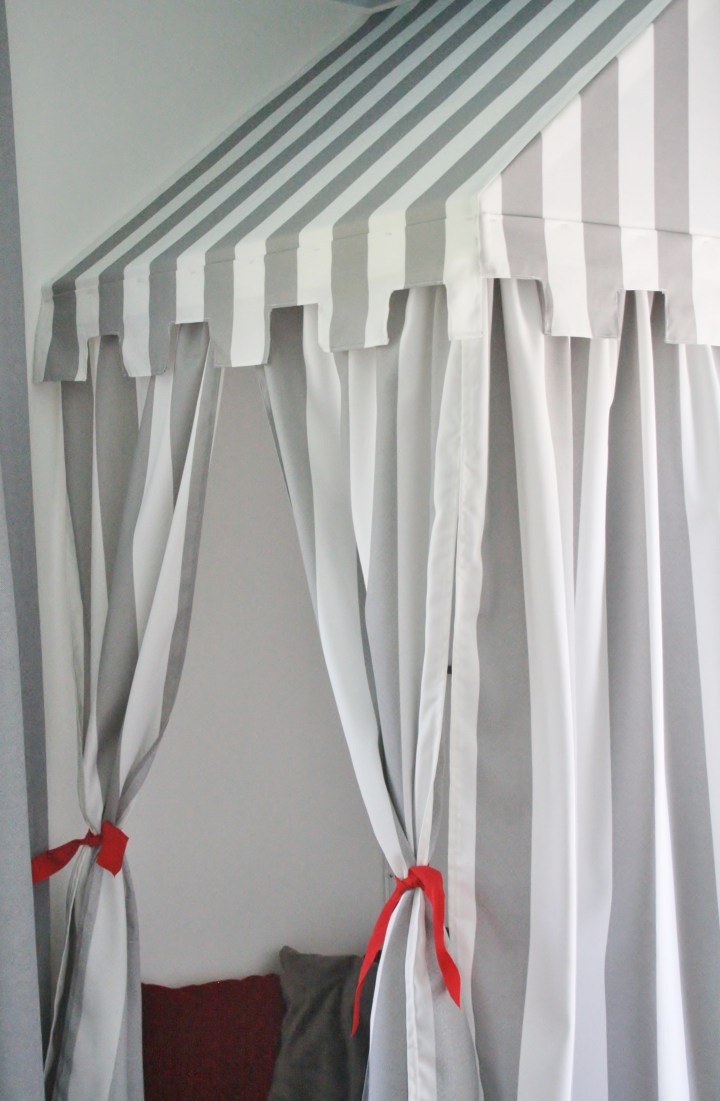
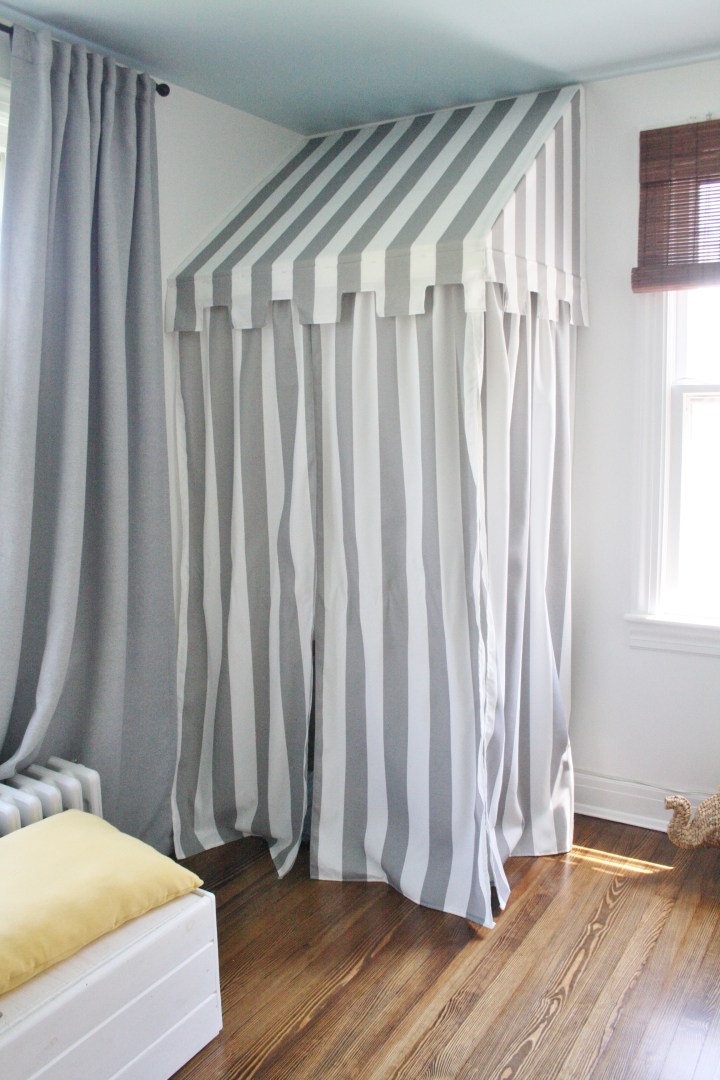
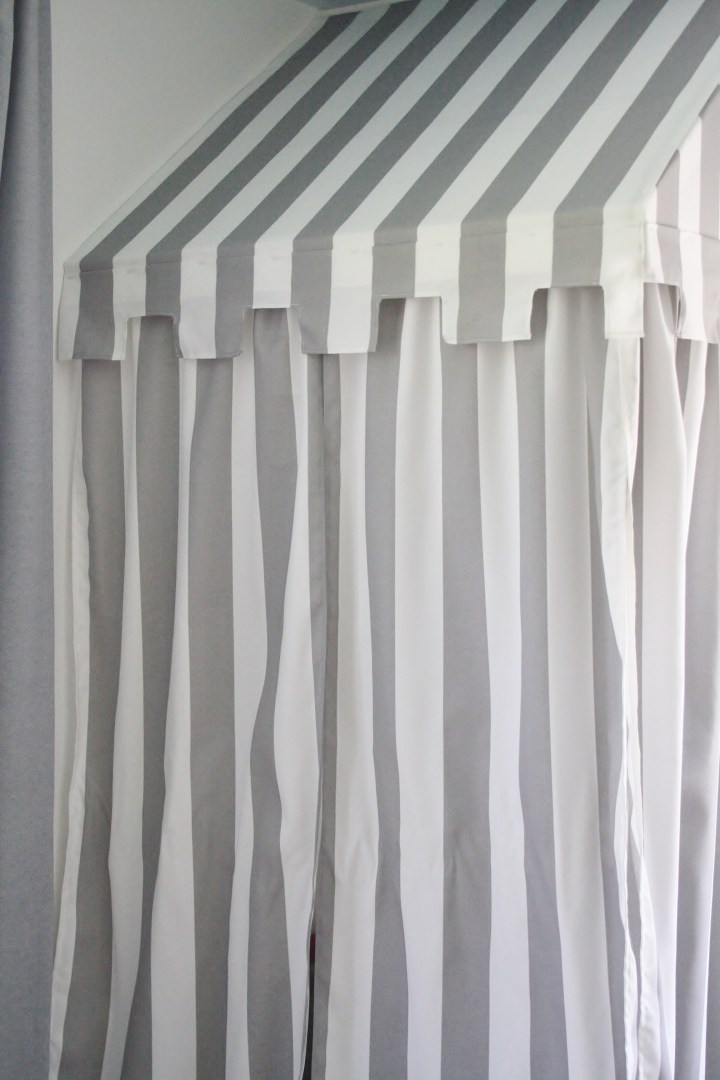
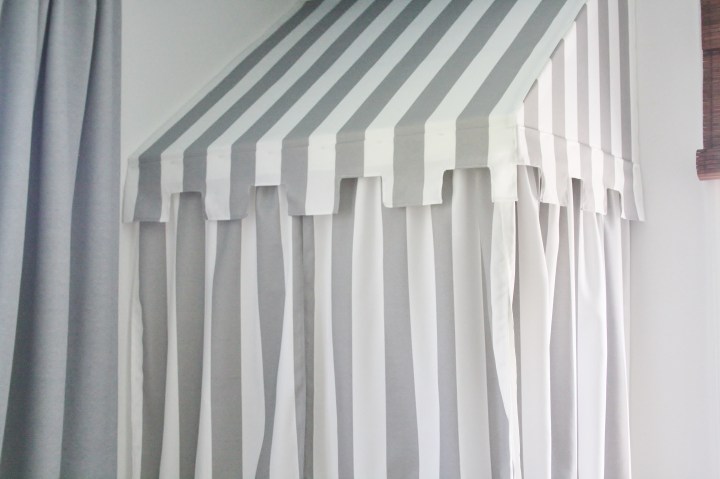
Ahh, this tent! I am really, really happy with how it came out. I am not an expert seamstress by any means, so I felt a lot of anxiety over this project. It’s definitely not perfect, but I achieved the look I was going for, and none of the kids are going to be inspecting my seams! The little notched valance is my favorite part. The fabric I used is an indoor/outdoor fabric by Premier Prints, available from fabric.com.
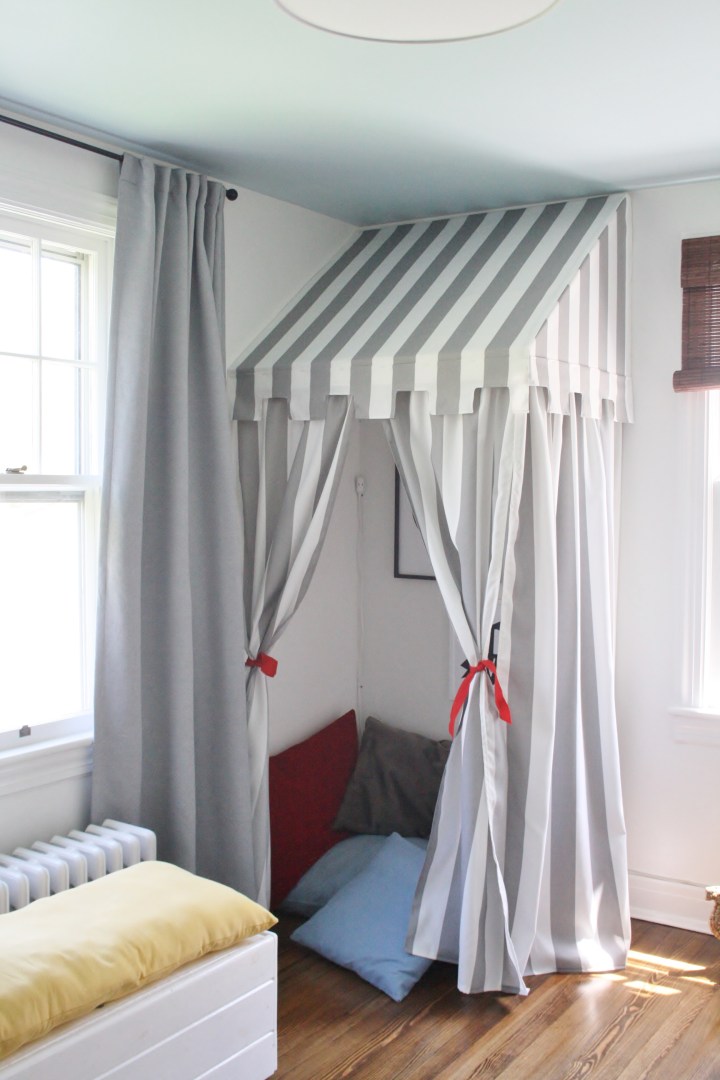
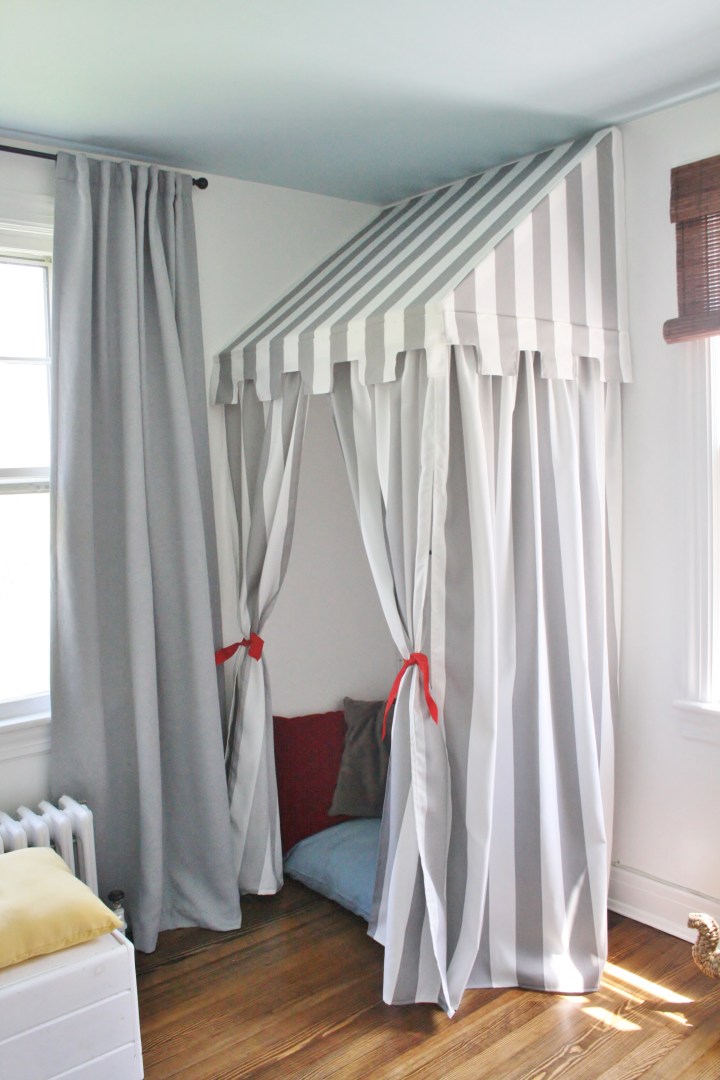

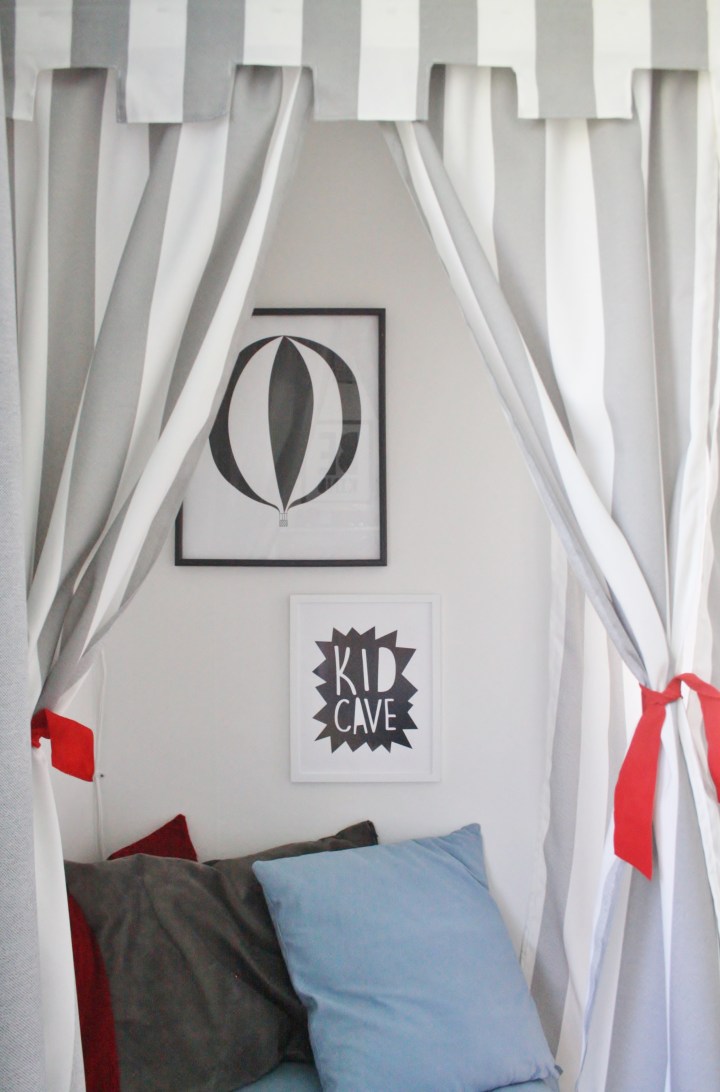
Inside, I put floor pillows that I made way back when Graham was a baby. The kid cave print and the balloon print were printables from Etsy. I left the glass out of the lower frame because it’s within reach of the kids.


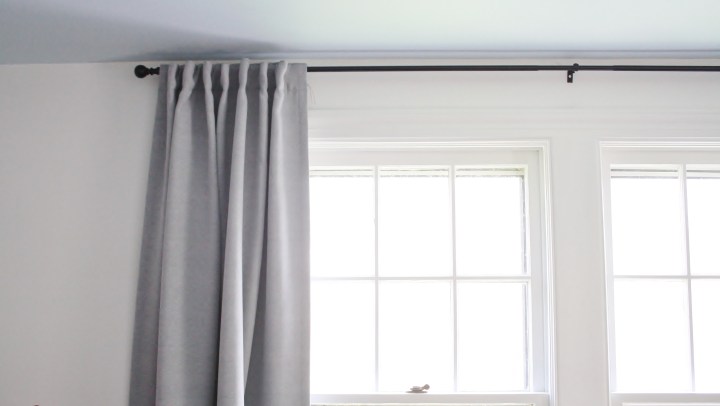
This big window is still missing its bamboo roman shade to match the small one (it’s on the way!). I can’t get over how clean and luxurious it looks to just have a properly mounted curtain rod (before, the curtains were mounted directly to the window molding).

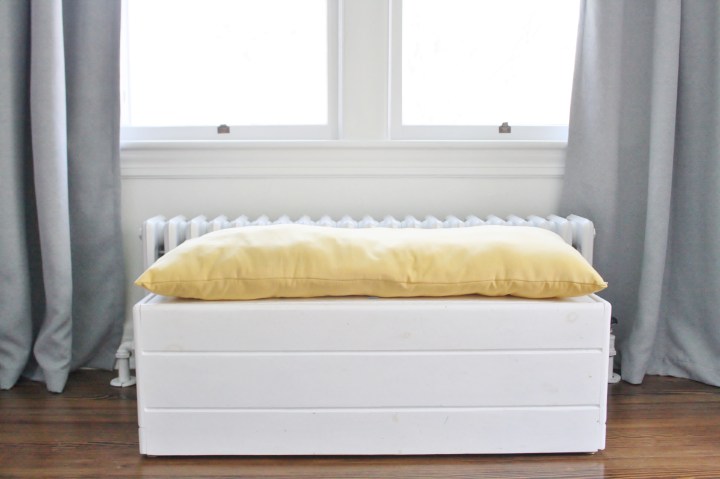
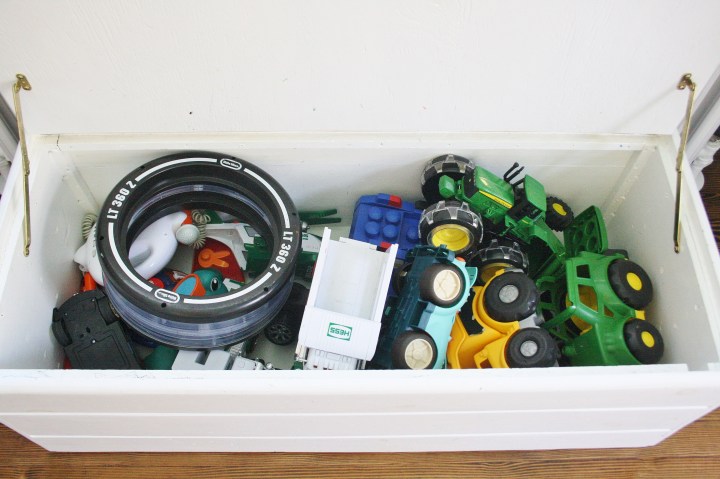
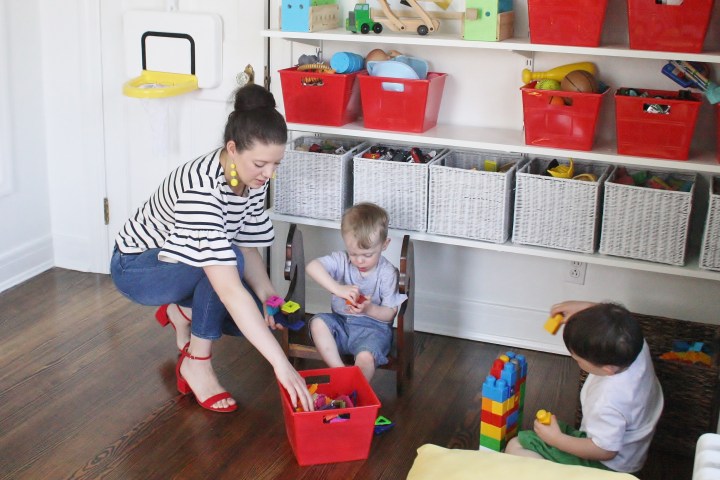
I made this pillow for the top of the toybox so that Steve and I would have a comfortable place to sit when we were in the room. It achieves it’s function, although the stuffing is a little lumpy! Most of the toys are on the shelving, so the toybox only holds large trucks and a few other large toys. I’m so happy it’s not full of random, small toys anymore! Now the boys can really see what they have, and it’s all organized logically (which will theoretically help with clean-up, too!).
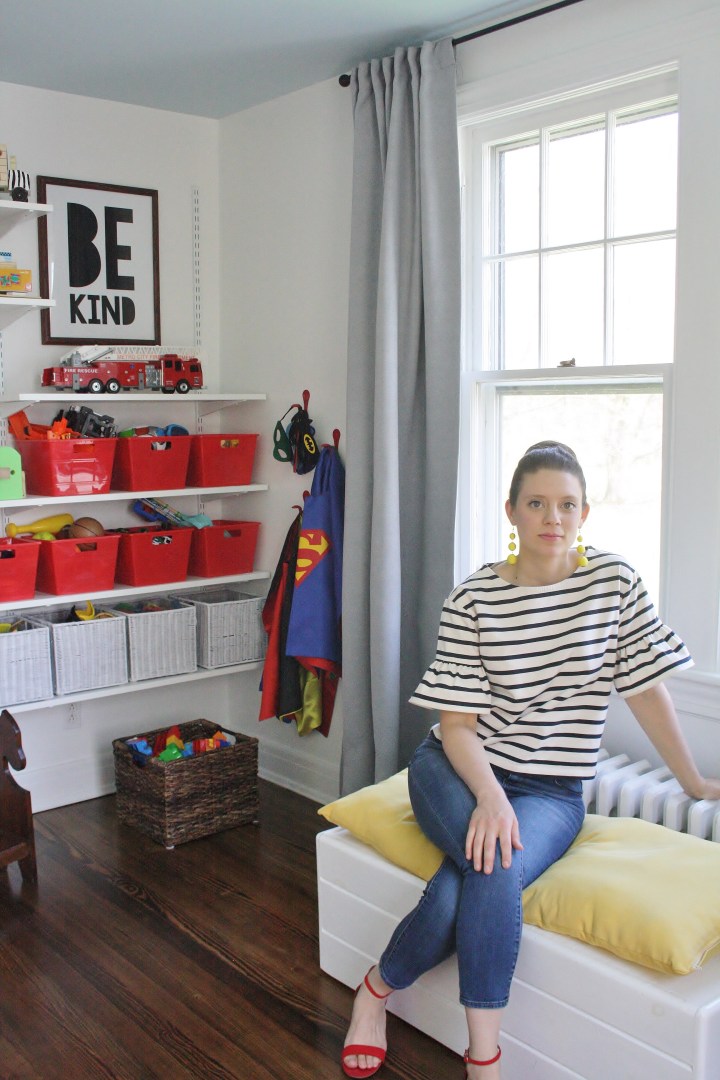
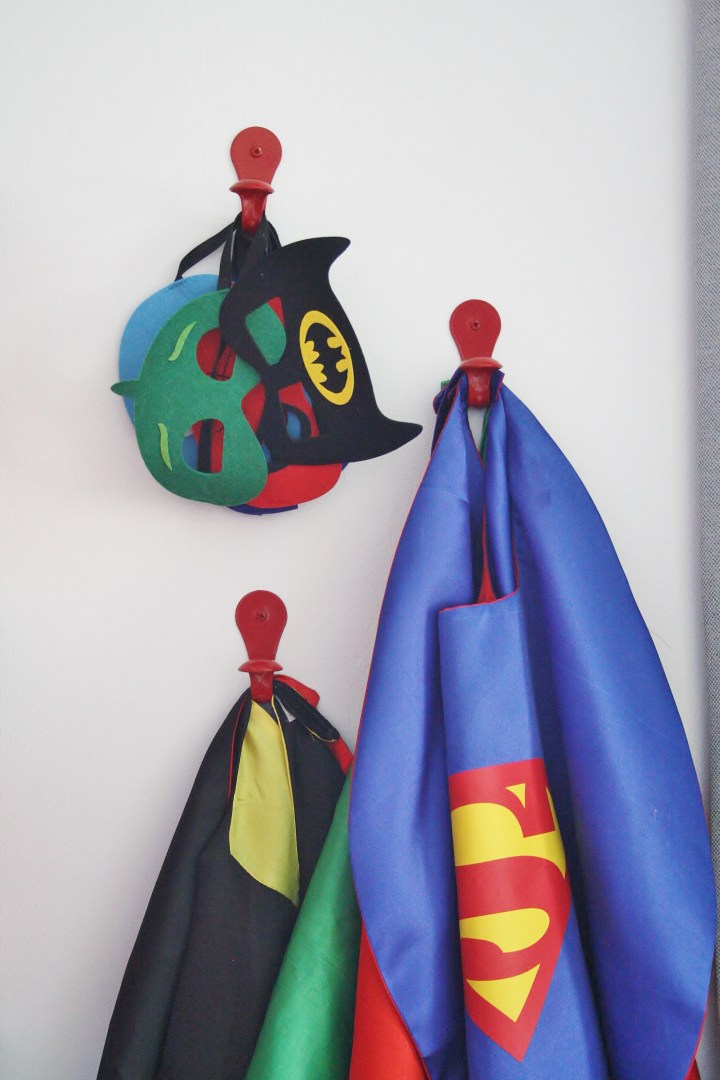
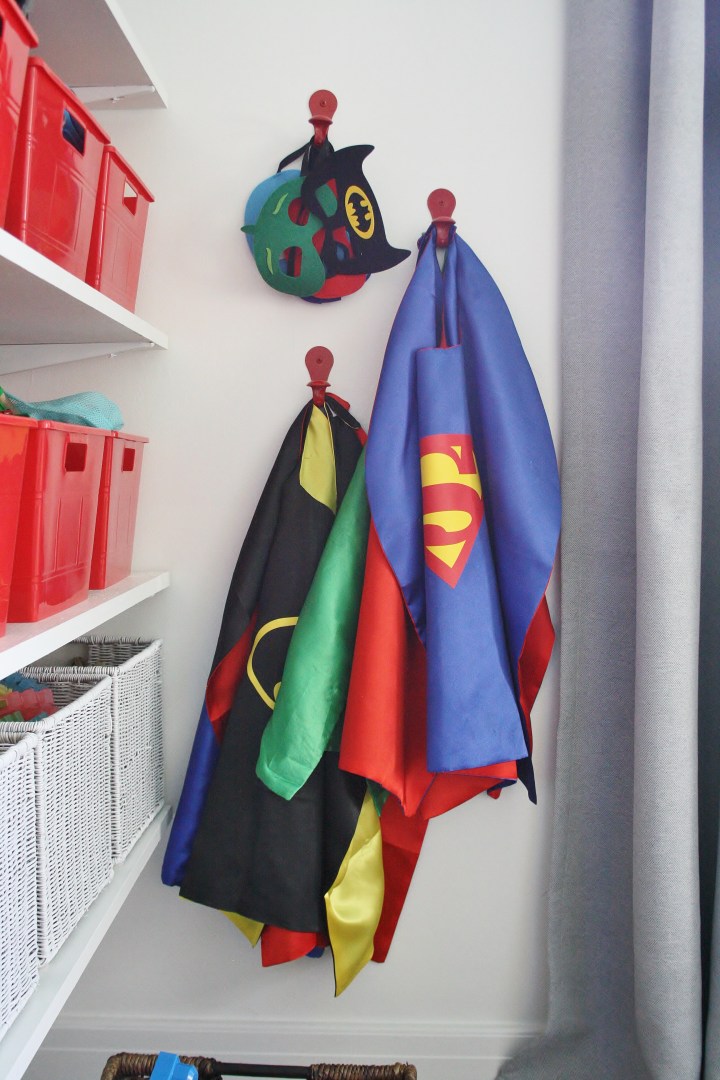
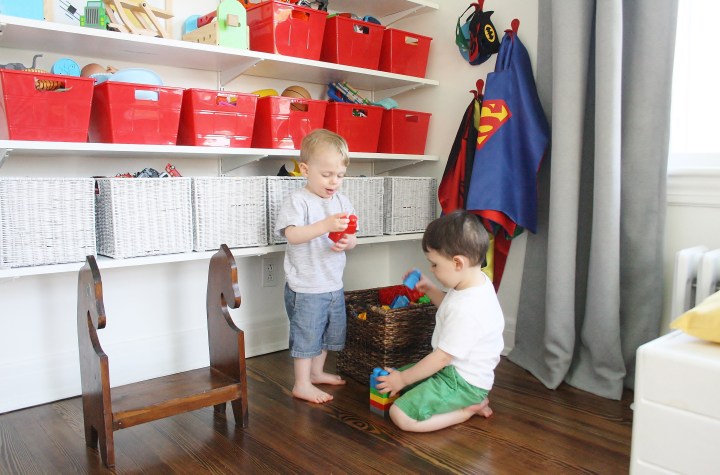
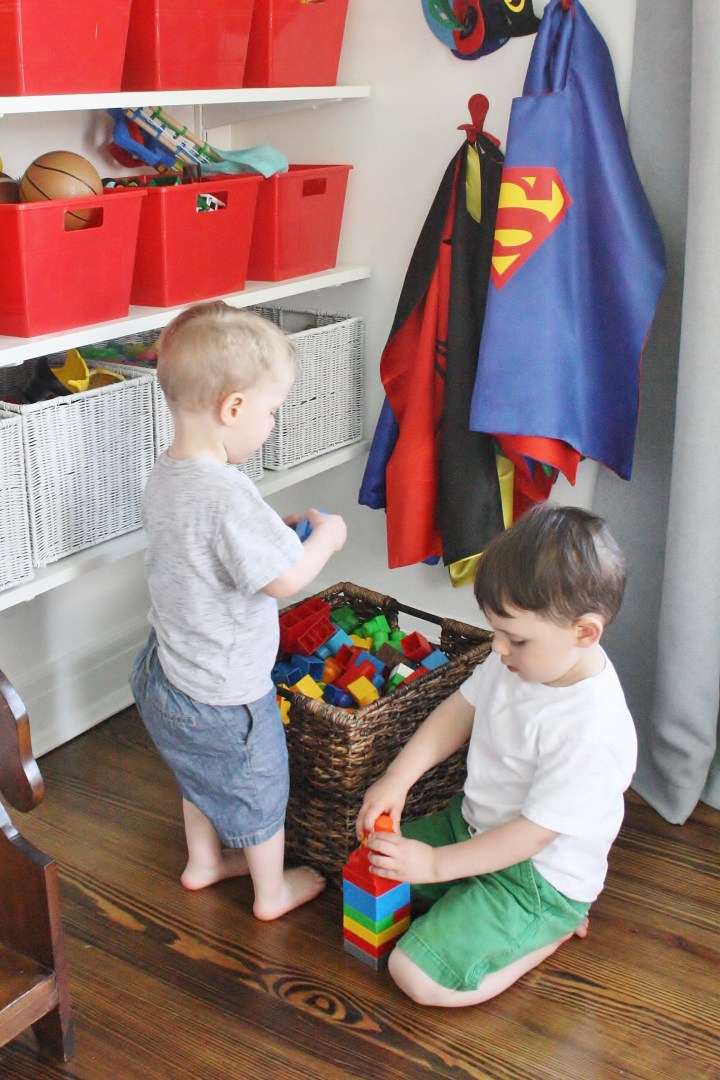
The boys are really into superheroes right now, and as I was organizing toys I realized I didn’t have a spot for their capes and masks. Thank god for Amazon Prime! I quickly ordered these red powder-coated wall hooks last Friday and they were here by Monday (they come in so many fun colors!). They made for the perfect superhero changing spot.

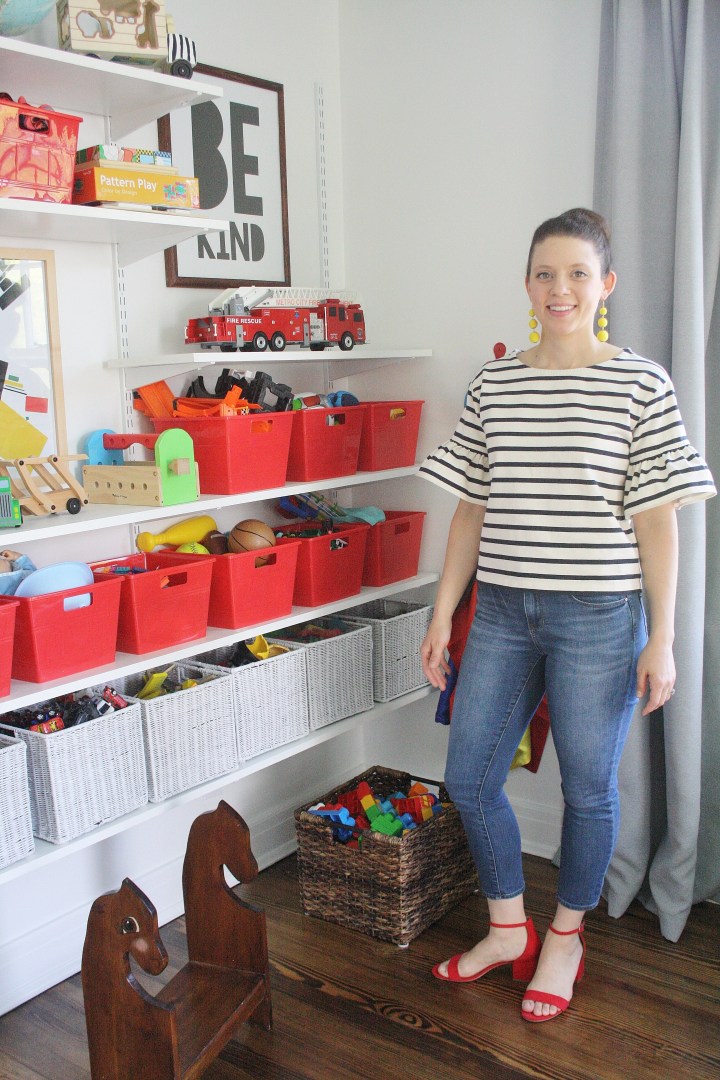
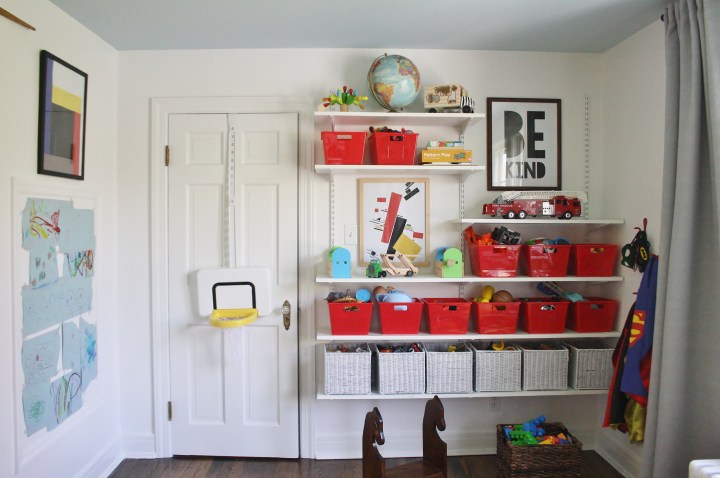
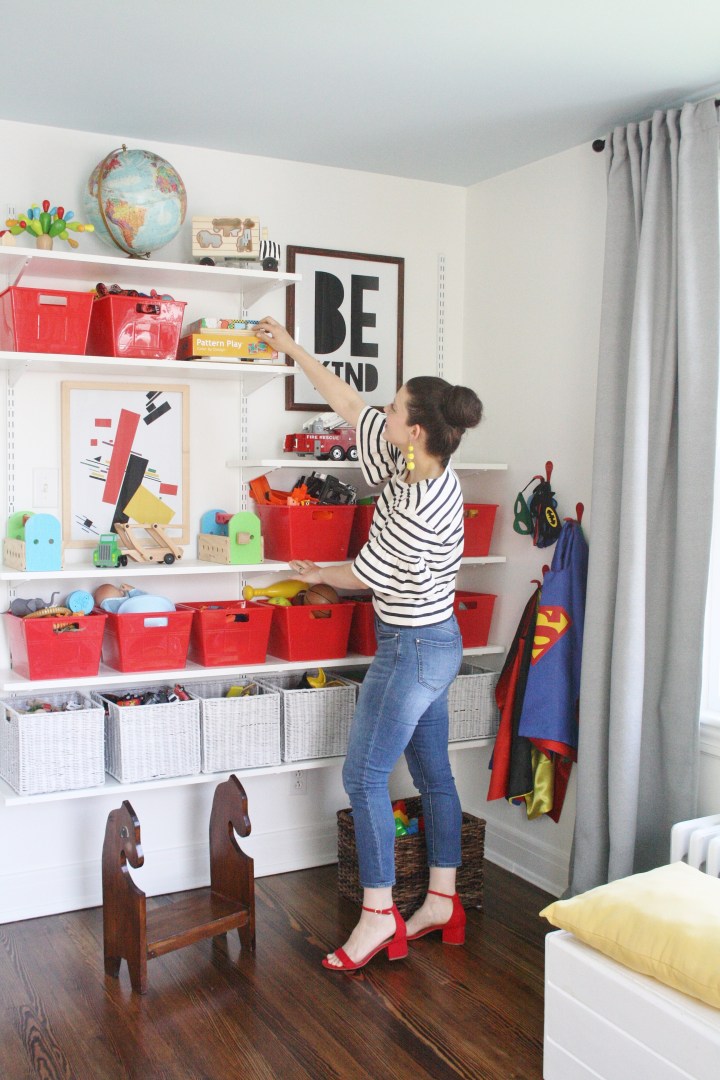
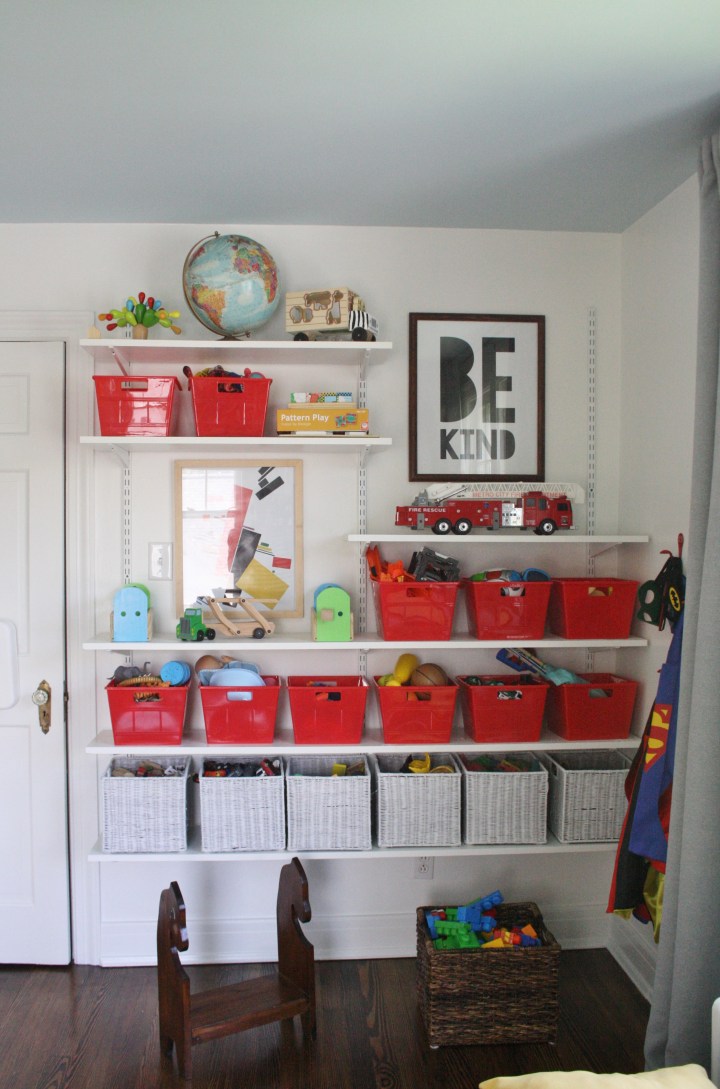
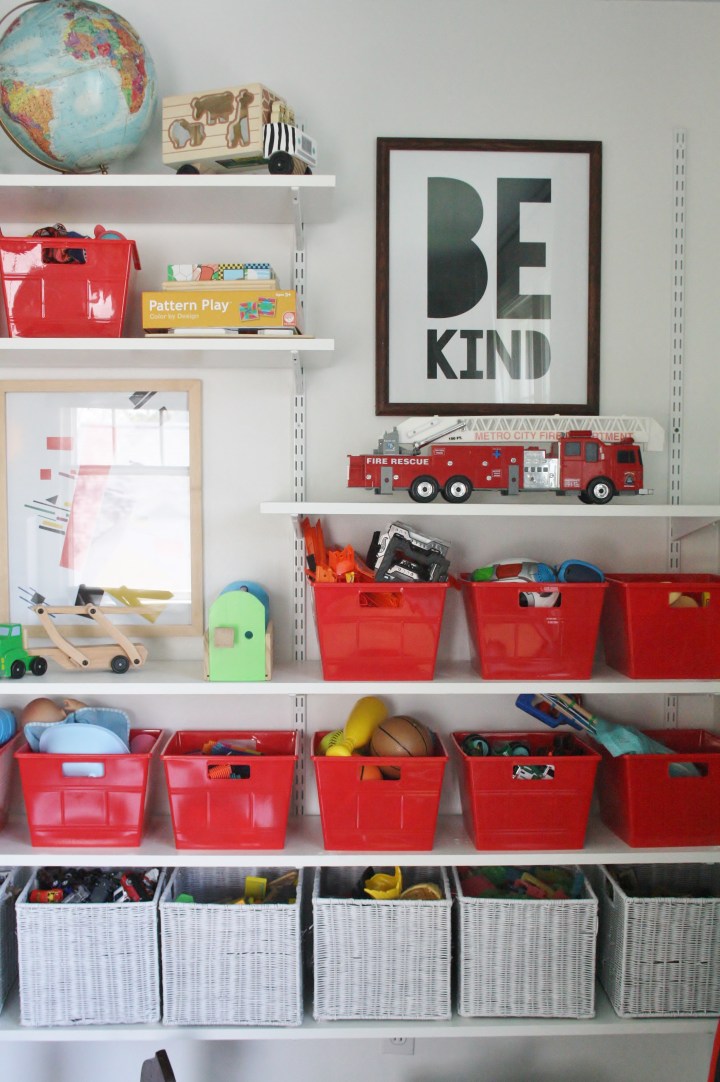
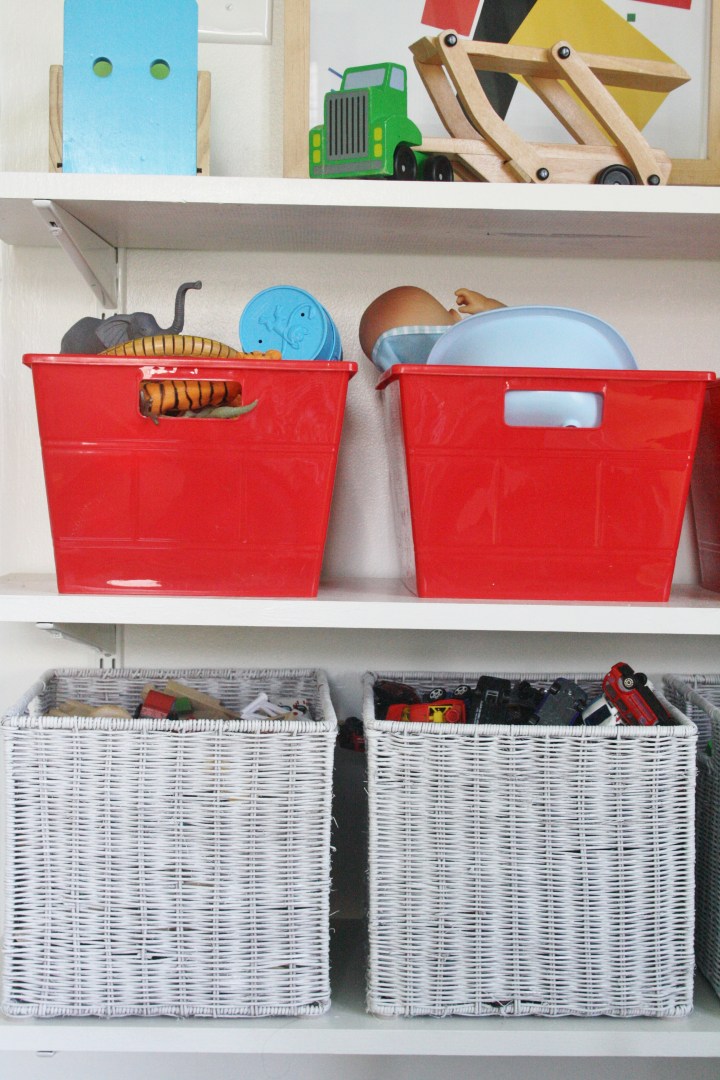
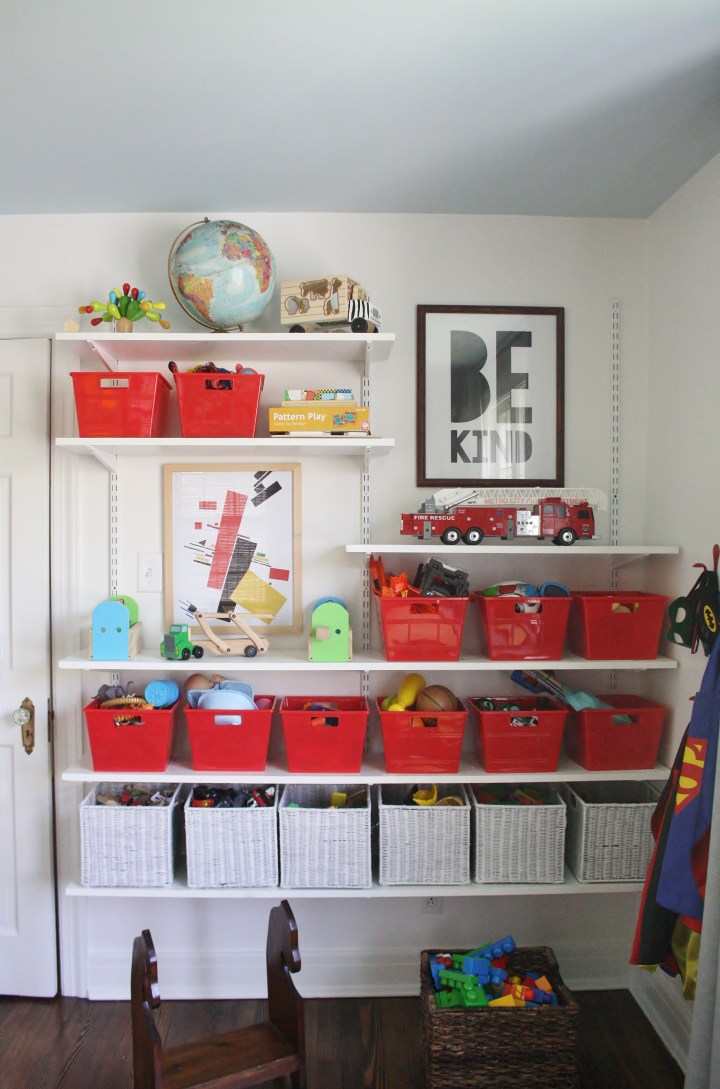
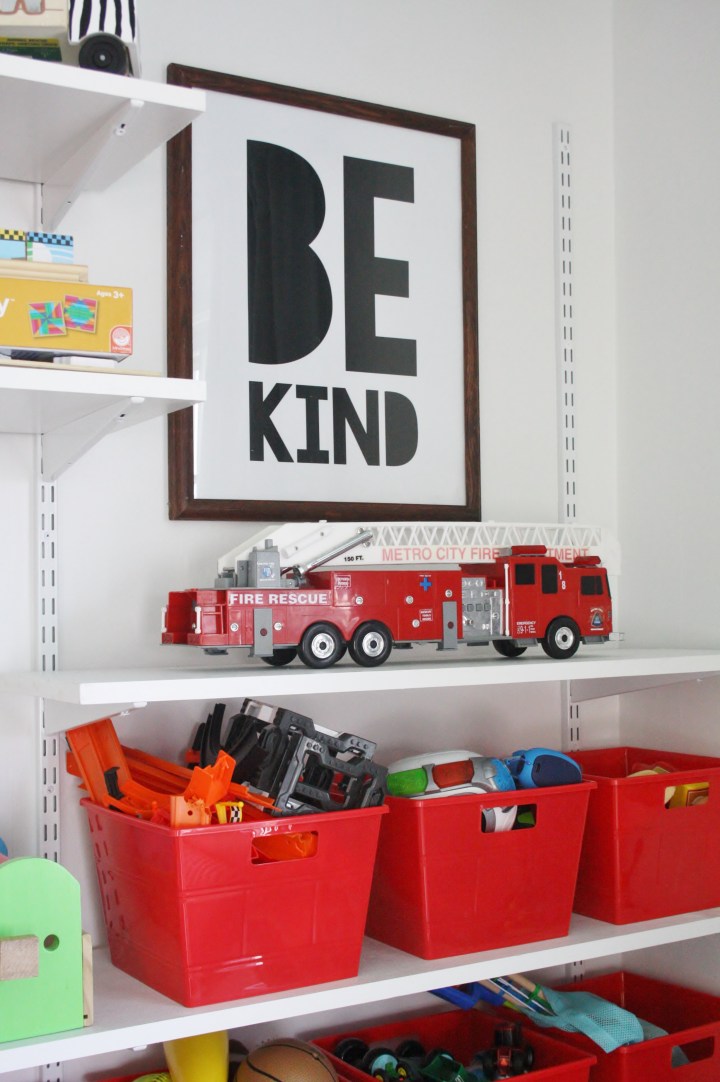
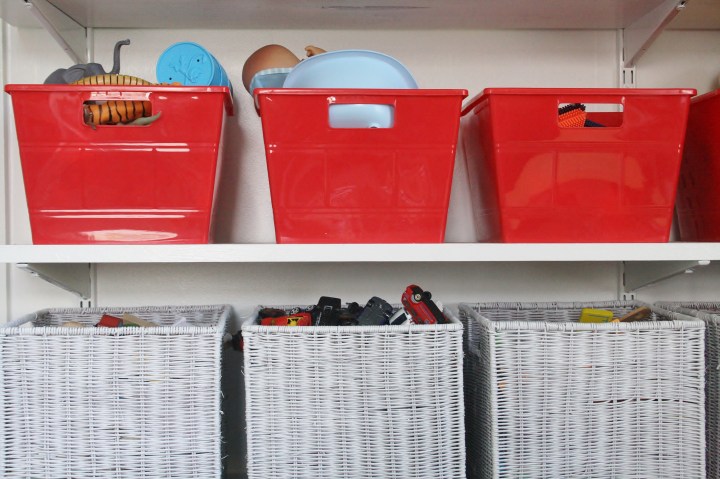
These shelves are vying with the yellow door for my favorite part of this room. I just love how dynamic and interesting they look with the staggered lengths and the photos in between. It’s thrilling to me when something extremely functional can also be a show-stopping design element. I used white, textural baskets on the bottom to add a little sophistication and ground the bright red baskets above. The red baskets were a lucky Dollar Tree find, and the white are baskets that I already had and spray painted (3-4 coats each, if you were wondering). The Be Kind and abstract prints are printables from Etsy.


The boys love this basketball hoop, but the rim was orange and the hanger was dark green. Nothing a little spray paint couldn’t fix!
I love the way the imperfect, worn hardware juxtaposes the bright, modern toys and art in the room.

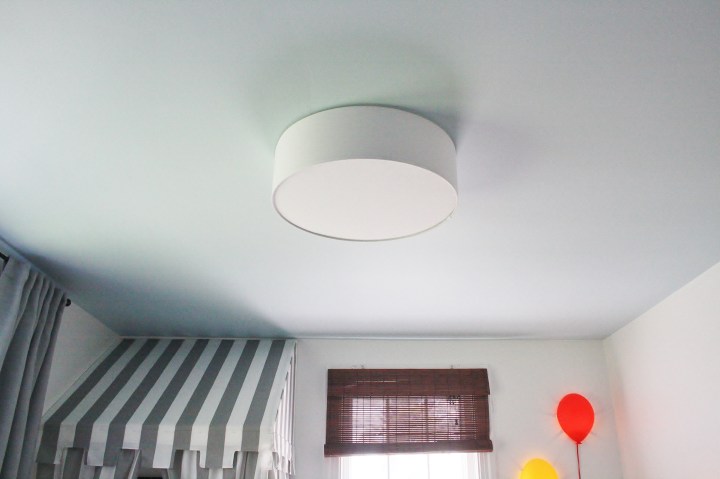
The new light is so understated, clean, and beautiful. I could put this in every bedroom. It’s from CB2, and such a huge improvement over that ugly light that was in here before!

Other sources: The wall and trim color is Sherwin Williams Pure White, and the floors were stained Dark Walnut.
If you made it to the end, you have amazing stamina.
Thank you so much for following along with this transformation! I had so much fun designing it, learned a lot about what I can get done in a short amount of time, and became very comfortable with power tools! I also found out just how much I depend on my amazing tribe — my parents, in-laws, husband, siblings, and friends all helped me in different ways, including babysitting, giving me design advice, taking photos, giving me technical tips, building and installing things for me (my sweet husband), and generally just listening to me talk about the One Room Challenge and giving me lots of encouragement! Thank you, thank you, thank you (you know who you are!).
And now I’m off to check out all of the featured participants‘ and guest participants‘ final reveals — and you should, too! Thank you to Linda of Calling it Home for this amazing event!

So well done!! Love every detail! Congrats.
Thank you so much, Ashlyn!
What a fun and colorful space! The canopy is fab!
Thanks so much! We are loving the happy colors 🙂
Absoloutley love the transformation. You have inspired me to redo the kids room!
Yay! How exciting!
What a fun and whimsical play room! That tent and that yellow door make this such a special space. I hope your kids are loving it!
They are definitely loving it! They read in the tent all the time 🙂
Amazing, you should be very proud of yourself! You have a beautiful family-Tricia Lang Mroczka
Thank you Tricia!! You are so sweet.
You did a wonderful job! I love all the bright colors you used, particularly that yellow door. I will be stealling that color to paint my laundry room door as well. Thanks for the inspiration 🙂
Thank you! Yellow is so happy – I want to use it everywhere now!
I know your boys will enjoy the room for years to come! The yellow door, the vibrant art work, and the storage were all great choices for the space.
Thank you, Wendy! It functions so well now, that’s actually my favorite part.