

Hey guys! I’m back with updates for Week Two of the One Room Challenge!
If you’re not familiar, the One Room Challenge, created by Linda of Calling it Home in 2011, is a biannual event in which 20 featured designers chosen by the One Room Challenge team each work to overhaul one room in 6 weeks. Along the way, the featured participants post updates each Wednesday detailing their process and updating readers on their progress.
In addition to the featured designers, anyone with a blog is free to take part as a guest participant and link their progress up to the One Room Challenge site every Thursday. That’s what I’ll be doing!
If you missed Week One, check it out here!
And be sure to check out all of the guest participants here.
Progress
This week, the progress is not very exciting, although it is definitely necessary.
First, I cleared out the room. Then, I used a wallpaper steamer to take off the borders. Surprise, surprise! The whole room had been wallpapered at some point, and has since been painted over many times. I knew this because at the edges (read: at the top where the border was), the steamer bubbled up big chunks of the old wallpaper. But if I put the steamer on the middle of the wall, the wallpaper underneath wouldn’t budge. The paint on top was so thick that I couldn’t even scrape it off with the putty knife, which is what I did in Harrison and Graham’s entire rooms in our old house (because it was wallpaper with only one layer of paint on top, it came up relatively easy).
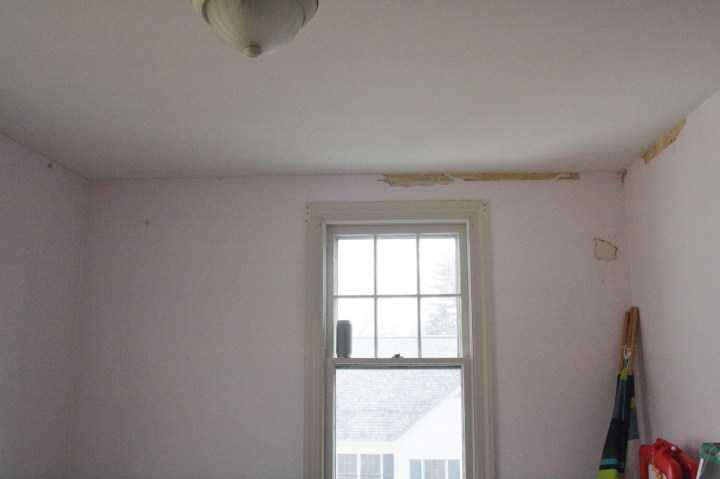

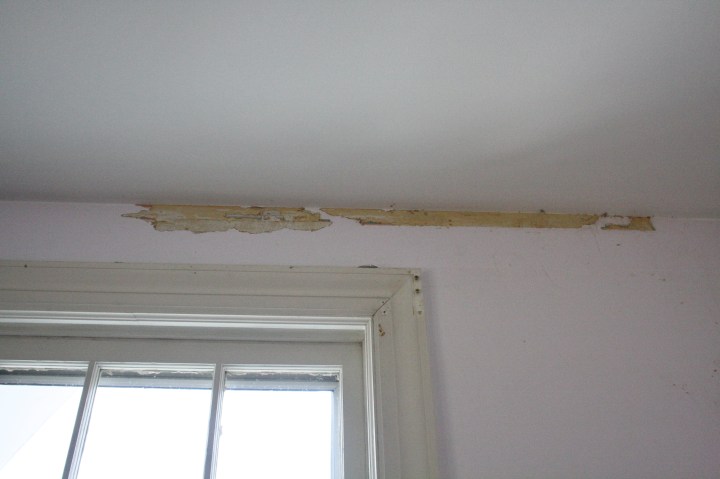
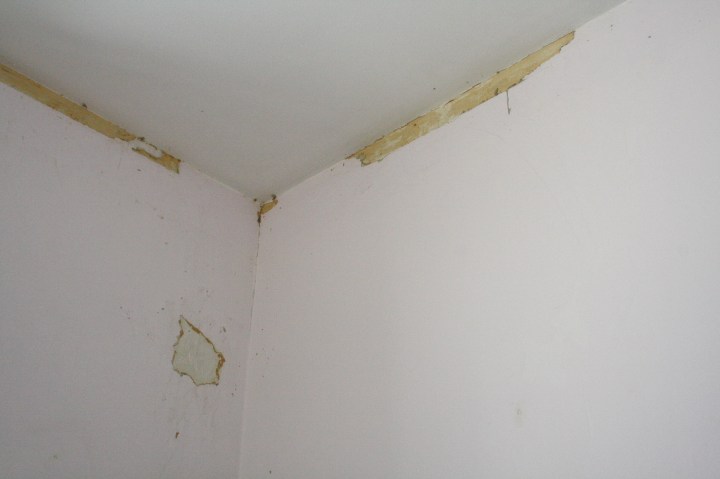
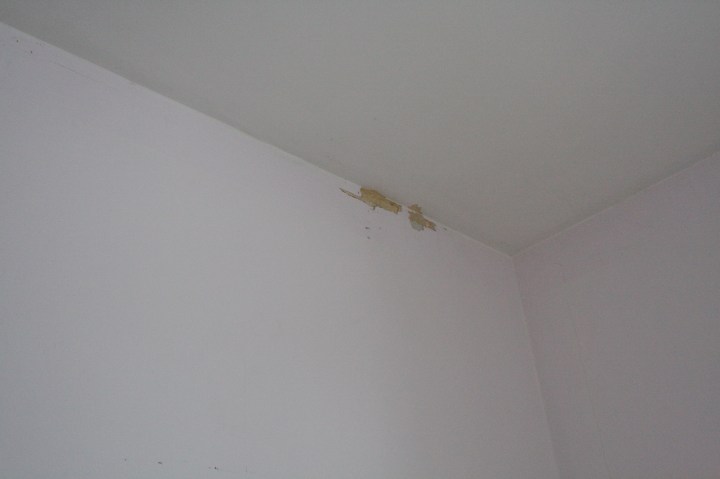
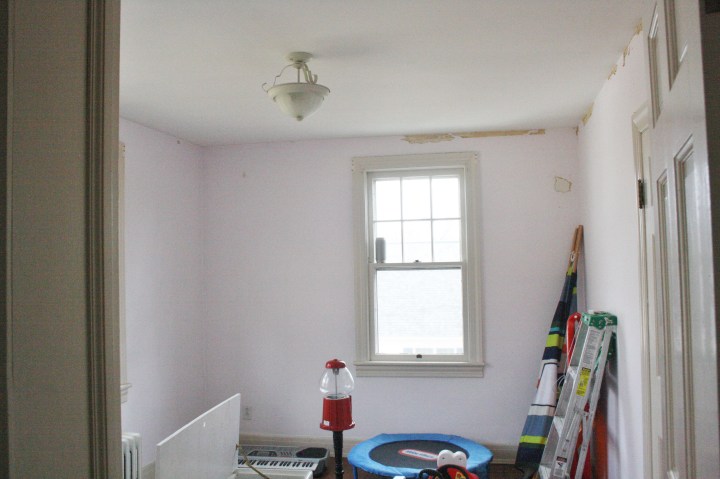
So I decided the best plan of action was to sand and patch the spots where the wallpaper came off and patch any other depressions where it had come off in the past and been painted over, and then call it a day.
Halfway through this process, a friend of mine told me they had the same problem in their old house, and they used Citristrip to get it off (yikes!). I am usually one to do things the “right” way (the hard way), but this time I decided to take the easy road. Partly because the Citristrip method would be messy, but mostly because it would take a long time (and time is not a luxury I have in this makeover!).
I was able to patch, caulk and sand all of the walls and trim in the room this week, so next week we will have paint transformations to share!
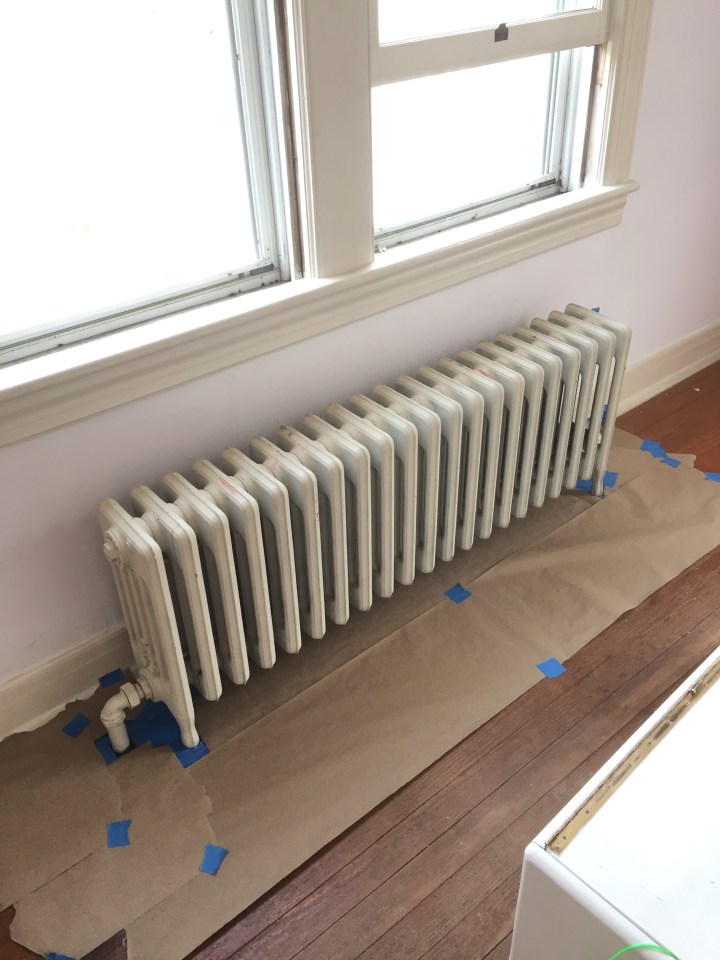
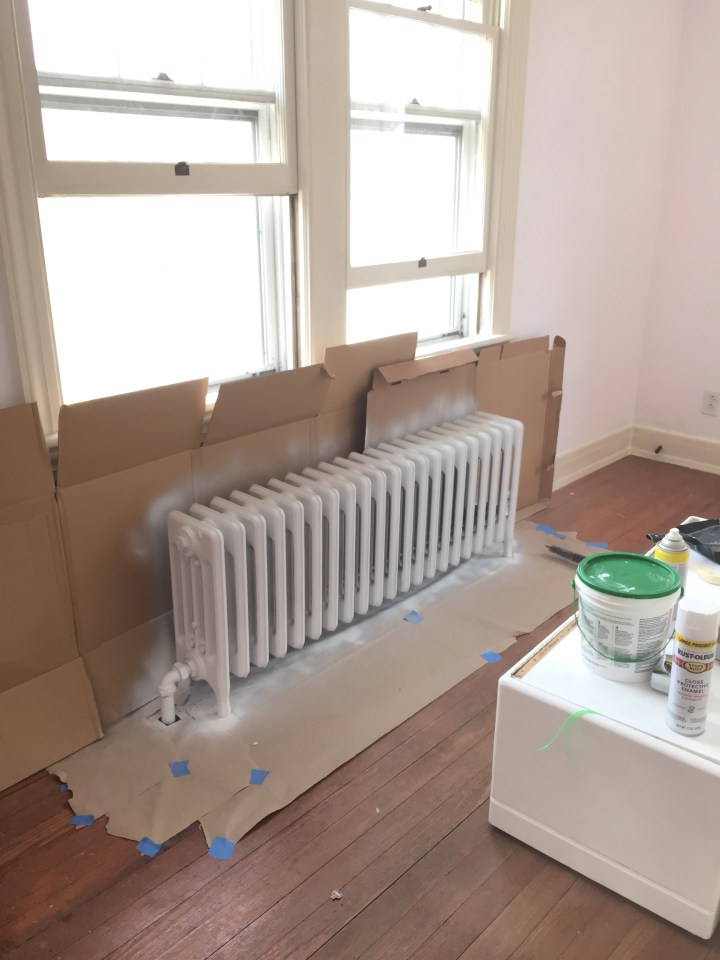
The radiator also got a paint job with two coats of Rustoleum Gloss Protective Enamel in white.
And, I picked the paint colors for the room.
The walls and trim will be Sherwin Williams Pure White, the door will be Sherwin Williams Geometric Yellow, and the ceiling with be Sherwin Williams Crescent Blue.


We have also decided we will have the floors refinished in this room only. The whole house needs to be done, but there are natural borders between rooms upstairs so it’s okay if we do it one section at a time. Another issue is that the floors in the rooms are pine and the floors in the hallway are oak (just upstairs, the rest of the house is oak), so I’m not sure which stain we will use to make sure it matches/ doesn’t look blotchy on the pine as dark colors tend to do. Right now I’m leaning toward just doing dark walnut, which is what we used (and loved) in our old house, so that’s what I show in my design plan.
Design Plan
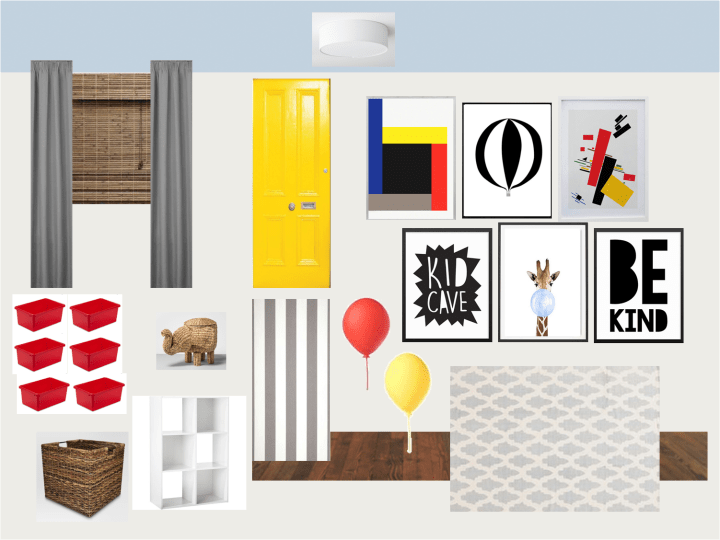
Here are the sources for the mood board:
Curtains (old blackouts from Target) | Bamboo Shades | Geometric Art | Balloon Art | Abstract Art | Kid Cave Art | Giraffe Art | Be Kind Art | Balloon Lights | Striped Fabric | Red Baskets (from Dollar Tree) | Rug (old flatweave from Urban Outfitters) | Elephant Basket | Wicker Cube Basket | Cube Storage | Flushmount Light | Ceiling Paint | Wall Paint
I really wanted to run with the whole primary colors thing, because as much as I would just like the playroom to blend in with the rest of our house, it’s full of brightly colored toys all the time! I love when the things that have to be in a room look intentional with the design.
The primary colors will be layered over a base of white, gray and wood tones to make it a bit more sophisticated, and help some of the larger items grow with the boys, whether this room becomes an office/activity room for them someday, or goes back to being Harrison’s bedroom.
I’m going to go through the mockups I made of each wall to explain my plans (I literally made these in Microsoft Powerpoint! Someday I’m going to have to learn Photoshop or Sketchup). Remember, the walls and trim will be white.
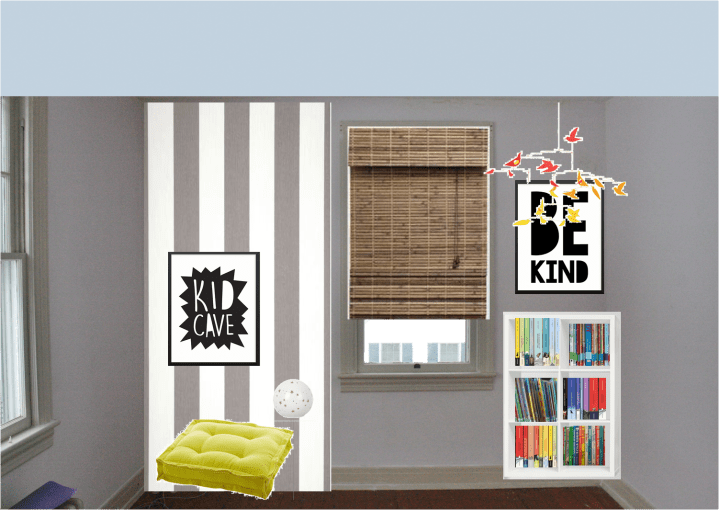
When you walk in the room, this is the wall you see. On the larger side (the window is not centered), I’m going to build a tent. More about that in a future post, but this is the fabric I’m using. Inside the tent will be some kind of night light, yellow floor pillows, and this adorable Kid Cave art I found on Etsy.
To the right of the window will be the bookcase (easily accessible for reading stories in the tent!). Above it will be a piece of art (maybe this Be Kind printable), and the mobile from MoMA that is currently in their room. And this window will just be a roman shade to avoid interfering with the tent.

Moving clockwise around the room, this is the next wall space. This is to the right of the bookcase in the last picture. To the left in this photo is the closet door.
On this little wall, I’ll build two floating bookshelves similar to the ones above, to hold taller books that won’t fit in the cubes.
One of Graham’s only requests in this room was that I include balloons (so cute!), so I was really excited to find these plug-in balloon wall lights from Ikea (the Dromminge) that I will mount above the bookshelves.
To the right of that, I really wanted to create a little music station. Graham and Harrison are obsessed with my old keyboard, so I’m going to create a simple shelf for that to rest on. Underneath that I’m going to put a basket of toys (for playing concert before bed – their favorite), with a big whimsical printable above it (found on Etsy). The striped situation under the keyboard is my terrible attempt at signifying the valance I’m going to make for the bottom of the shelf, to match the tent.
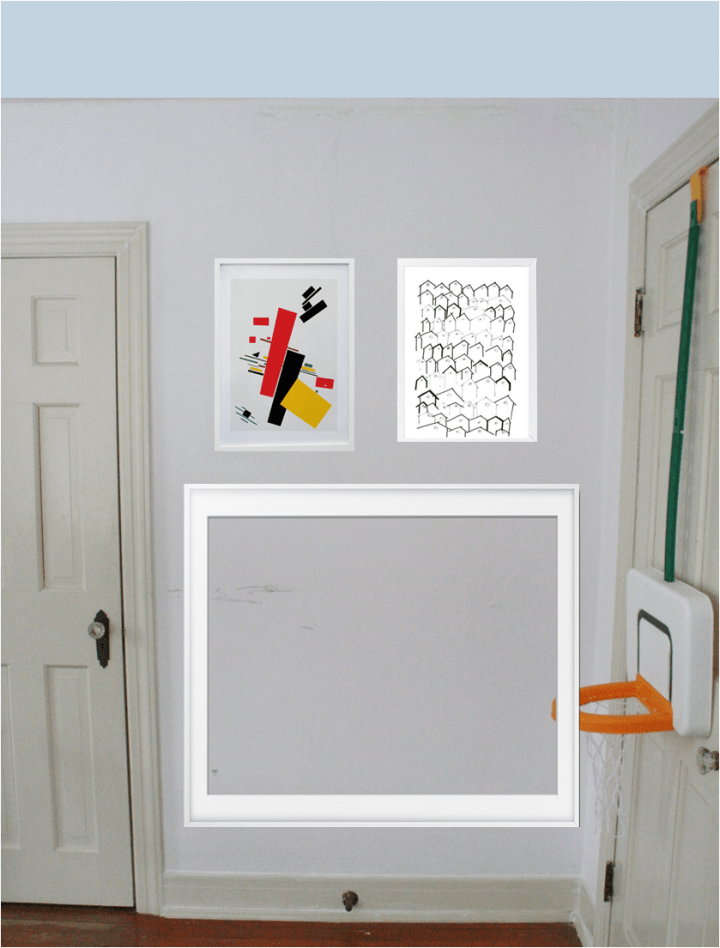
Moving clockwise again, this is the wall to the right of the closet door. I’m going to create a big frame for the boys to tape up art that they create. Above it will be a few prints, but I’m not sure which yet. (Both of these are printables from Etsy – here and here if you’re interested.)
 Moving again to the right, this is the wall with the door to the hallway. On this wall, I’m going to put the large shelving unit that we already have. Here is my attempt at showing what it will look like when it’s white (don’t judge!).
I was originally going to put natural baskets in here, but 1) I’m worried about them scratching the finish up once I paint this, 2) I’m worried about durability with the kids smashing them around, 3) natural baskets that I actually like are $$$ if you need a lot of them. I also needed a really specific height (9 inches) to fit in these shelves, so that pretty much ruled out any canvas baskets that I found. I ended up finding red plastic bins similar to the ones above at my local Dollar Tree, and I’m really happy with the pop of color they will add to the all white. I am, however, considering switching the yellow to the closet door instead of the entrance door, so that there isn’t so much BAM primary color right next to each other on this wall. I’m not sure yet, so I’m going to wait to paint that door last.
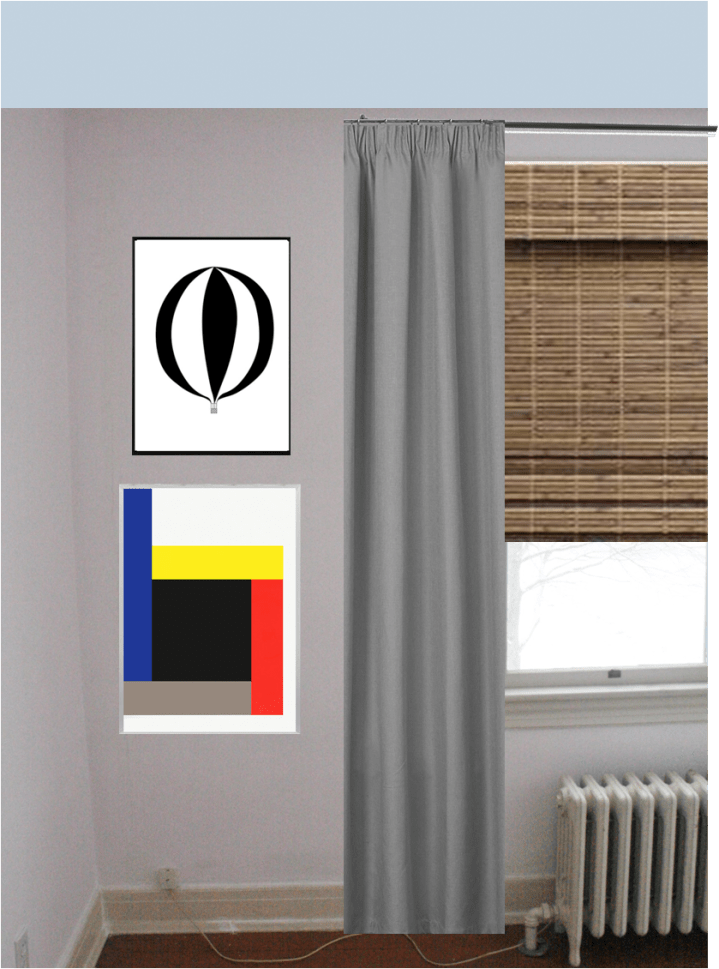
And this is the wall with the double window. I’m just going to put more fun art on this wall (another balloon for Graham, and picking up the stripes in the tent). The window will get bamboo shades and the gray blackout curtains I already own from Target a few years ago (couldn’t find them on the website).
The other side of this window will be filled up with the tent.
As for the radiator, I’m thinking of boxing it in with a wooden radiator cover (but that’s the last project on the list, “if I have time” haha). I may or may not put their white toybox back in front of it. If I do, I’ll put some kind of cushion on the top of it for people to sit on.
And that’s it! I hope you enjoyed my initial design plans, and I can’t wait to share more aesthetically pleasing updates next week!
Make sure to check out all the other guest participants here!

It is awesome , love your ideas
Your ideas give me motivation and inspire me