
Hey guys! I’m back with updates for Week Four of the One Room Challenge!
If you’re not familiar, the One Room Challenge, created by Linda of Calling it Home in 2011, is a biannual event in which 20 featured designers chosen by the One Room Challenge team each work to overhaul one room in 6 weeks. Along the way, the featured participants post updates each Wednesday detailing their process and updating readers on their progress.
In addition to the featured designers, anyone with a blog is free to take part as a guest participant and link their progress up to the One Room Challenge site every Thursday. That’s what I’ll be doing!
If you missed my previous updates, check them out here: Week One, Week Two, Week Three.
And be sure to check out all of the other guest participants here!
Week 4 Progress
This week is supposed to be the hardest week, and it really was for me! Life kind of took over and other commitments had to be addressed, including plans for two bachelorette parties, a wedding shower, and Harrison’s second birthday! So I didn’t get as much done as I would have hoped. And of course that made the whole ORC project seem super overwhelming for a minute. But I do still have a few small updates to show you, and I’m ready to go full steam ahead into next week! Let’s do this!
I finished painting both sides of the closet door and put the hardware back on. Both sides are this great, cheerful yellow (that I’ve fallen in love with).

And I took the opportunity while painting the door to the hallway to make the final decision on what color the hallway doors will be. I briefly considered the saturated, moody green on our front door, but I knew that would be difficult to coordinate with the inside of every bedroom and the office (and it definitely wouldn’t look great with the colors in the playroom). So I chose classic Tricorn Black for the hallway doors, which makes me feel like I have a jumpstart on that project! The side of the door facing the playroom is the same white as the trim. I think both the white and the black will look great with the playroom decor, whether the door is open or closed.

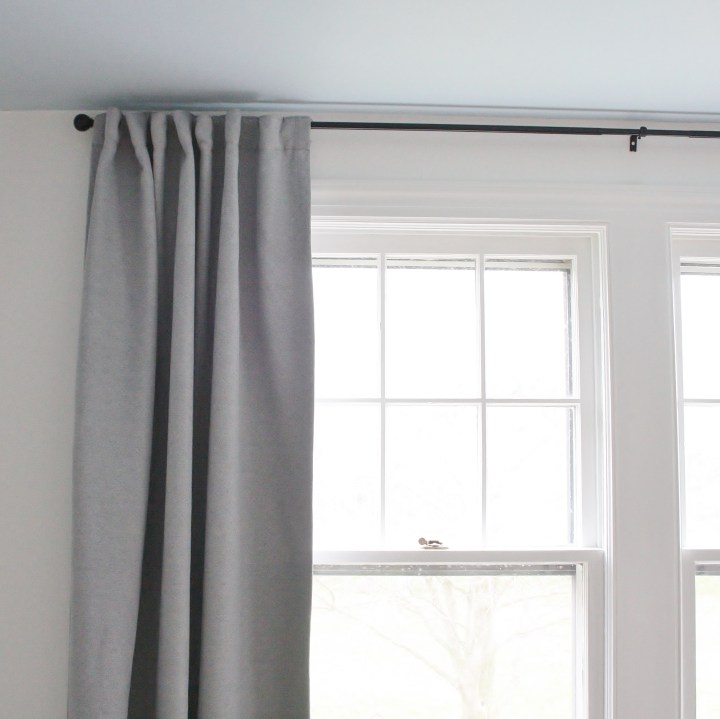
This is the project I’m most proud of this week. I put the curtain hardware and the curtains up all by myself, and the curtains are perfectly kissing the floor. For anyone who has ever tried this — it’s so hard!!! I’ve never done it without two people, and even then it is difficult to get it perfect. Steve was working long hours this week, so I had to go it alone (and only while the kids were napping or watching a movie in the next room). It feels so good to figure something out on your own and get it right.

I also painted this chair that I bought for 6.99 at the Goodwill.

I just gave it a light sand and wiped it down to remove any dirt that I could. Then I painted it with two coats of the ceiling color, SW Crescent Blue. I was worried about the durability/ wipeability of the flat paint, so I am coating it with two coats of High Gloss Laquer – I belive it’s Valspar brand. It’s looking great! (Don’t mind my messy cellar.)

I spray painted a bunch of old baskets I had used for toys white. They were the reddish brown color in the bottom pic before, which I wasn’t crazy about.


I’m not sure if I’ll use those baskets, but I wanted another option with more texture than the red baskets, which are also still up in the air. I might cave and buy at least one row of pretty, wood toned wicker baskets because I really want the room to feel warm and sophisticated, not just utilitarian and kid-zone-ish.
And finally, I made a big decision about the shelving I was going to use in the room.
Remember this shelving unit?

I said in the Week One post that Steve had (mistakenly) bought this from someone’s garage where they used it for storage (he was supposed to be going for a different bookcase, which had already been sold, and there was a lot of miscommunication involved). After that, it sat in our garage, but it was kind of useless because the shelves are only a little over nine inches high and nothing would fit between them!
When we put the boys in the same room and made this the playroom, I needed shelving but I didn’t feel like buying a crappy MDF bookcase and we didn’t know what our plan for this room was yet. So I decided to work with what I had and Steve and I brought this up from the garage. It definitely had the faint smell of motor oil (I fully cleaned it) and was built from scraps, but I did like the open, interesting shape, and it was fine for toy storage.
I always like to work with what we have instead of buying new, because it feels wasteful to always be throwing things away to buy something new whenever you run into a problem. But when I took all the toys off and really inspected this shelf before starting to paint it, I saw how the inside of the pressboard was exposed in a lot of places, with veneer on the top, and strange textured sides. And when I moved it around, I realized it was really unstable and swayed pretty easily. It was going to take a lot of work to make it look “okay” for the new room, and it still wasn’t going to be very safe. So, I decided to think of a new plan.
LONG STORY SHORT (hah!), it’s not always best to make something work.
Instead of using that shelving unit on this wall:

I’m going to build shelves like these:
")

In an interesting configuration.
We will see how it turns out! They should be up next week if I’m going to finish this thing, so stay tuned!
Make sure to check out all the other guest participants here!

2 thoughts on “One Room Challenge Week Four: Focusing on the Details”