Hi everyone! Wow, I can’t believe I haven’t posted for the whole summer! A combination of burnout from the One Room Challenge and being caught up in the rush of summertime has kept me from completing many projects to share with you all.
I was able to squeeze in a few things though, and today I’m here to share my new dining room curtains.

I have had these Cameron Cotton Pole-Pocket Drapes from Pottery Barn for almost two years.

I had purchased them for the dining room to use up some store credit I had from a return, but I was never in love with them. They are made of thick, quality cotton and are beautiful in a simple way, but I kept feeling like I wanted something more special in this room. As I looked on Instagram and Pinterest for inspiration over many months (the neighbors enjoyed watching our every dinner from our front windows) I soon realized that what I really wanted were curtains with beautiful trim to coordinate with the wallpaper and interesting pleating at the top to make them look more substantial. Custom curtains like that cost hundreds of dollar, so I wanted to see if I could create the same look using the curtains I already had.
Here is what I did to make the curtains I had look custom:
Supplies:
Ready-made curtain panels
Sewing machine
Lining fabric (optional)
Thread to match your curtain color
Latex paint color-matched to your desired hue
Thread to match your finished ribbon trim
(Optional) Add a Lining
One thing I would do with most budget curtains is to add a lining. Inexpensive curtains are usually pretty see-through and thin. I skipped this step with the Pottery Barn curtains because they were already pretty thick. This is especially important for colored or printed curtains, so that you only see the white liner fabric from outside.
Here is an easy tutorial if you wish to do this step.
Sew Pleats in the Top
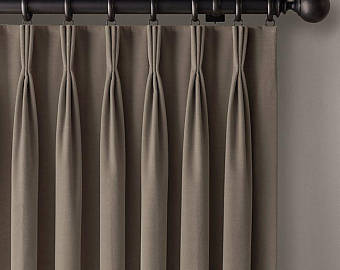
Pleated curtains have always been beautiful to me. They just look rich and detailed and make the curtains look more substantial. I considered pinch pleats (below) –
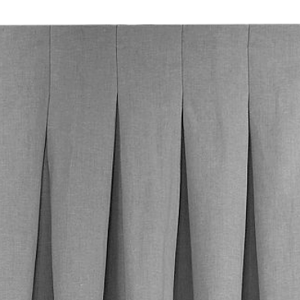
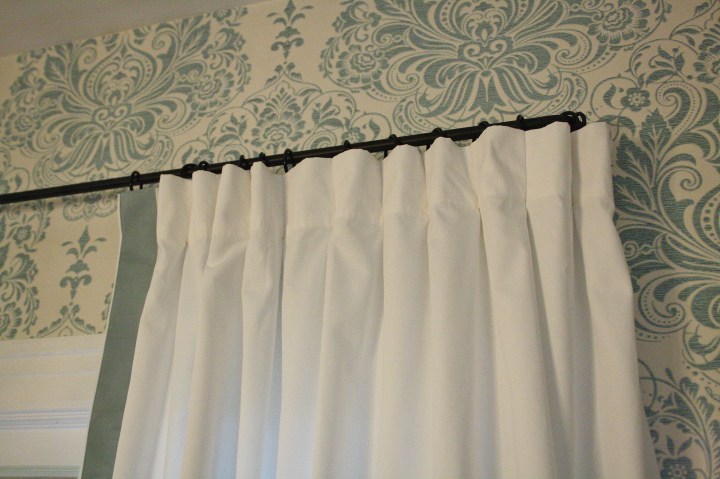
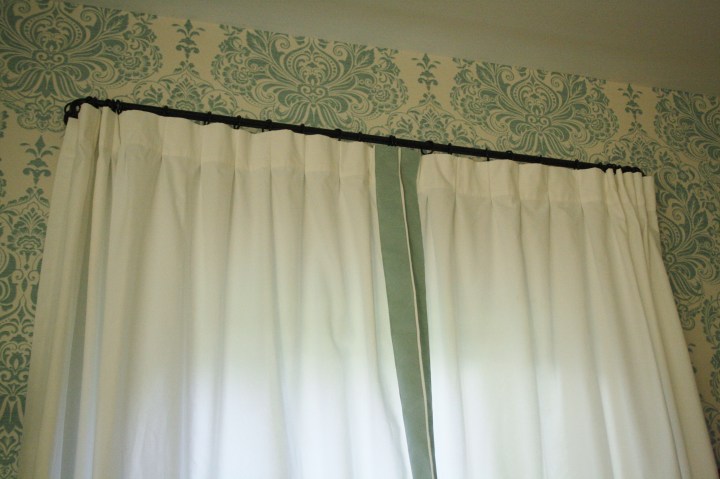
but I settled on inverted box pleats (below) because pinch pleats take up a lot of fabric, and I didn’t want to buy extra panels. As I said, I was trying to use what I had for this budget makeover.
I used this tutorial from Online Fabric Store, which gives directions for making box pleat curtains from scratch, because it is really detailed and easy to follow.
The inside part of my box pleats is very small (again, to use less fabric), but it still added a little something to the top, and gave me a place to put curtain hooks so that I could hang them that way on rings (instead of using the clips), so they would look more professional.

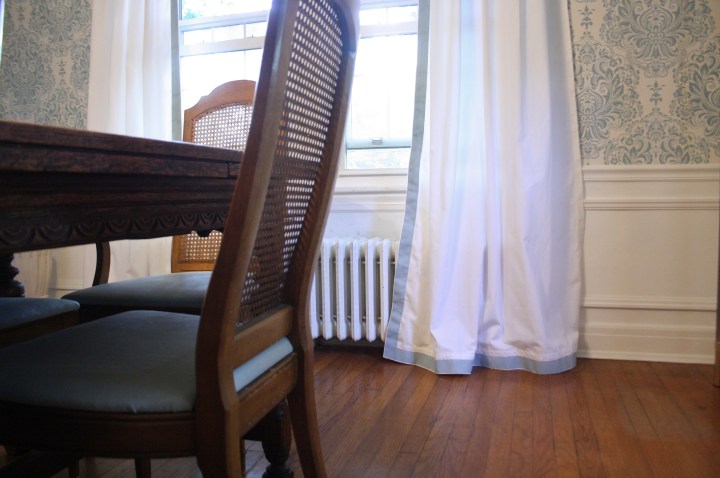
Add Trim to the Leading Edge and Bottom
I’ve definitely been inspired by Mark D. Sikes and other designers that are bringing true traditionalism back to popular design. Mixing beautiful textiles and embroidered trims in a beautiful palette makes a room look so rich and interesting and layered and cozy. Just all the good adjectives.
Unfortunately, as I was looking at embroidered trims, all the ones I really loved were upwards of $50 a yard. Definitely ruins the “budget” side of this makeover. So I searched for other ideas and I realized that I could use grosgrain ribbon to achieve the same effect in a more simple way. I wanted the ribbon to match the wallpaper, and I found a few online that looked close, but weren’t perfect. Then I remembered, I could make a perfect match by just painting the ribbon with color-matched paint and fabric medium (just like I did with my dining chairs). I found 25 yards of 2 inch white grosgrain ribbon on Amazon for $11 (they only have the 50 yard rolls in stock now – linked).
First, I measured out approximately how much I would need for the bottom edge and the leading edge (the edge that meets the other curtain in the middle), leaving a few inches on each side to fold over.
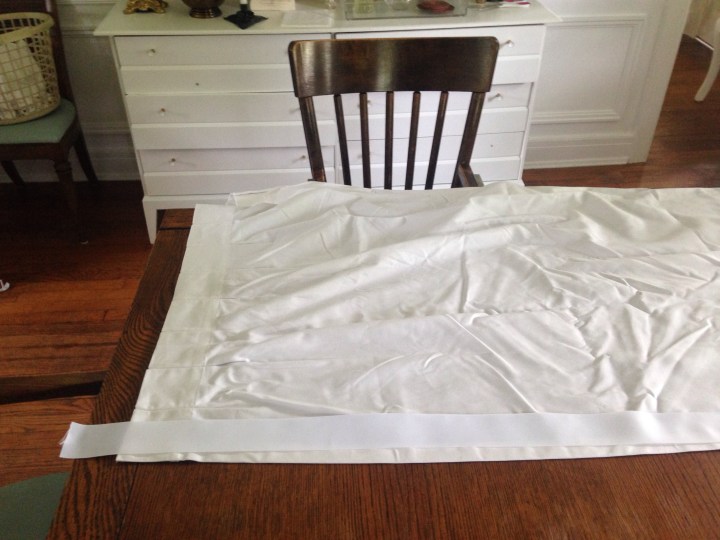
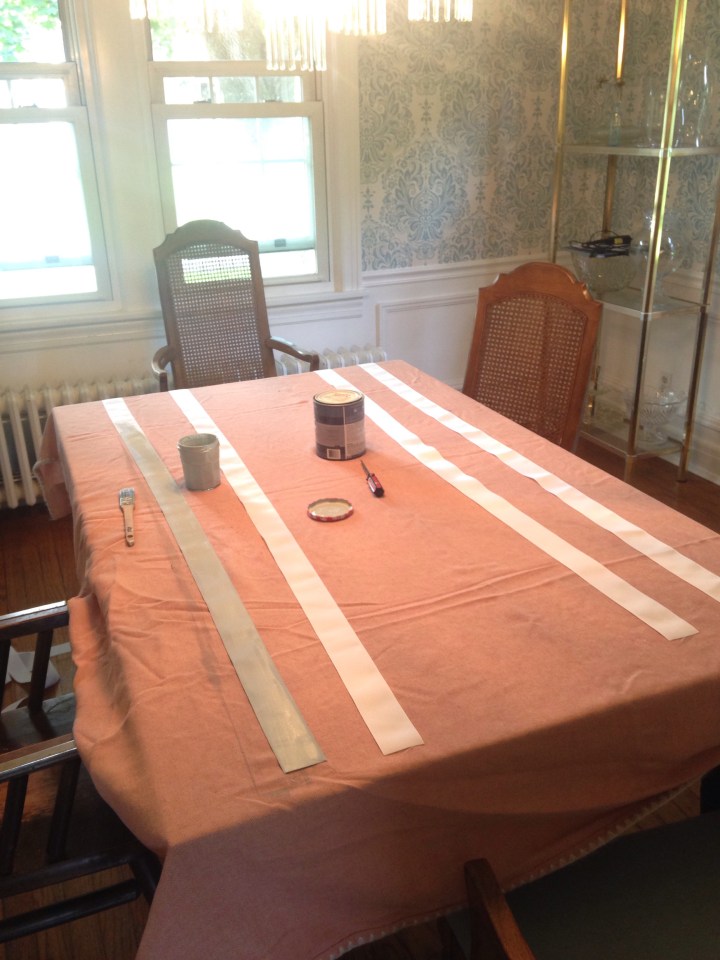
Then, I mixed the color-matched paint one to one with fabric medium (and for the second two curtains I ran out of fabric medium so I mixed it one to one with water — and you guys, the color and texture were indistinguishable), and painted each ribbon. I used a drop cloth on the dining room table to paint them and then brought each one down to the basement to dry.
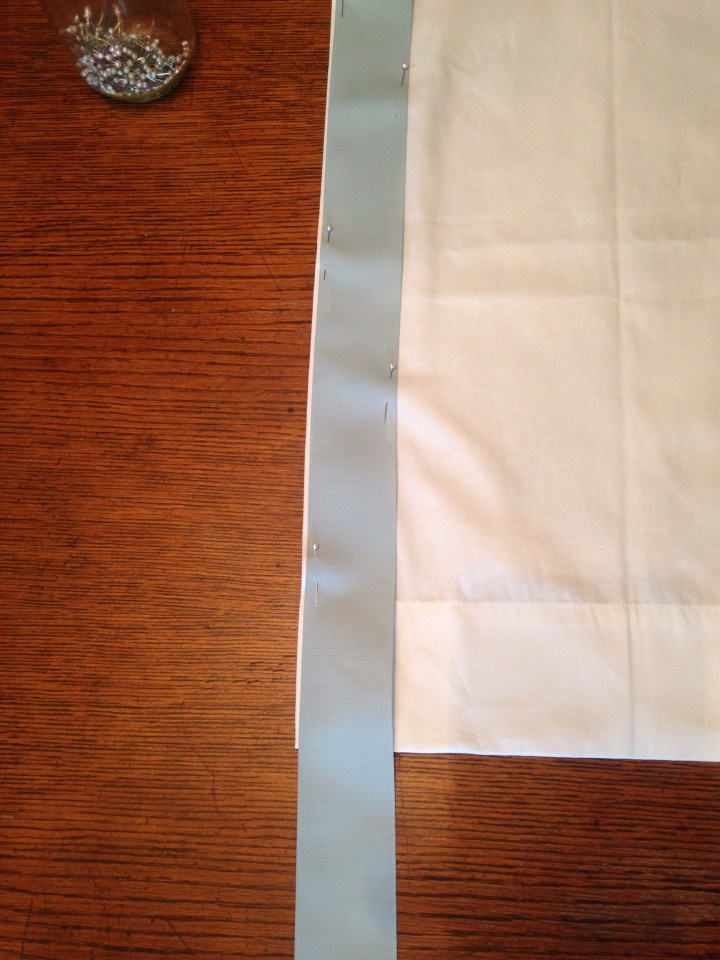
Then, I pinned each ribbon to the curtains, starting at the top of the leading edge. I left a little strip of white showing on the edge (you can measure to make sure yours is straight, but I just eyeballed it). I folded over the extra inches at the top before I sewed it.
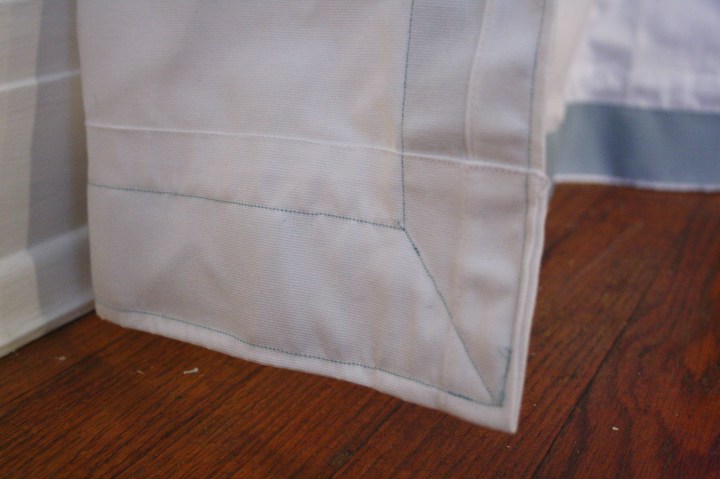
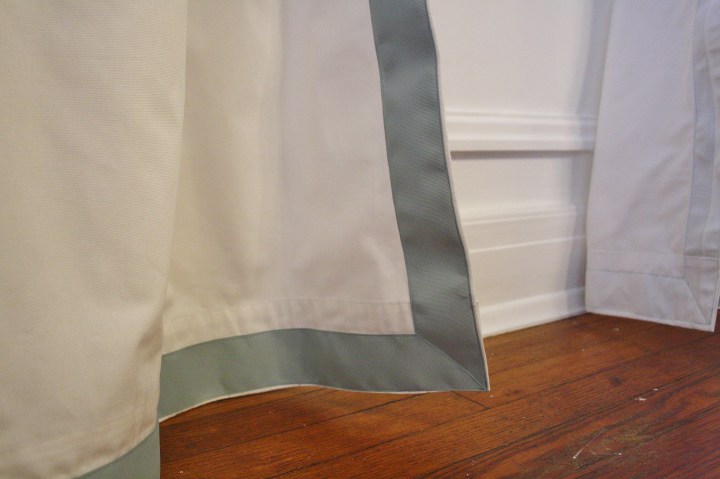
When I got to the corner I made a fold so that it would look like a mitered corner, and pinned it in place. It takes a little maneuvering to get this fold just right — just keep working at it and you’ll get it!

When I sewed the trim onto each curtain, I sewed down one entire side of the ribbon, around the corner, all the way to the edge where it folded over, and back down the other side of the ribbon and over the top edge again, staying really close to the edge of the ribbon the whole way. At the very end, I sewed along the mitered corner to keep it neatly in place.
Tip: One thing I would do that I didn’t think of is to use thread that matches the ribbon on the top and white thread on the bobbin to match the curtain on the bottom. You can see how it looks when the colored thread is used on the back side below.
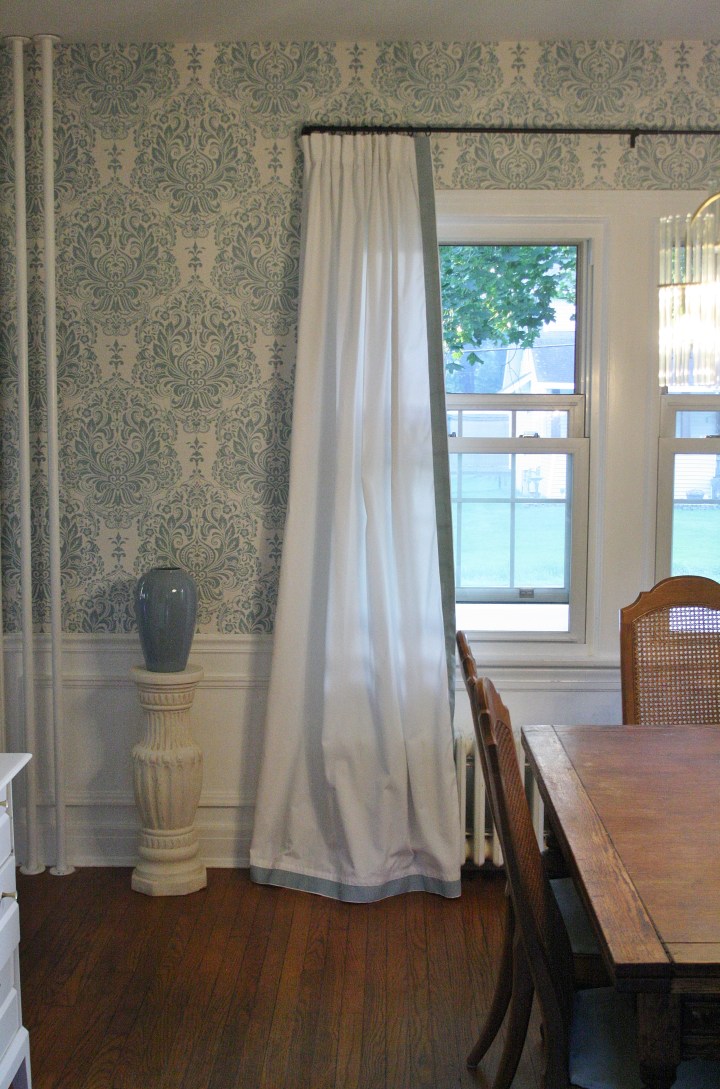
And here are the finished curtains!


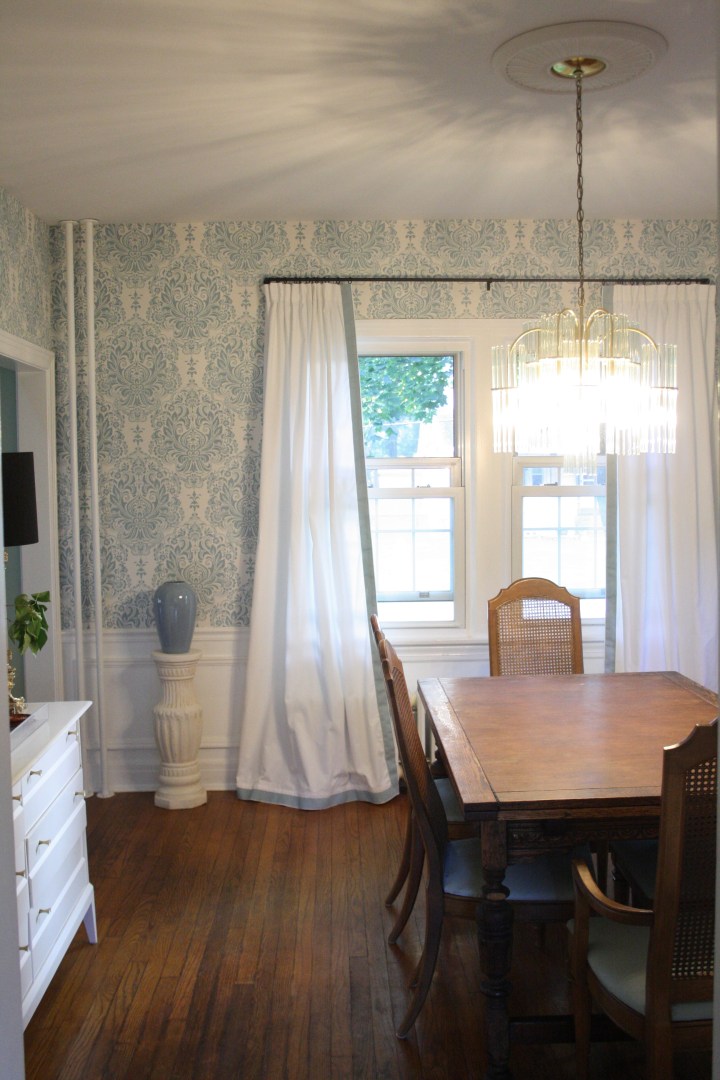
Here is how the dining room looked before having curtains:

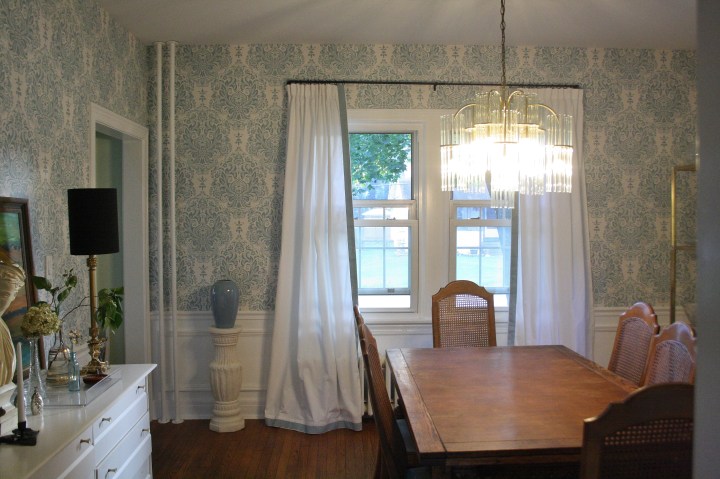
And here it is after:
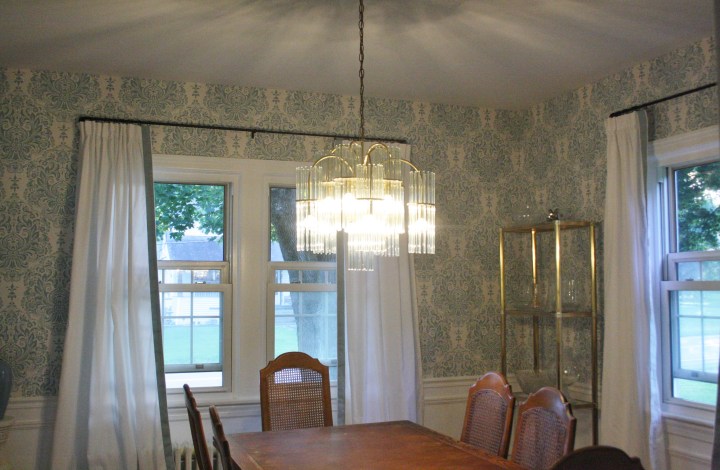
A huge difference right?
Before:
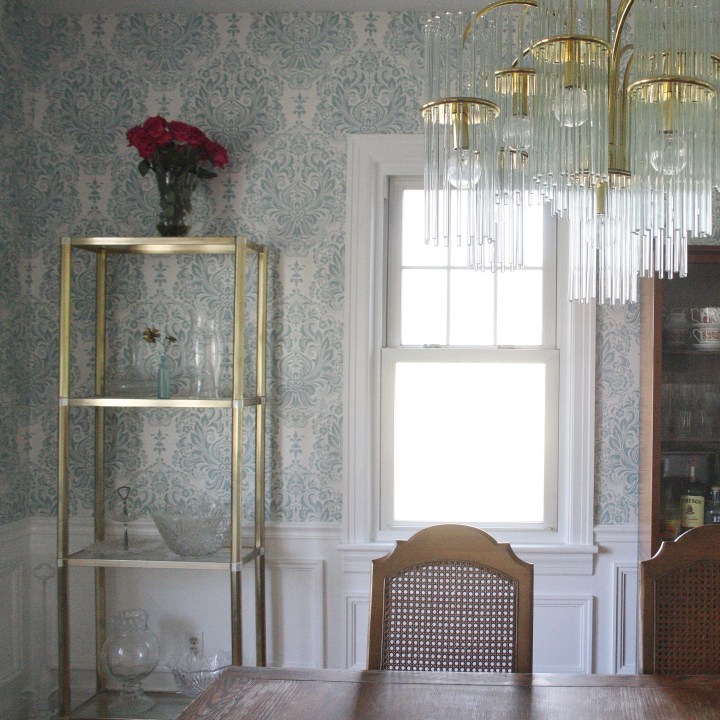
After:

Here are some more shots if you would like to see:


Thanks for reading! Send me photos if you do your own DIY budget curtain upgrade!
