
I was calling these posts “Our New House,” but now that we’ve lived here a year, I think it would be more appropriate to call them “Design Plan.”
My original purpose of these posts was to have a basis of comparison for any changes we make in the house. I knew that if I didn’t document the “befores” quickly, the changes would happen too fast.
I’m so glad I took these kitchen pictures last January, because when we were racing to finish a bunch of projects before our annual Christmas party (happens every year!), we made a LOT of changes to the kitchen that we weren’t planning on doing just yet.
So, in this post I’m going to show you the befores, and explain our plans for this space.
We plan to tackle it in a two-part update. First, we needed to get rid of those floors and that wallpaper, replace the refrigerator and paint all the cupboards and walls. Anything we choose for the first update (besides appliances) will be extremely budget friendly because our second update in a few years will probably involve a gut renovation of the kitchen. I’ll be sharing our plans for that eventual space today!
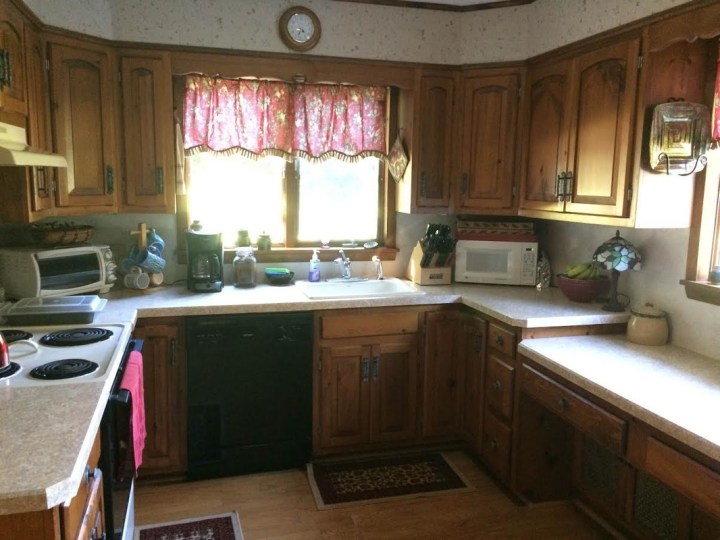
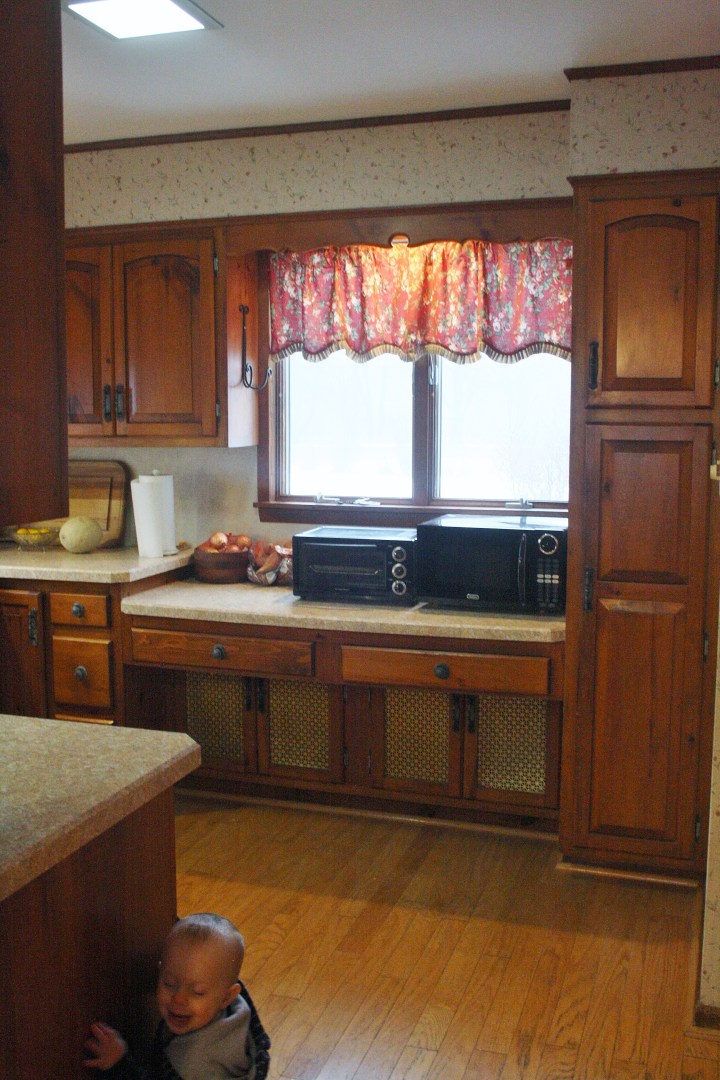
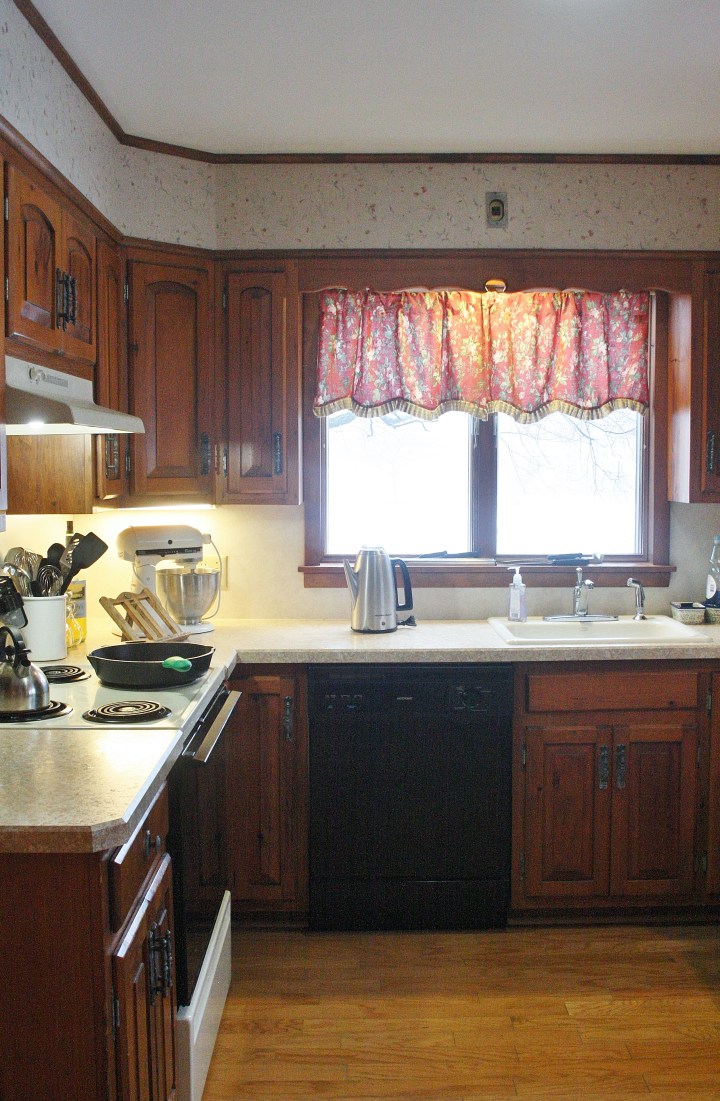
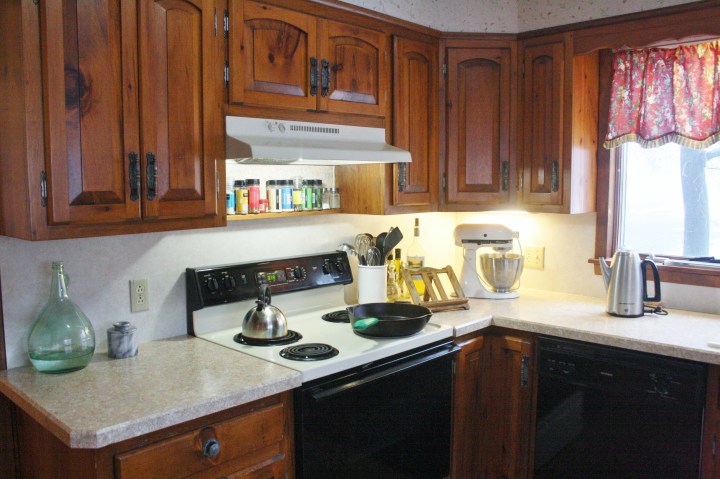
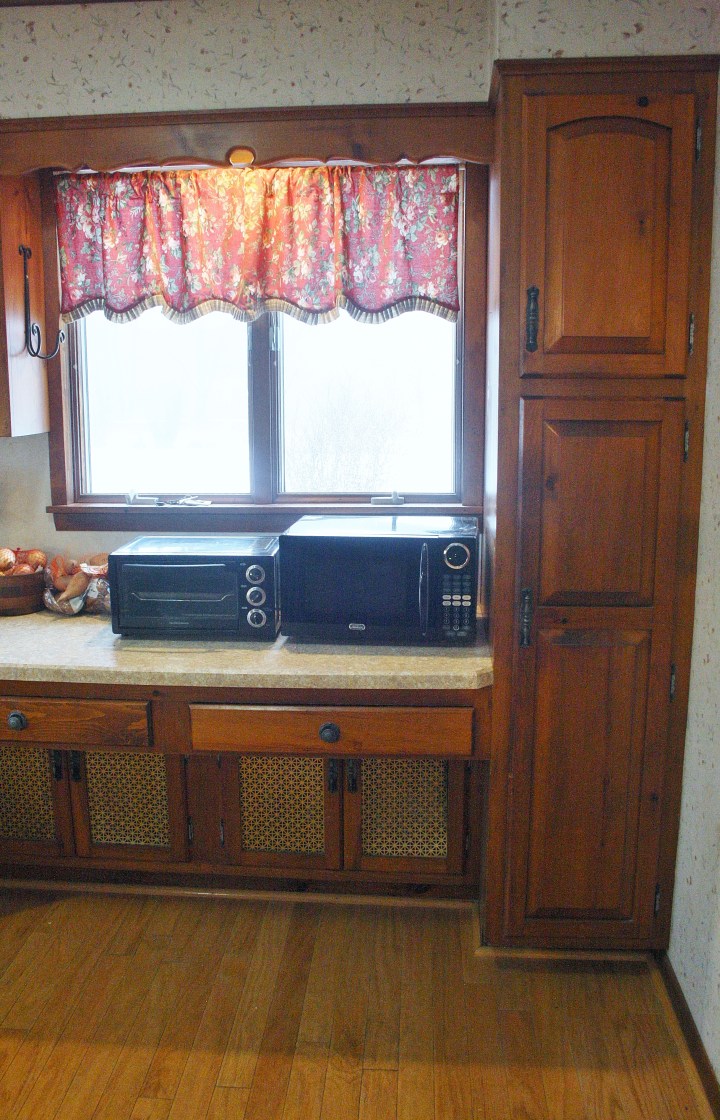
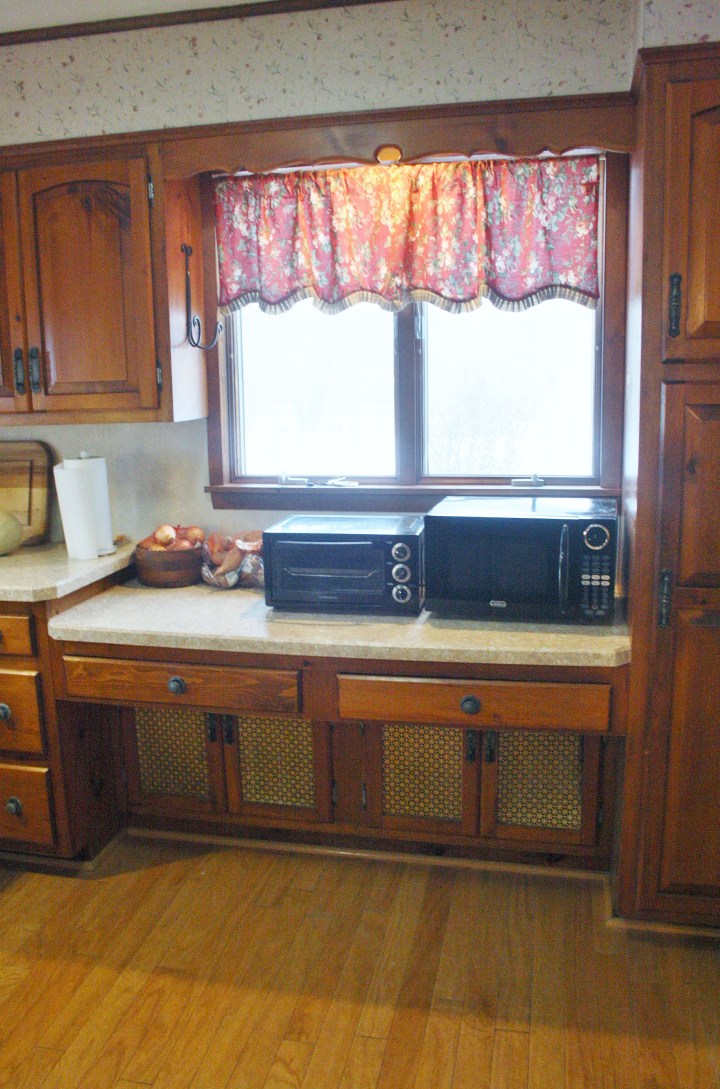
As you can see, the kitchen is on the small side. The lower “desk” level countertop to the right hides a full size cast iron radiator beneath it! When we renovate the kitchen, we will have to either put in a smaller radiator that will only take up one cupboard space, or find another solution for the heat in this room. And obviously we will make all the countertops the same height, too.
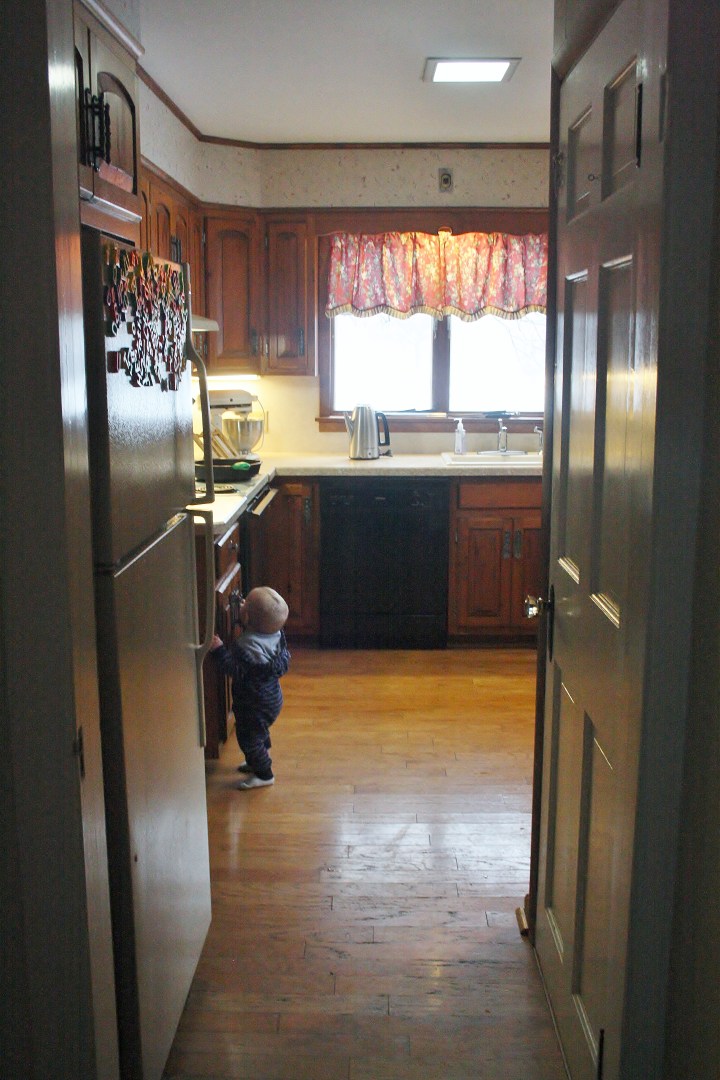
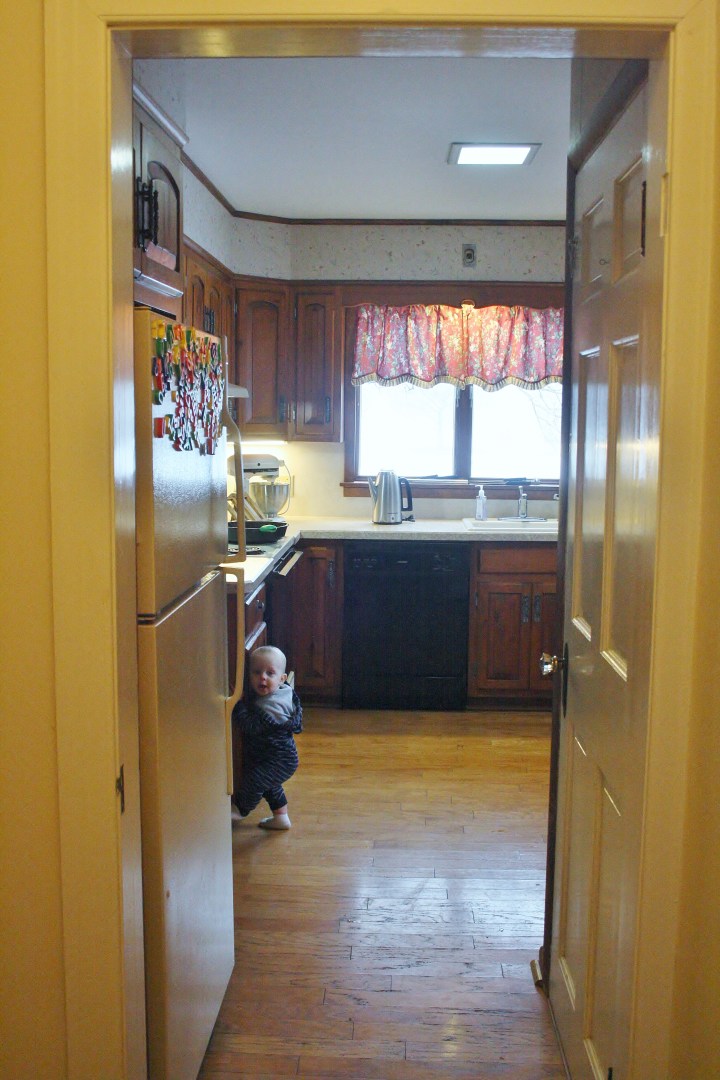
Look at tiny baby Harrison!
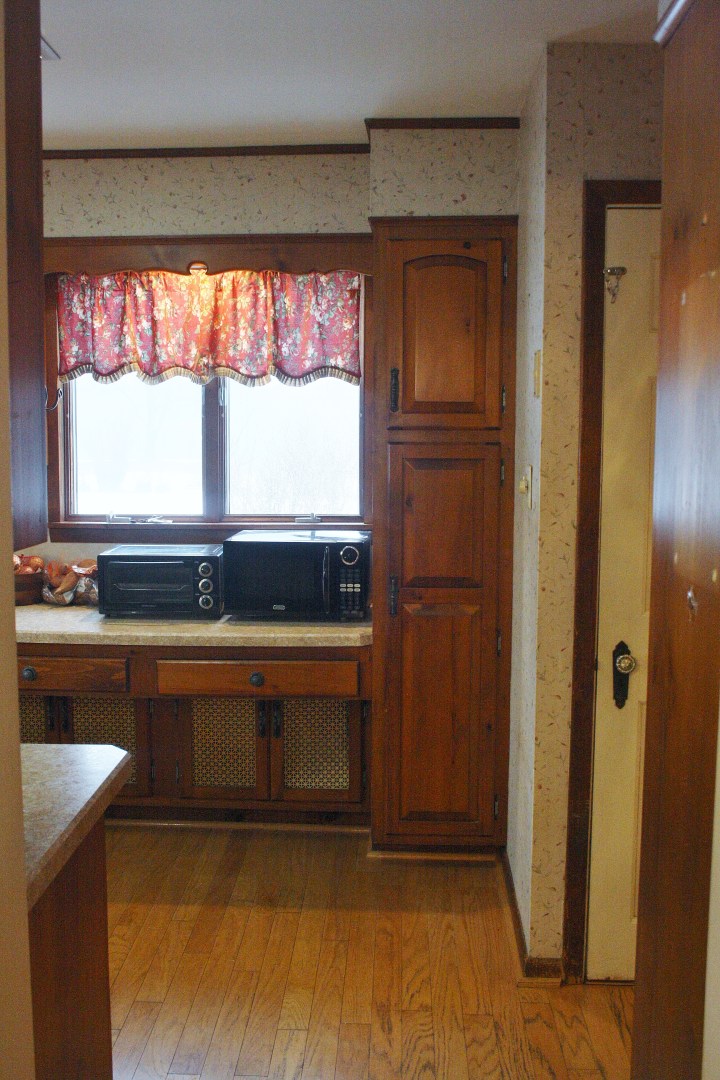
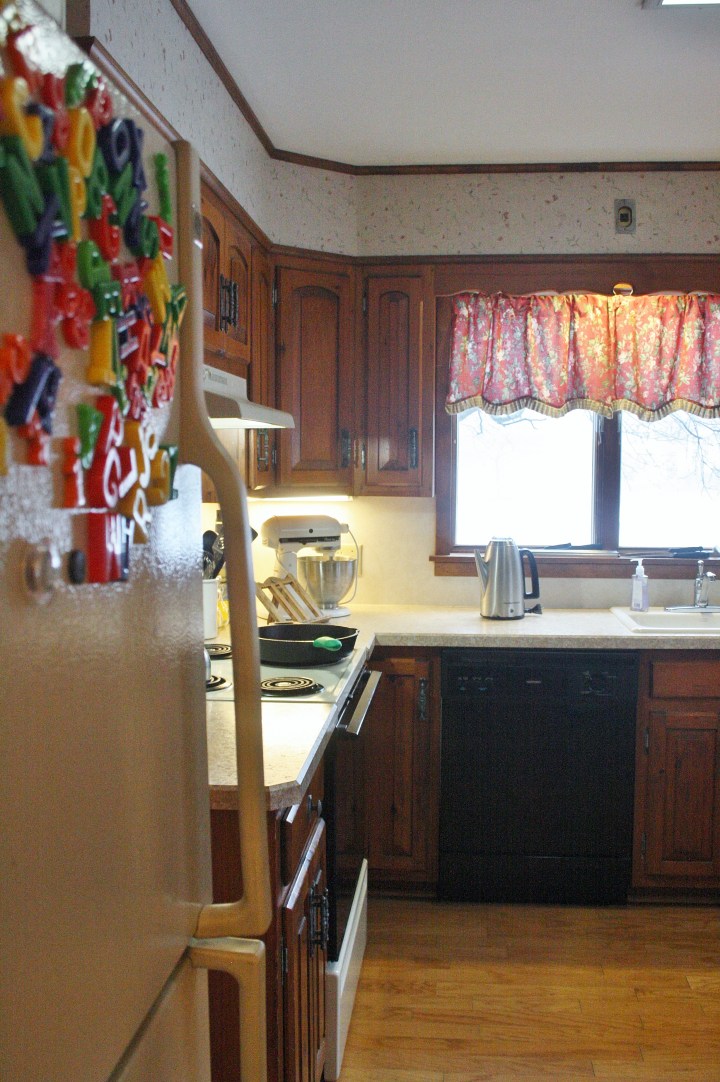
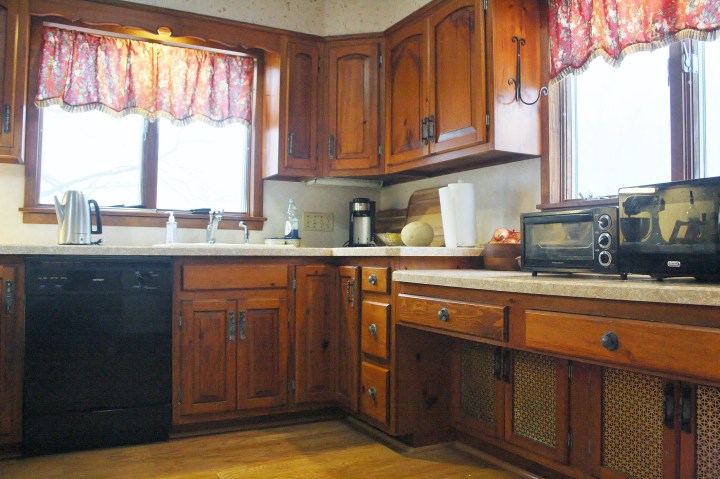
The worst part of the layout of this kitchen is the refrigerator placement. The door to the right goes down a few steps to a landing, and then the cellar stairs go down to the right of that, and the back door is straight ahead. It’s a really strange setup, and I hope to get an architect or contractor’s opinion on how we might be able to change it to squeeze a little more space into this section of the kitchen.
When we do the big renovation, I want to move this refrigerator to the left of where the stove is now, and move the stove underneath the window, where the radiator is now. Then, depending on how we change the space where the door is, we may put a floor to ceiling cupboard where the refrigerator is now.
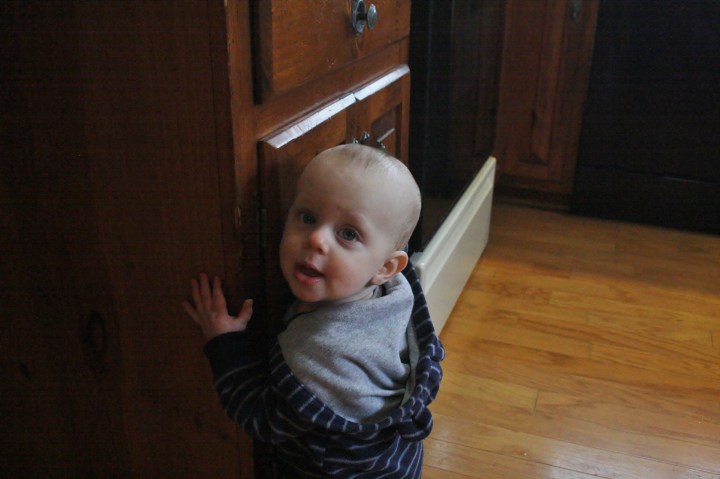
That chubby face!
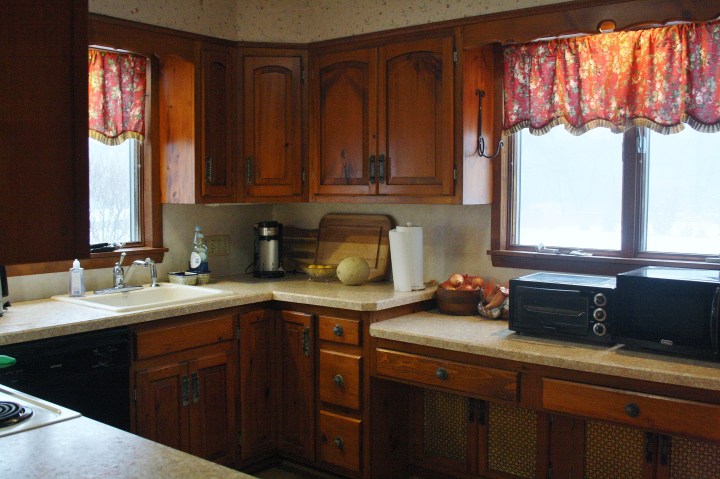
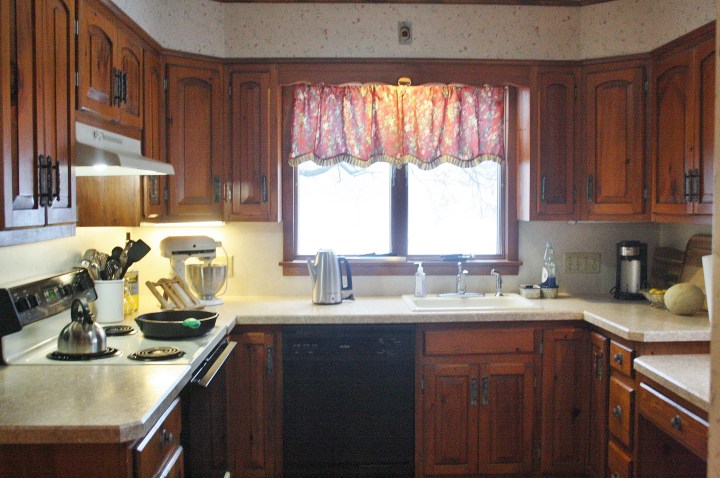
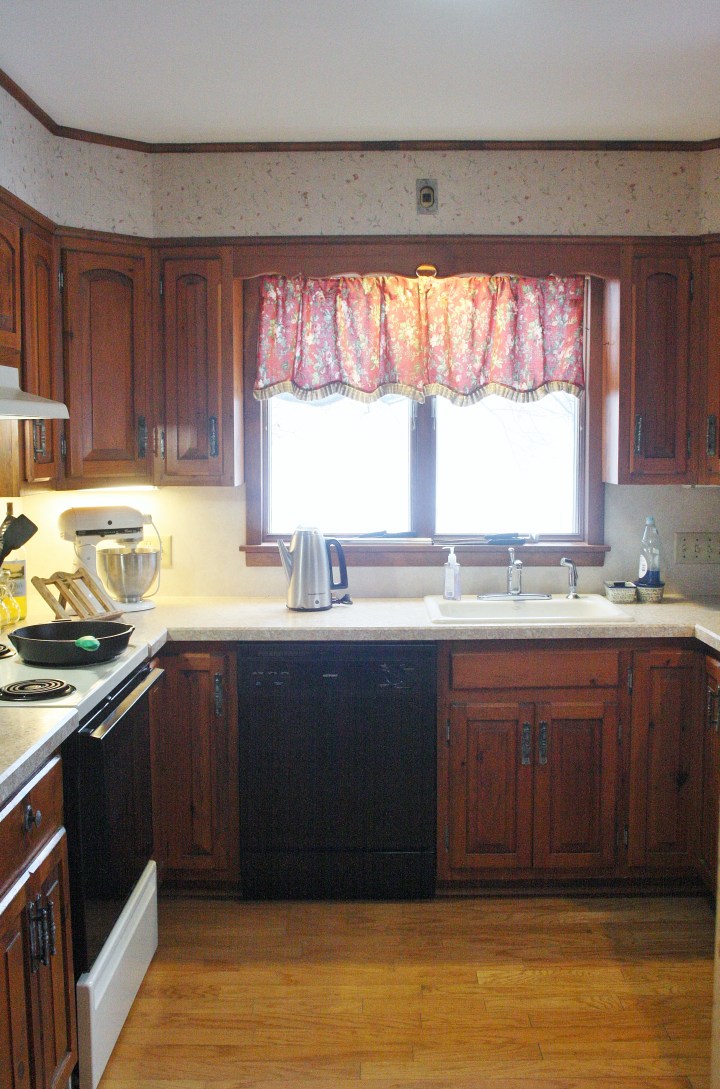
These are quality, solid wood cupboards but it was a LOT of wood tones. The floors were the worst offender — they were a laminate floating floor that was thoroughly worn out, did not match the rest of the flooring in the house, and clashed with the cupboards.
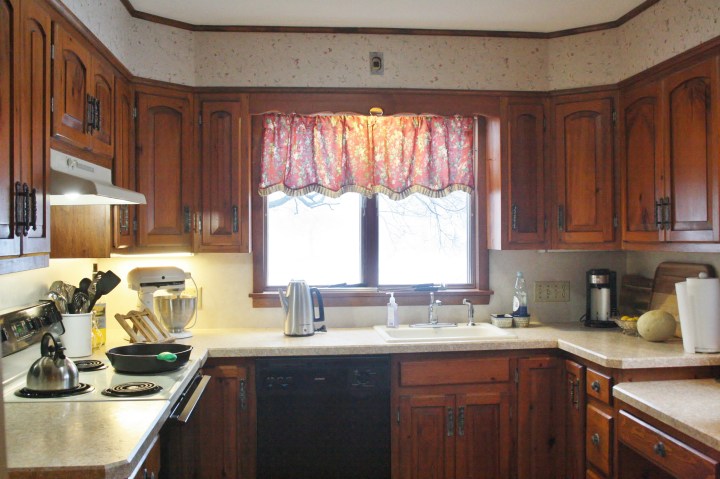

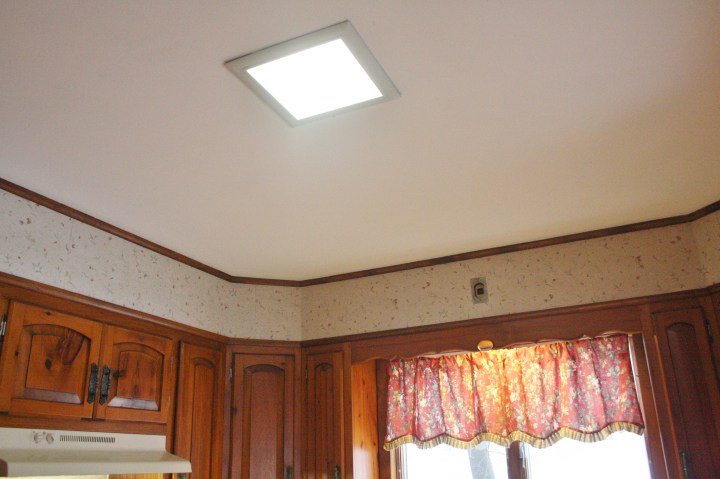
The worst light ever.

The original wood floors (top) are very damaged and need to be refinished, but you can see how bad it looked at the transition with the fake wood next to the real wood, in completely different tones. And the floating floor was spongy to walk on, which was such an uncomfortable feeling.
So this is what we have done so far (sorry, no photos yet! I need to finish a few projects, first):
- Removed all the wallpaper
- Removed the cupboards surrounding the fridge to get a taller, skinny fridge that would hold more food while taking up the same space (this one).
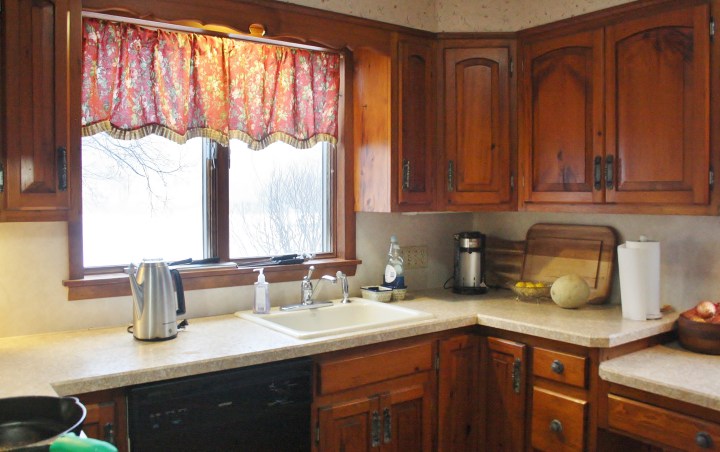
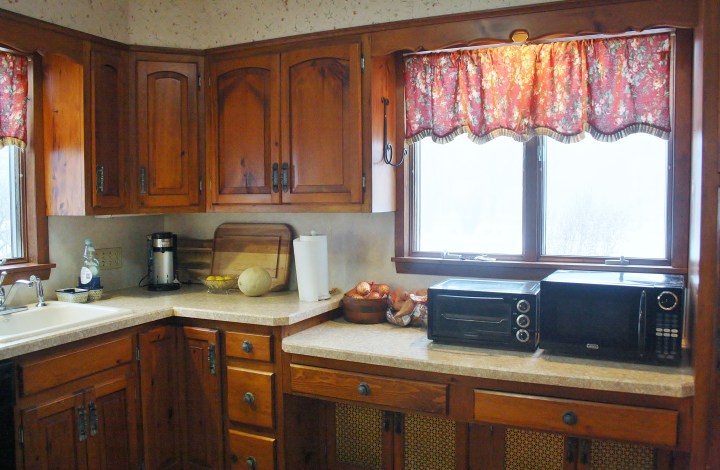
- Removed the scalloped pieces over the windows.
- Ripped up the old floor (which was: the floating laminate floor, with a spongy water barrier underneath, over badly discolored ivory linoleum, glued to 1 inch thick plywood!, nailed down over the original (likely asbestos-laced) linoleum, which was glued directly to the subfloor). We did not disturb the original linoleum, just removed the floors over it.
- Installed thin cement board and tiled over it with this ceramic tile from Home Depot, with marble thresholds. I really love when all the floors in a house can be flush at the transitions, but it wasn’t possible here without having experts come in to remove the asbestos linoleum, which was not part of our plan right now.
- Painted all the cupboards in Magnet by Behr Marquee, and the walls and top cupboards in Alabaster by Sherwin Williams (also in our living room).
- Painted the countertops using this tutorial (just like we did in our old house), except with flat black paint instead of chalkboard paint.
- Changed out the light fixture with this one from Lowes, but I left off that hideous netted thing in the center and just put a simple, round bulb in instead.
- Painted the window frames black.
Next up in the Phase 1 renovations is:
- Do a black concrete countertop finish over the top of the laminate, because the painted countertops are not durable (I honestly just wanted it to look pretty and cohesive for our Christmas party).
- Remove the soffit AND the ceiling. The ceiling in the kitchen is more than a foot lower than in the rest of the house, and we figured out that was because it is a drop ceiling! (This was the same case in our old house.) They may have done this to accomodate ducting or something, which we will address if we find it, but I think the whole kitchen will look worlds better without that soffit and with a higher ceiling.
- Remove the upper cabinets. I still love this look from our old house — I think it makes any kitchen look more open, airy and modern.
- Then lots of patching and sanding and painting, I’m sure.
That will conclude our phase 1 renovations!
In Phase 2, we plan to rip everything out of the kitchen. Hopefully by then we will have all the appliances that we want in our forever kitchen. We will add insulation to the outside walls of the kitchen, probably replace and move some wiring, address the radiator issue, move the stove under the window to the backyard, move the refrigerator to the wall where the stove is now, put in a patterned hexagon tile floor, new lower cabinets with shaker style inset doors, either soapstone or white marble countertops, counter to ceiling windows, and some open shelving. Here is my current inspiration for our eventual kitchen!


There are endless possibilities with hex tile floors. I love that the they look so rich and detailed, very vintage, yet the pattern can be modern (and basically any pattern and color combination you can think of). Complex patterns have to be custom ordered (or you can buy the colors you need and make the pattern yourself), so I would not have been able to do this for our quick redo between Thanksgiving and Christmas.


I loved the black countertops on black cupboards in our old house. I was so clean and minimal but added so much depth and drama to the room. This is definitely an option for our new kitchen.


But I also LOVE the idea of natural wood cabinets with inset doors. Especially raw, white oak, about the color of the cupboards in the top left and two bottom photos. The natural wood looks so beautiful with honed marble countertops.


I think the idea of a stove in front of our back window sounds so dreamy. We could put a hanging hood in front of the window, or do something like the first photo. I’ve also heard you can buy an oven that pulls the smoke and odors down and out the bottom of the stove. Whatever we do, this is most likely the setup we will go with for the stove.


I read an article from a kitchen designer who said that drawers are better for kitchen organization than cupboards, for the majority of the things you have to store. I’ve thought about it a lot since I read it, and I think it would work so much better for me! So, I’ll likely go with lots of deep drawers like the ones above (and beautiful brass cup handles are definitely on the hardware options list), with open shelving on the top.
I’m so excited to have this plan in writing so that I can look back on it when we finally get around to doing the kitchen. I wonder how much I will change my mind?
And, I can’t wait to show you the transformation this space has already undergone! It’s amazing what a little paint can do.

You and Steven are so talented. Can’t wait to follow your progress.