When we moved into our house a year and a half ago, the entrance to our kitchen looked like this (minus a little demolition over the radiator and the peeled wallpaper):
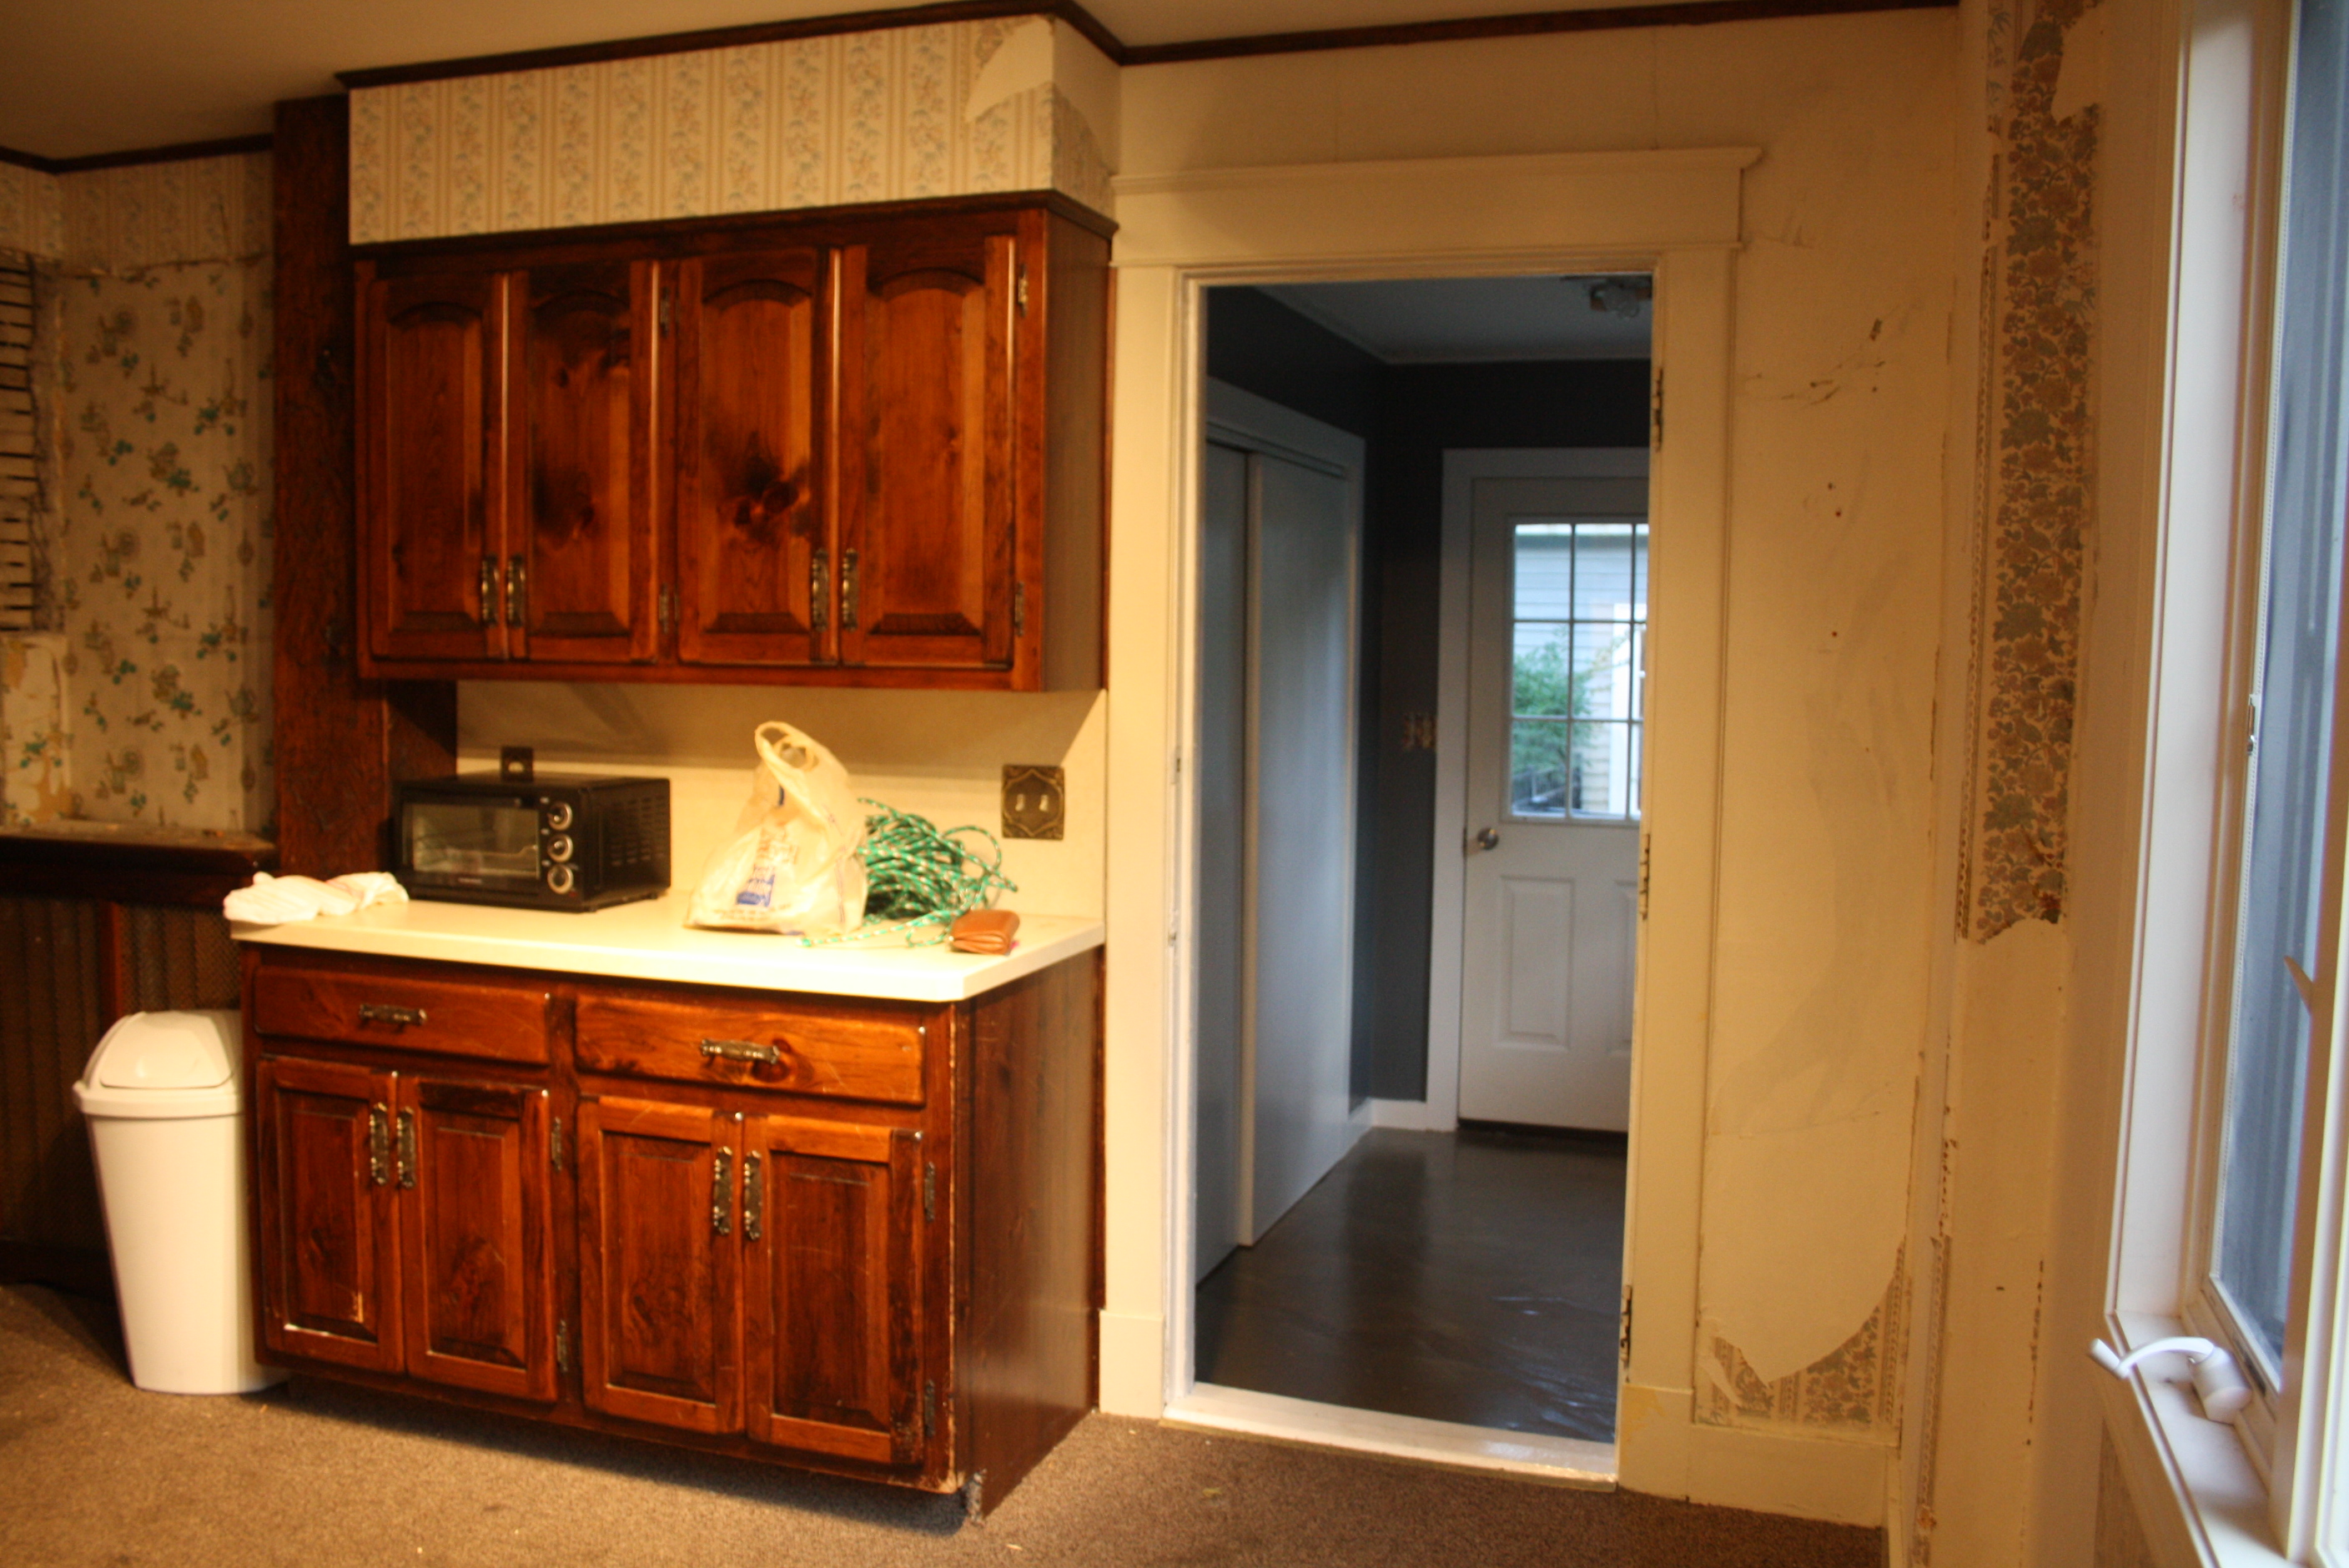
While the kitchen cupboards were custom-made solid wood that would be price-prohibitive today, we were not crazy about the rustic look, and all the heavy cabinetry made the already dark kitchen feel even more cave-like. At the end of last summer, we finally decided to tackle the kitchen and rip down both the upper cabinets and the soffit. That sentence trips off the tongue rather quickly, but trust me, this was no easy task. I won’t get into the nitty gritty, but we were left with walls of an uneven thickness, with very old tongue-and-groove board sticking up from behind the radiator and the lower cabinets in some spots.
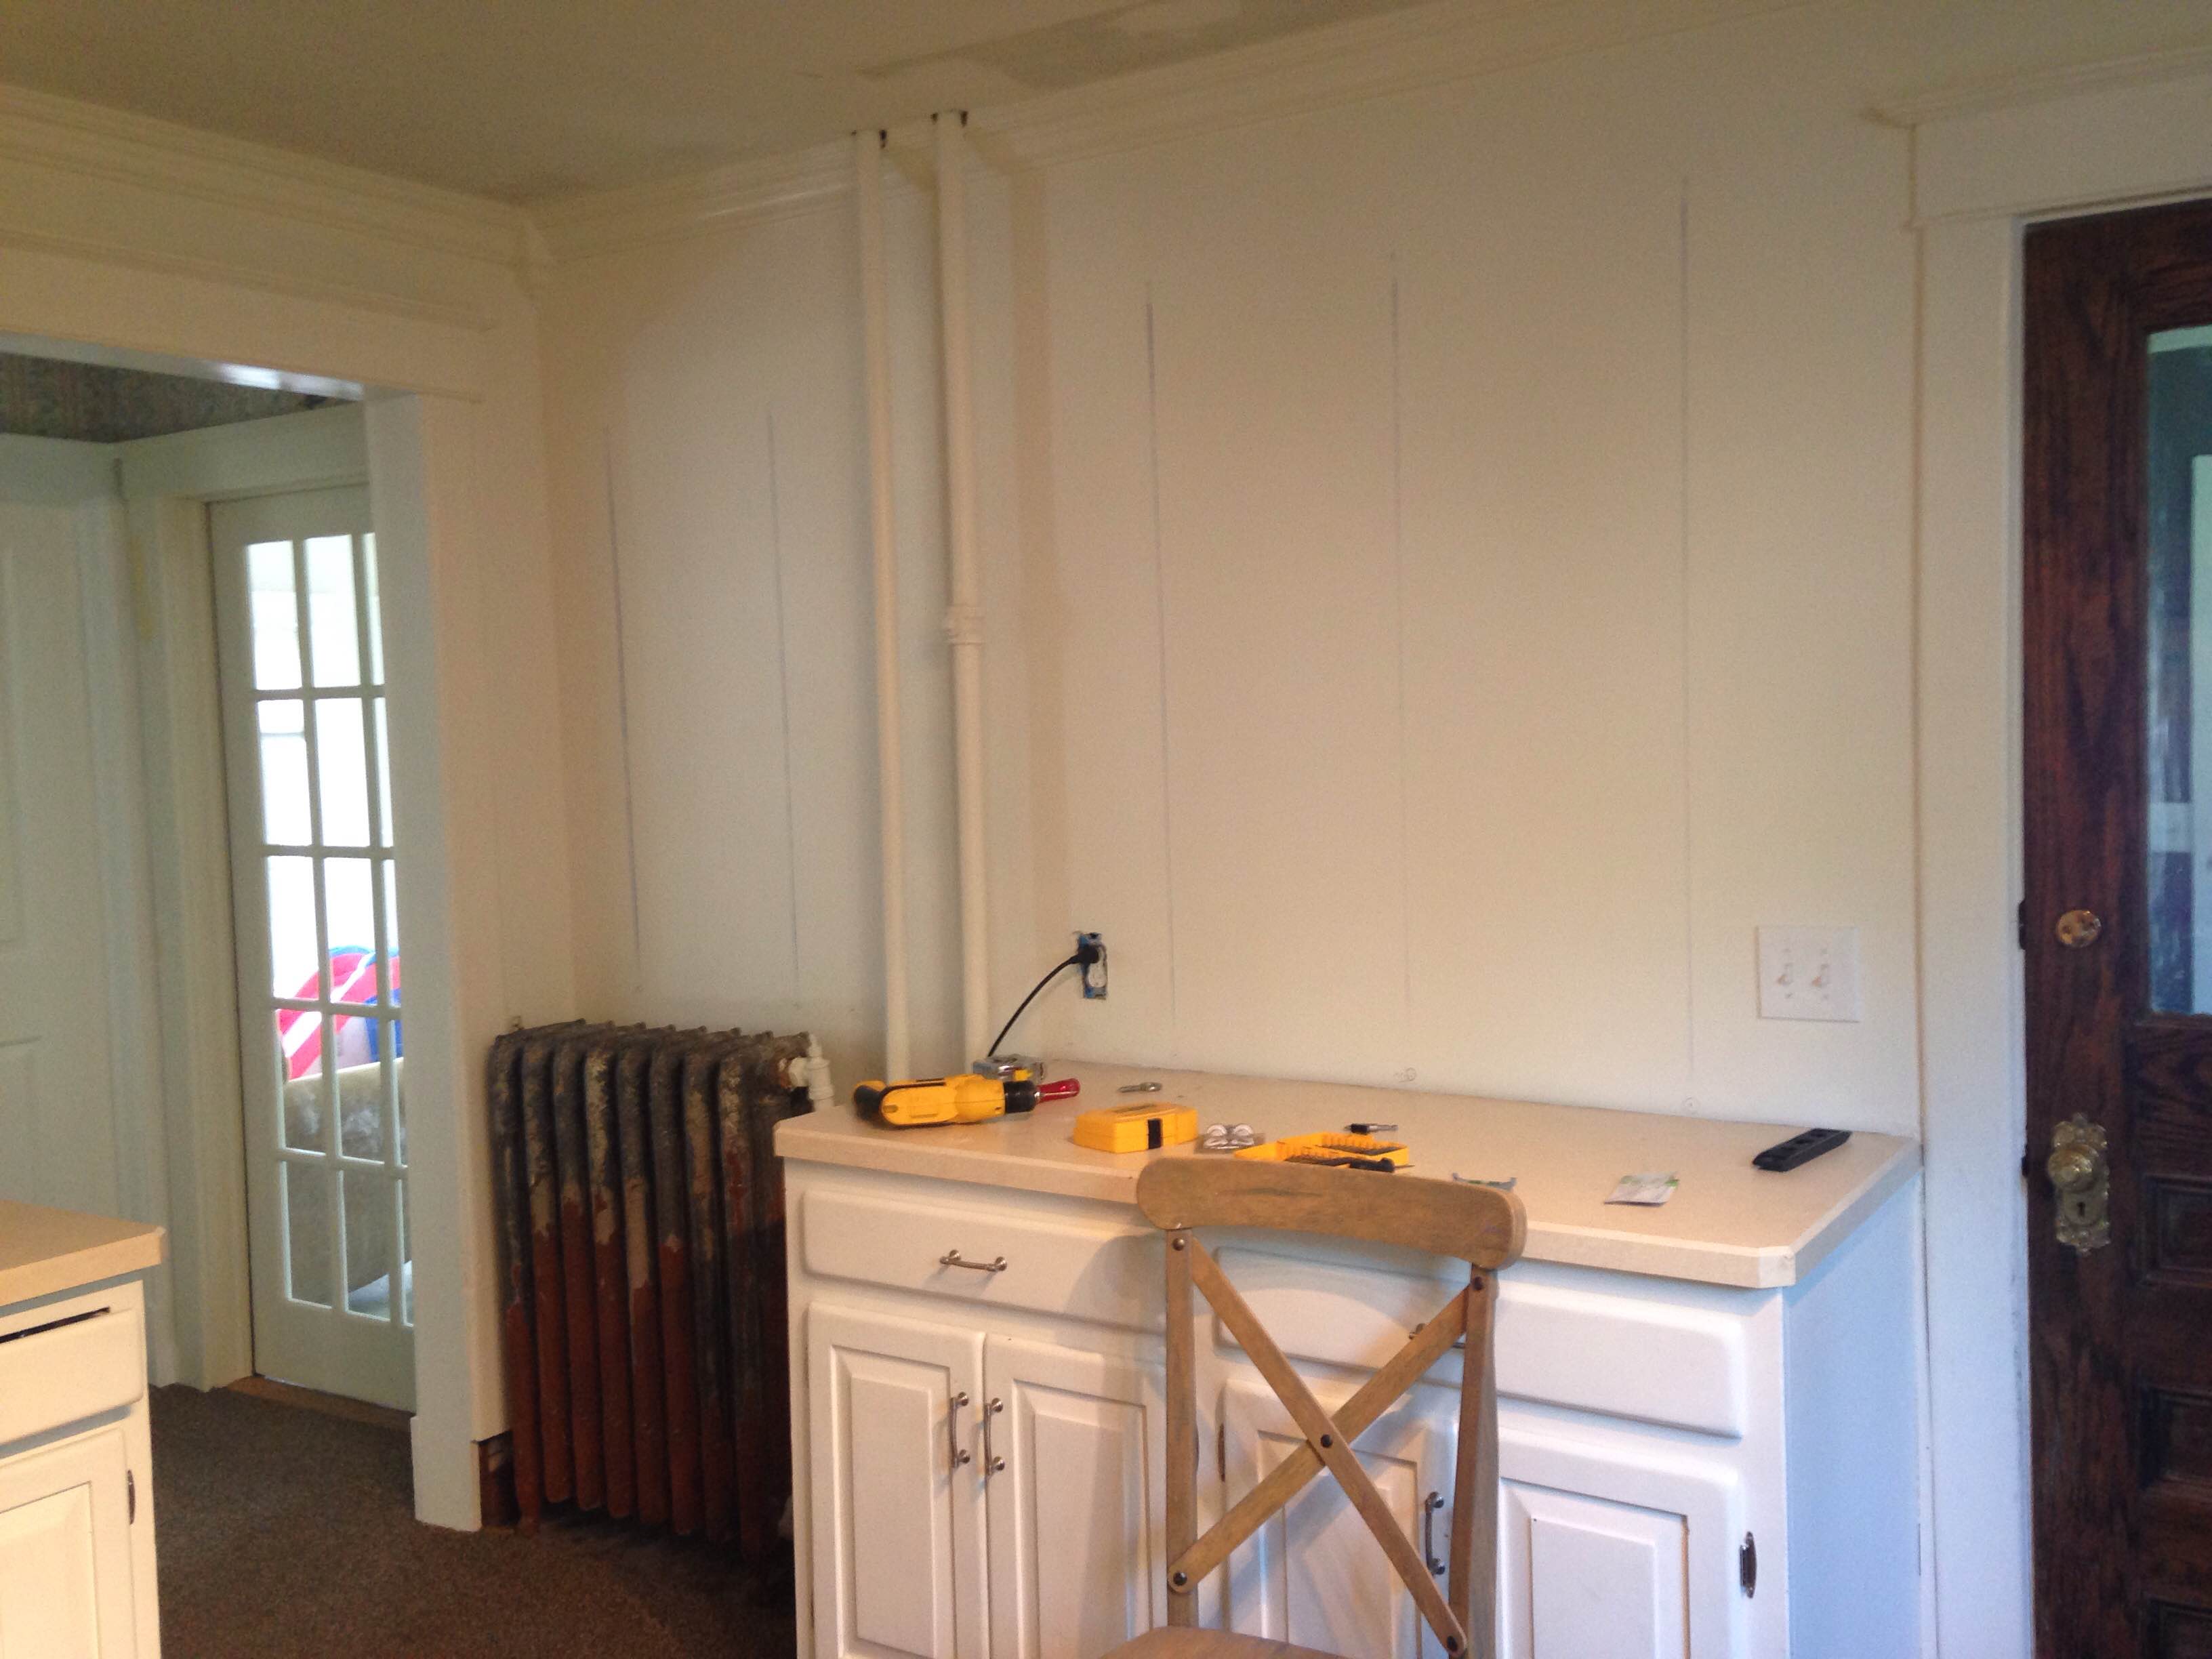
Since then, we have covered most of the kitchen walls with 1/4 inch drywall to even out the walls, hired out to have it plastered and sanded, made repairs to the ceiling where the soffit had been, installed crown molding on three walls, put up cement board to the ceiling behind two of the lower countertops, hired out to have subway tile installed over the cement board, painted the lower cabinets, painted the walls and ceiling, and probably a lot more that I am forgetting or blocking out!
As of a few weeks ago, we had a painted kitchen that was still in need of some baseboards and molding, with a chipped, unpainted radiator, and no additional storage besides the lower cabinets. We have been planning to install open shelving on the wall with the door, which does not have subway tile, since taking down the upper cabinets. While I know this can be a polarizing choice, I knew it would be right for us. We love the light look of open shelving, and the way it manages to look both modern (clean lines, minimalism), and old-world (picture Downton Abbey’s basement kitchen with its pretty pots on display). We love to walk the line between those two styles in our house, because it matches our tastes with the era of the house, which was built in 1901. We are not really neat-freaks, and the shelves would be far enough from the stove, that I wasn’t really worried about the dust or grease. Plus, I have no problem rinsing or washing a bowl before I use it, while the plates and cups would stay clean just because we use them every day.
Anyway, we were confident we would love them. We bought inexpensive brackets from Lowe’s and simple pine framing lumber that was 2 inches thick to build the shelves. The only drawback of framing lumber is that it can be bowed and have knots. Depending on the application or the look you’re going for, this may not be a problem. Just taking the time to go through the pile of boards and find the perfect pieces can avoid both of those problems. We had the boards cut to size at the lumber yard (the total for four 12-foot boards was $48), and we have three scrap pieces leftover. S and I sanded the boards with an orbital sander, and then lightly sanded them again by hand with a finer grit sandpaper. Then S used a wood conditioner, stained them (Minwax Dark Walnut), and applied two coats of satin polyurethane. I chose which parts of the boards I wanted to face up or down based on which side looked better.
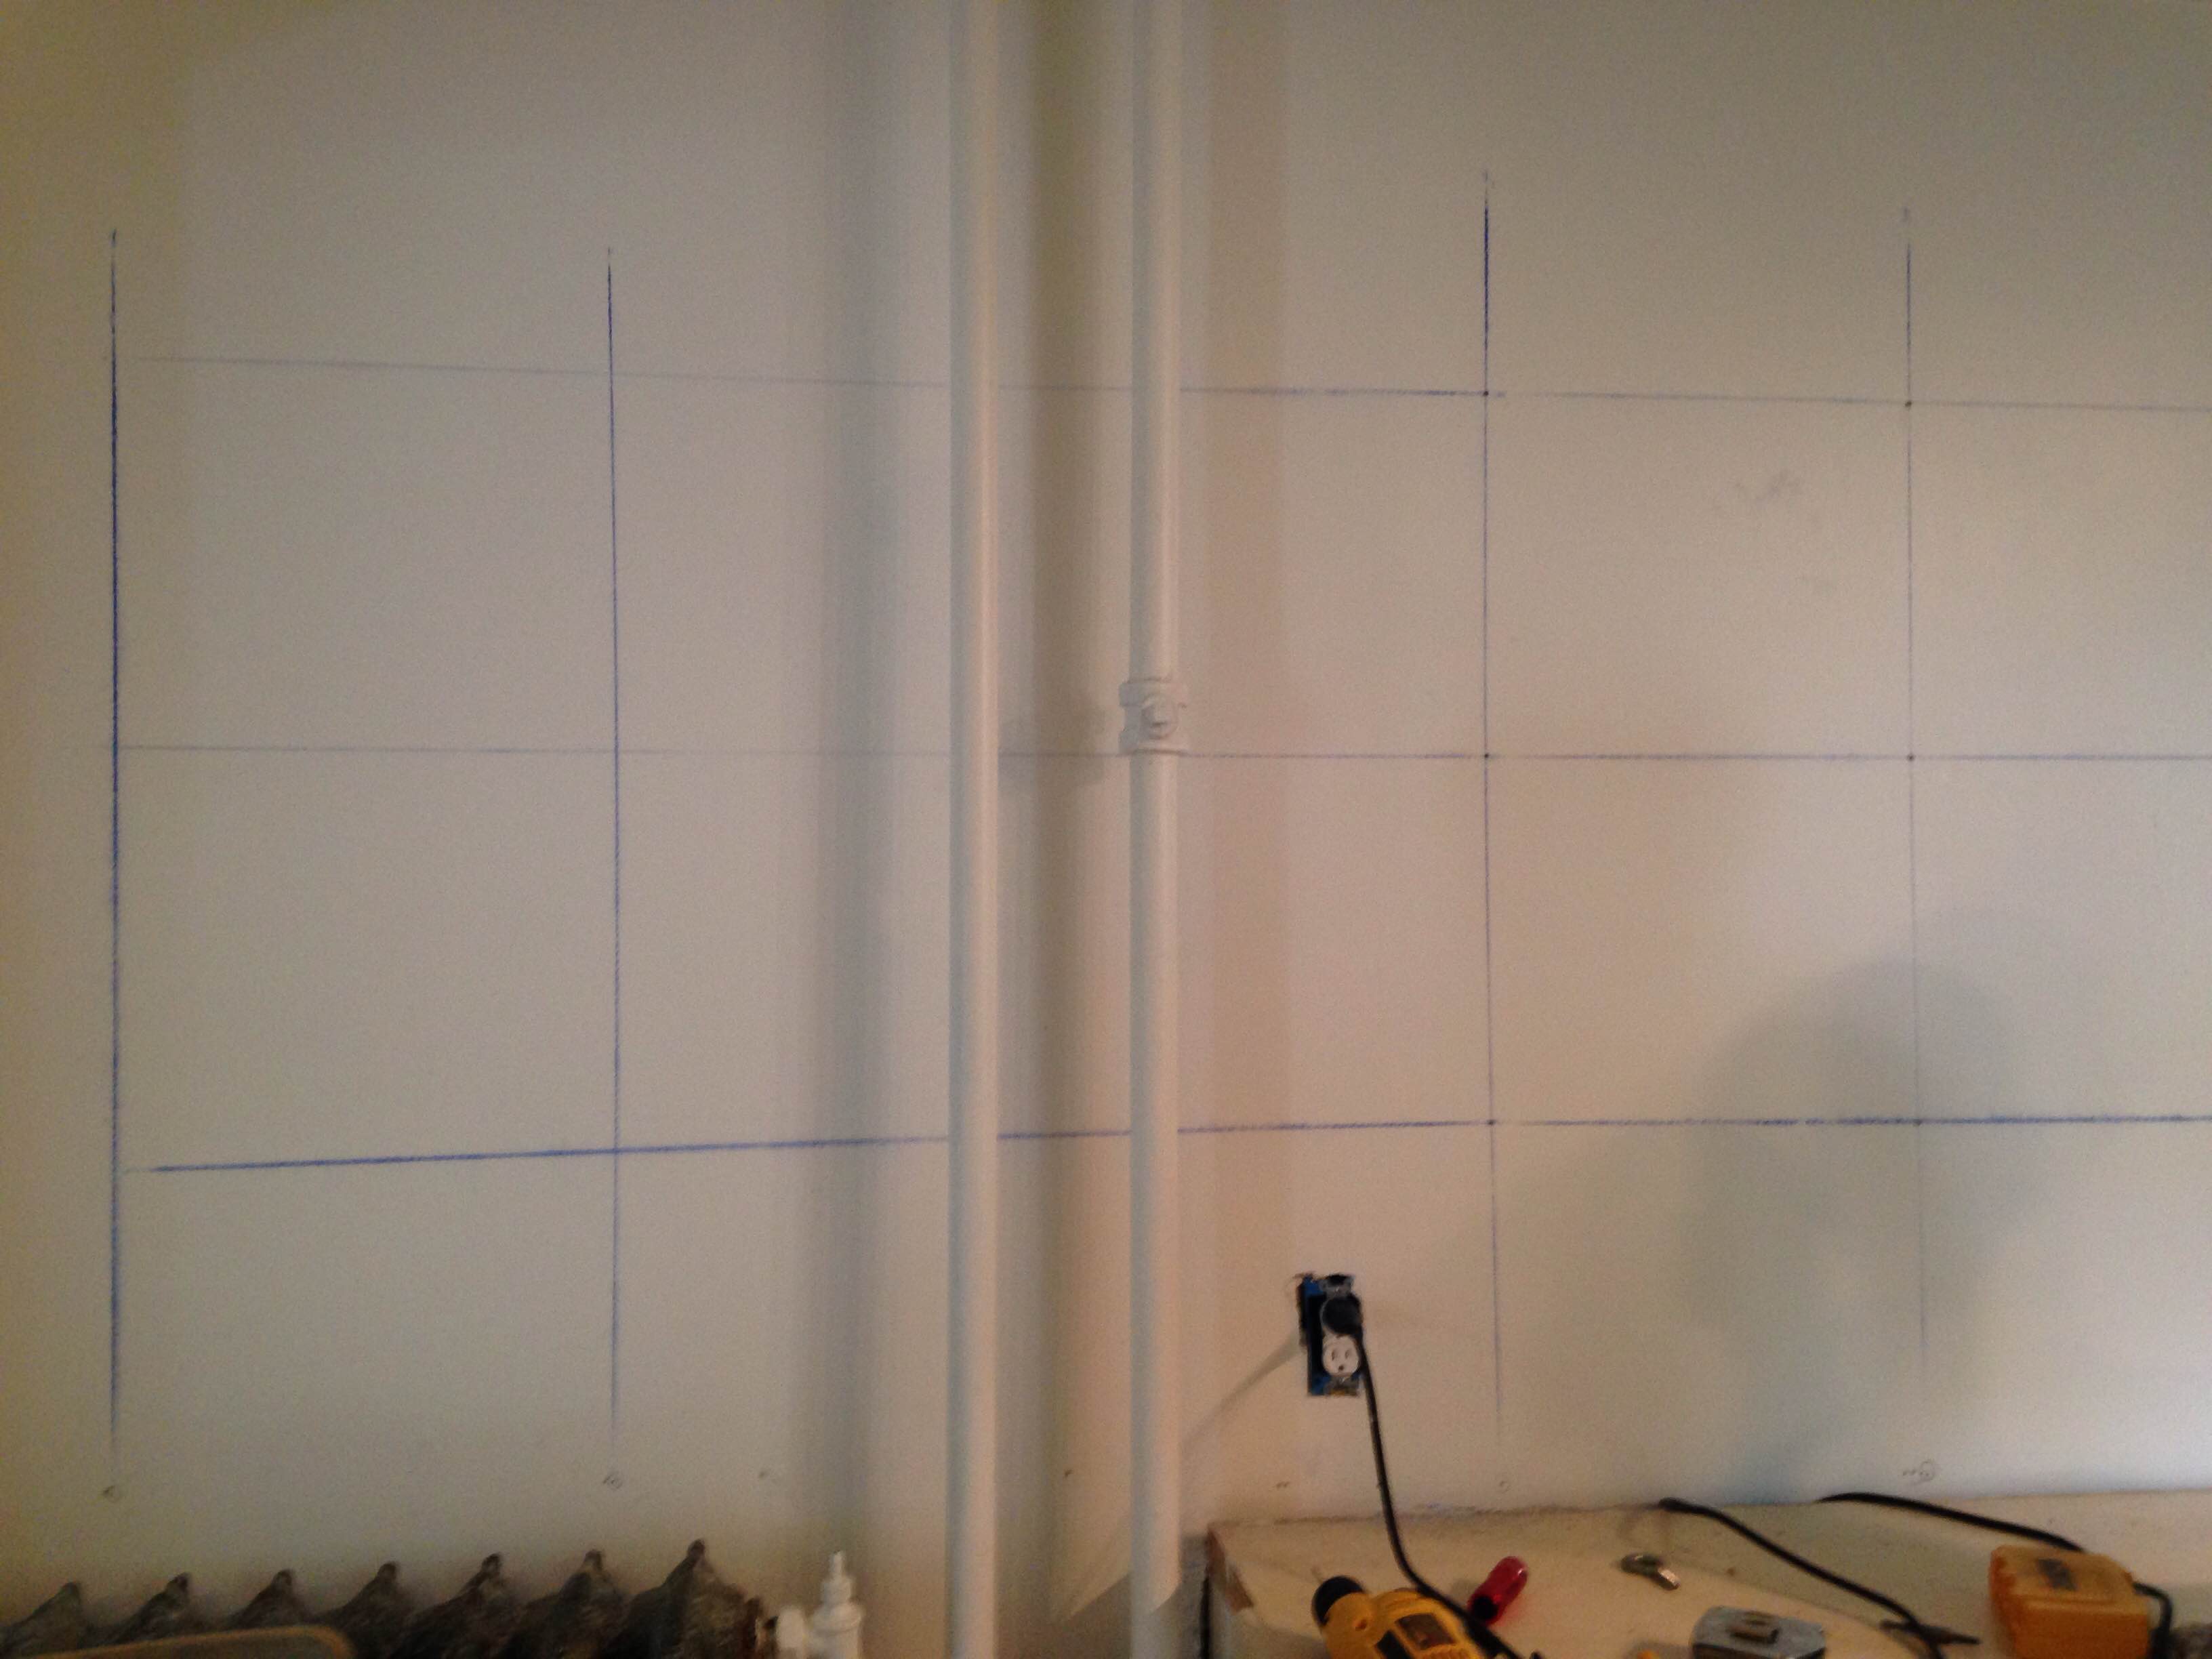
Before we could hang the shelves, though, we had to mark out where the studs were located. This was a difficult job because a stud-finder wouldn’t work through the 1/4 inch drywall, plaster and lathe. S and his grandfather were finally able to locate them by referencing the screws holding the lower cabinets to the wall, and drilling a few test holes to see where the edges of the stud were located. S and I drew a grid on the wall with chalk lines and a level, and S drilled the pilot holes for the brackets.


Then, I washed the chalk off the walls, repaired the test holes S had made, sanded, and repainted the wall. And spray painted the radiator, which probably killed more than a few brain cells. I will not be sad if I never have to paint a radiator again!


And, FINALLY, we could hang the shelves! Drilling the brackets to the wall and screwing the shelves down only took about an hour and a half one morning.
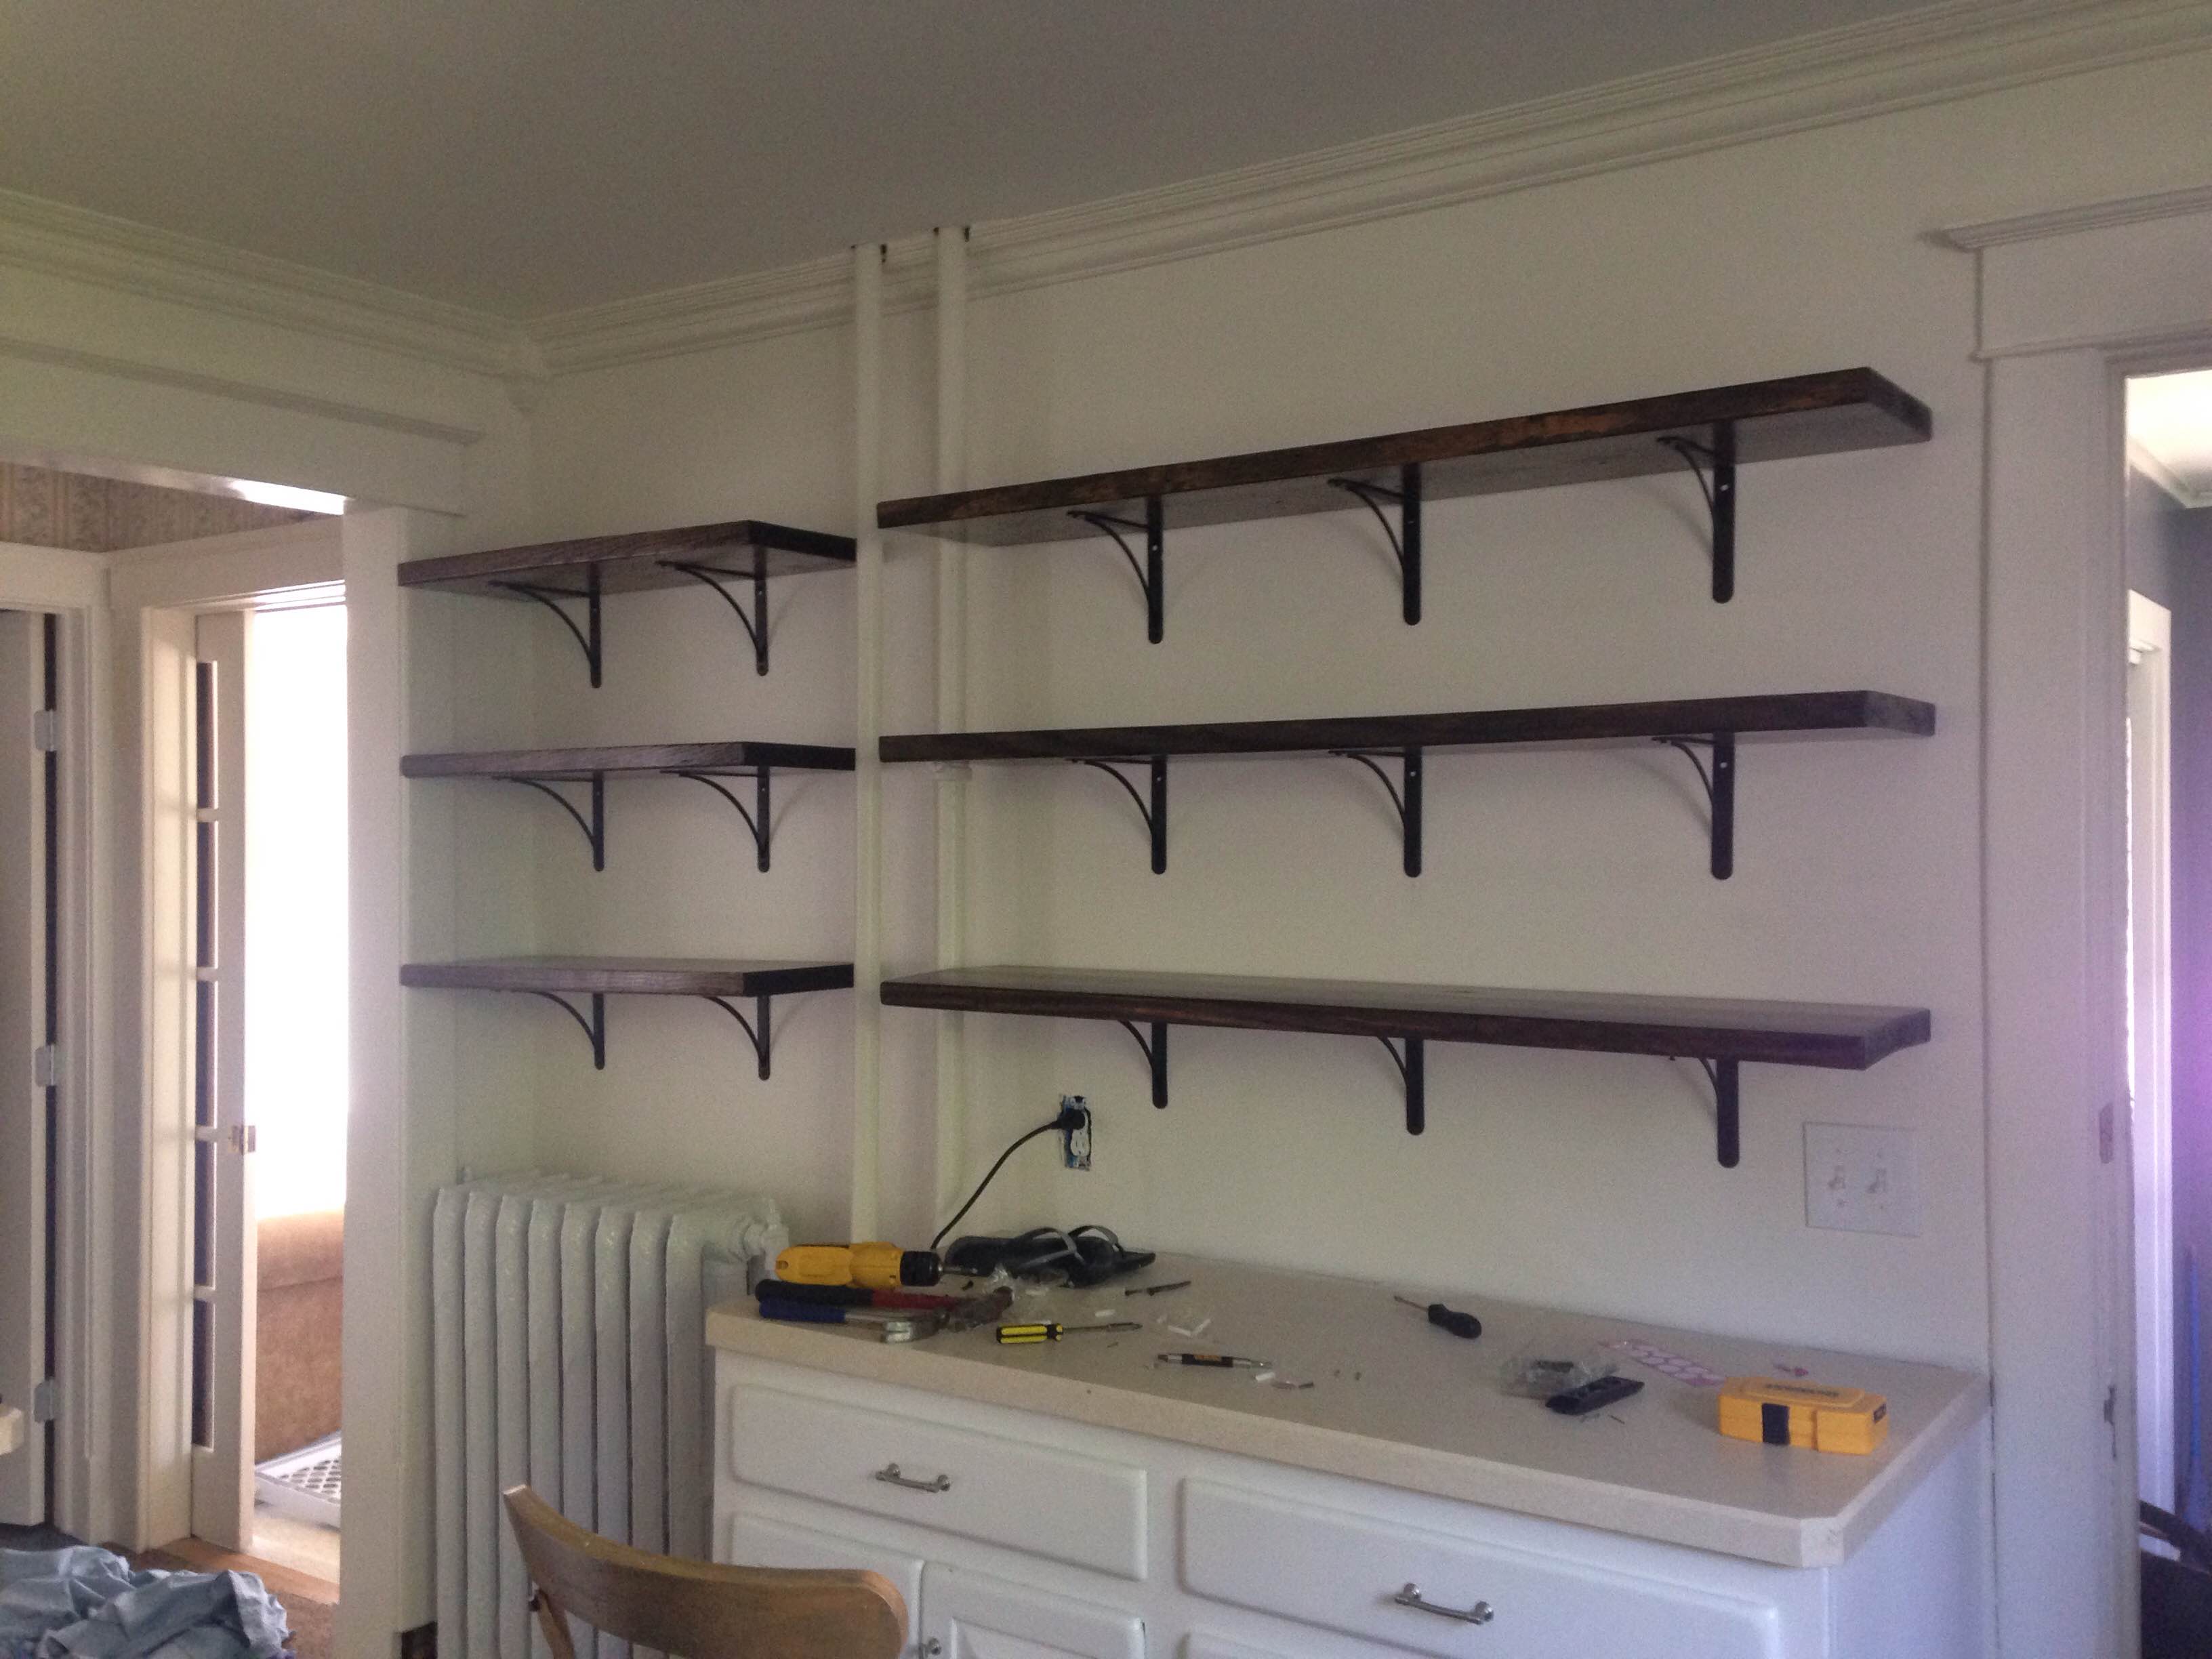
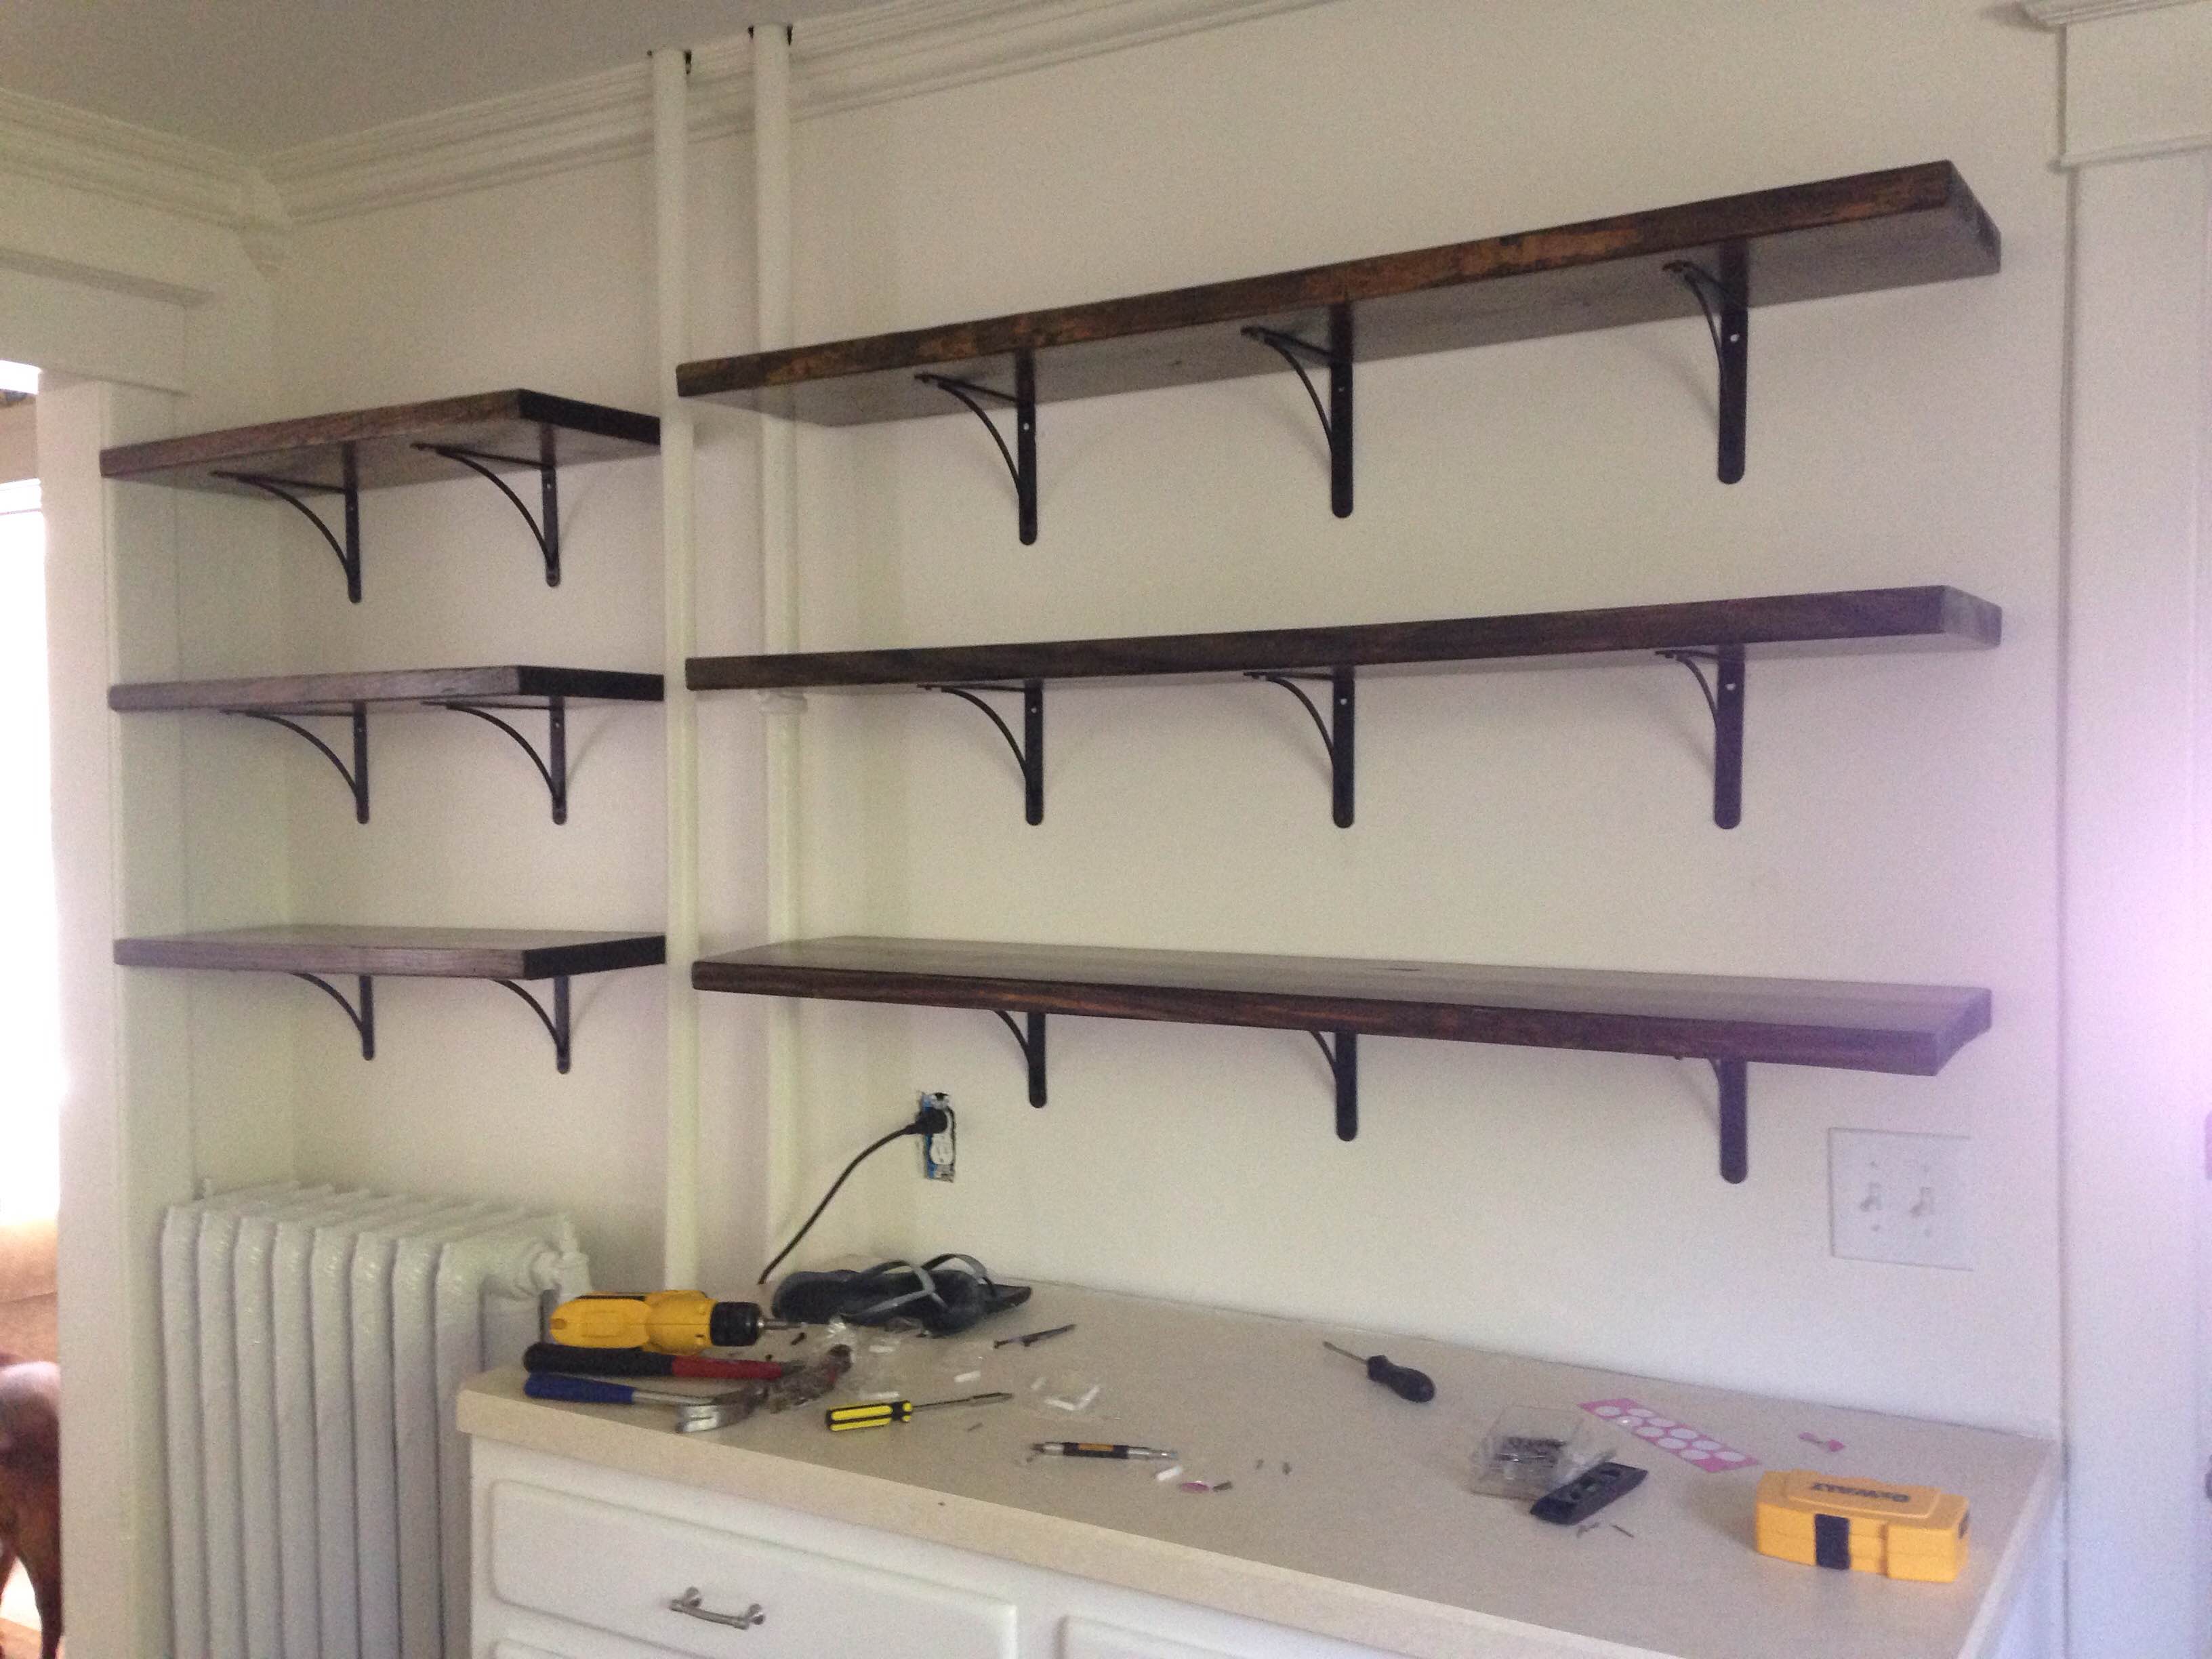
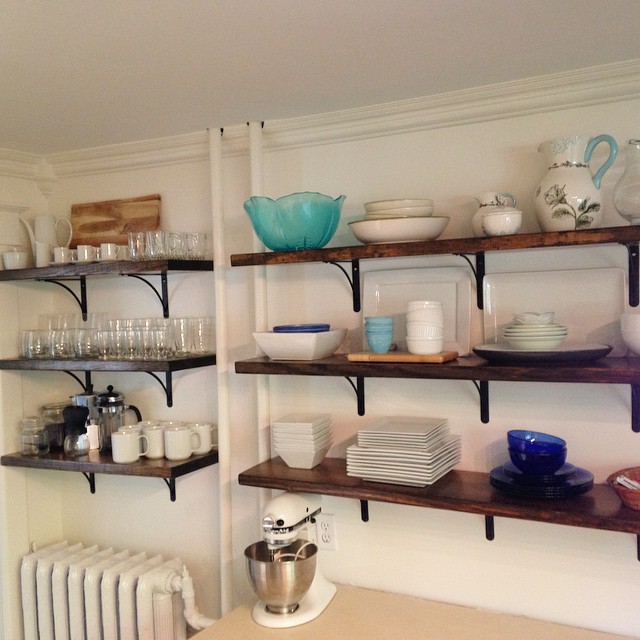
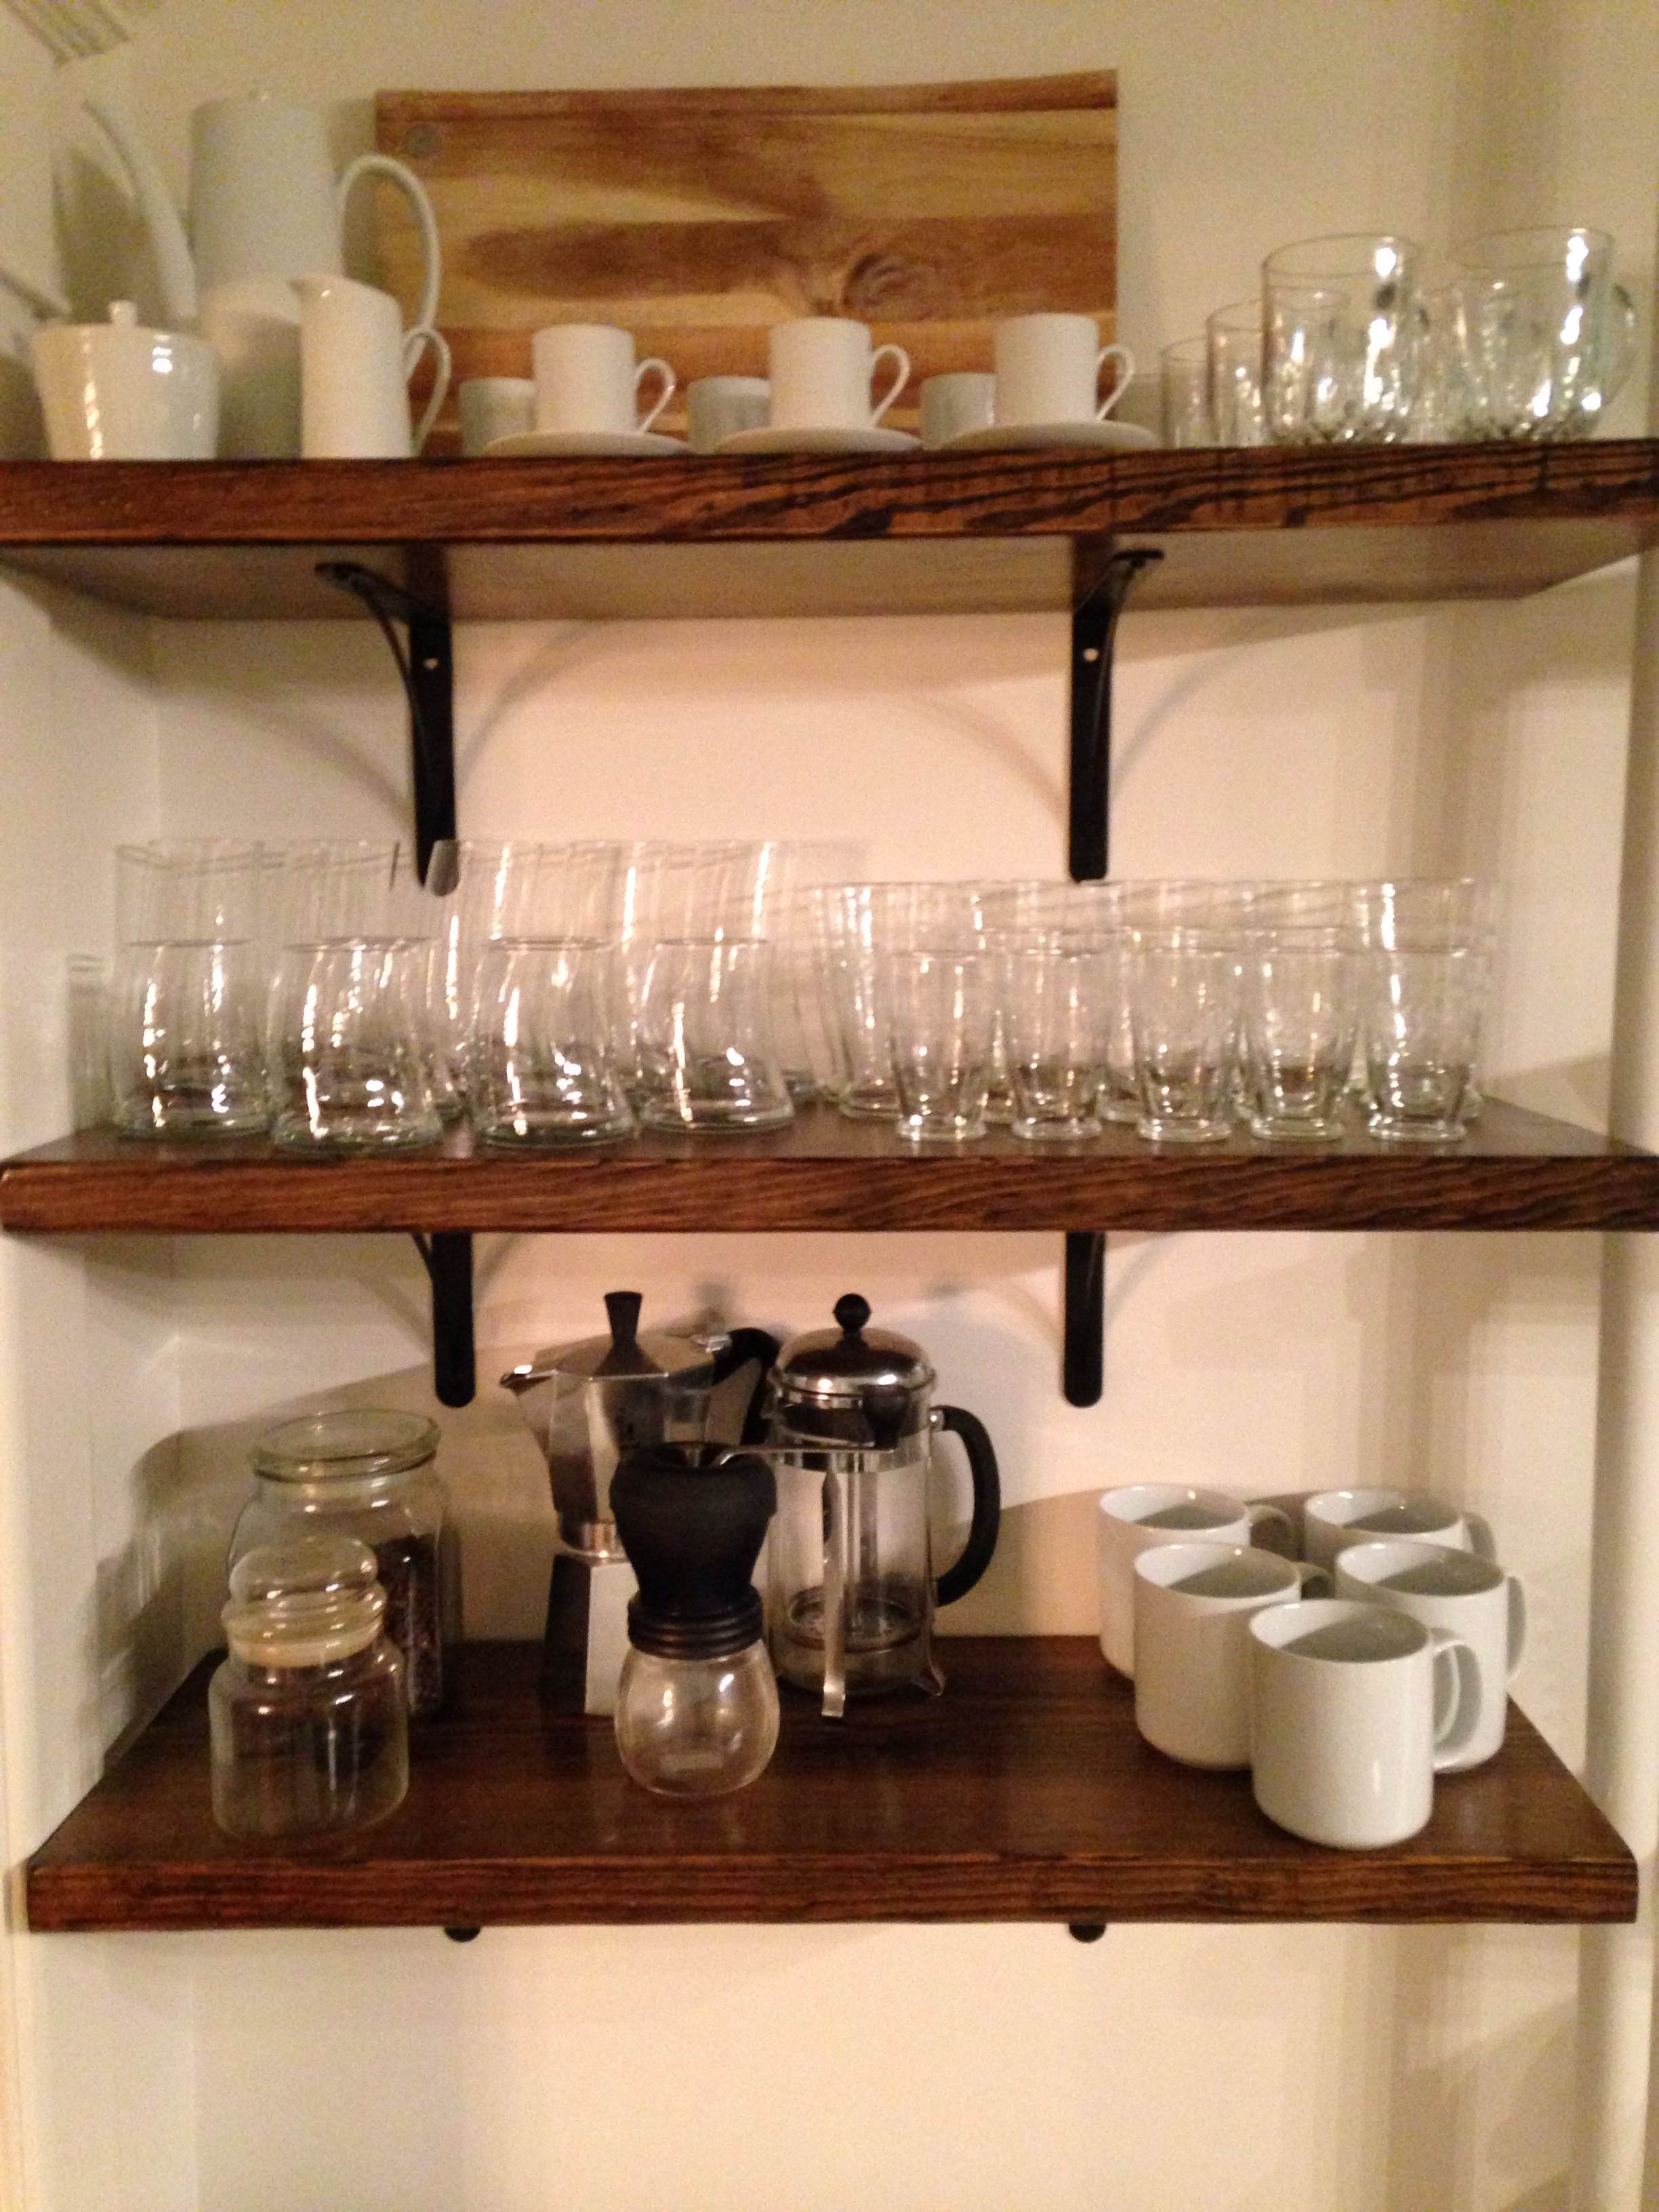
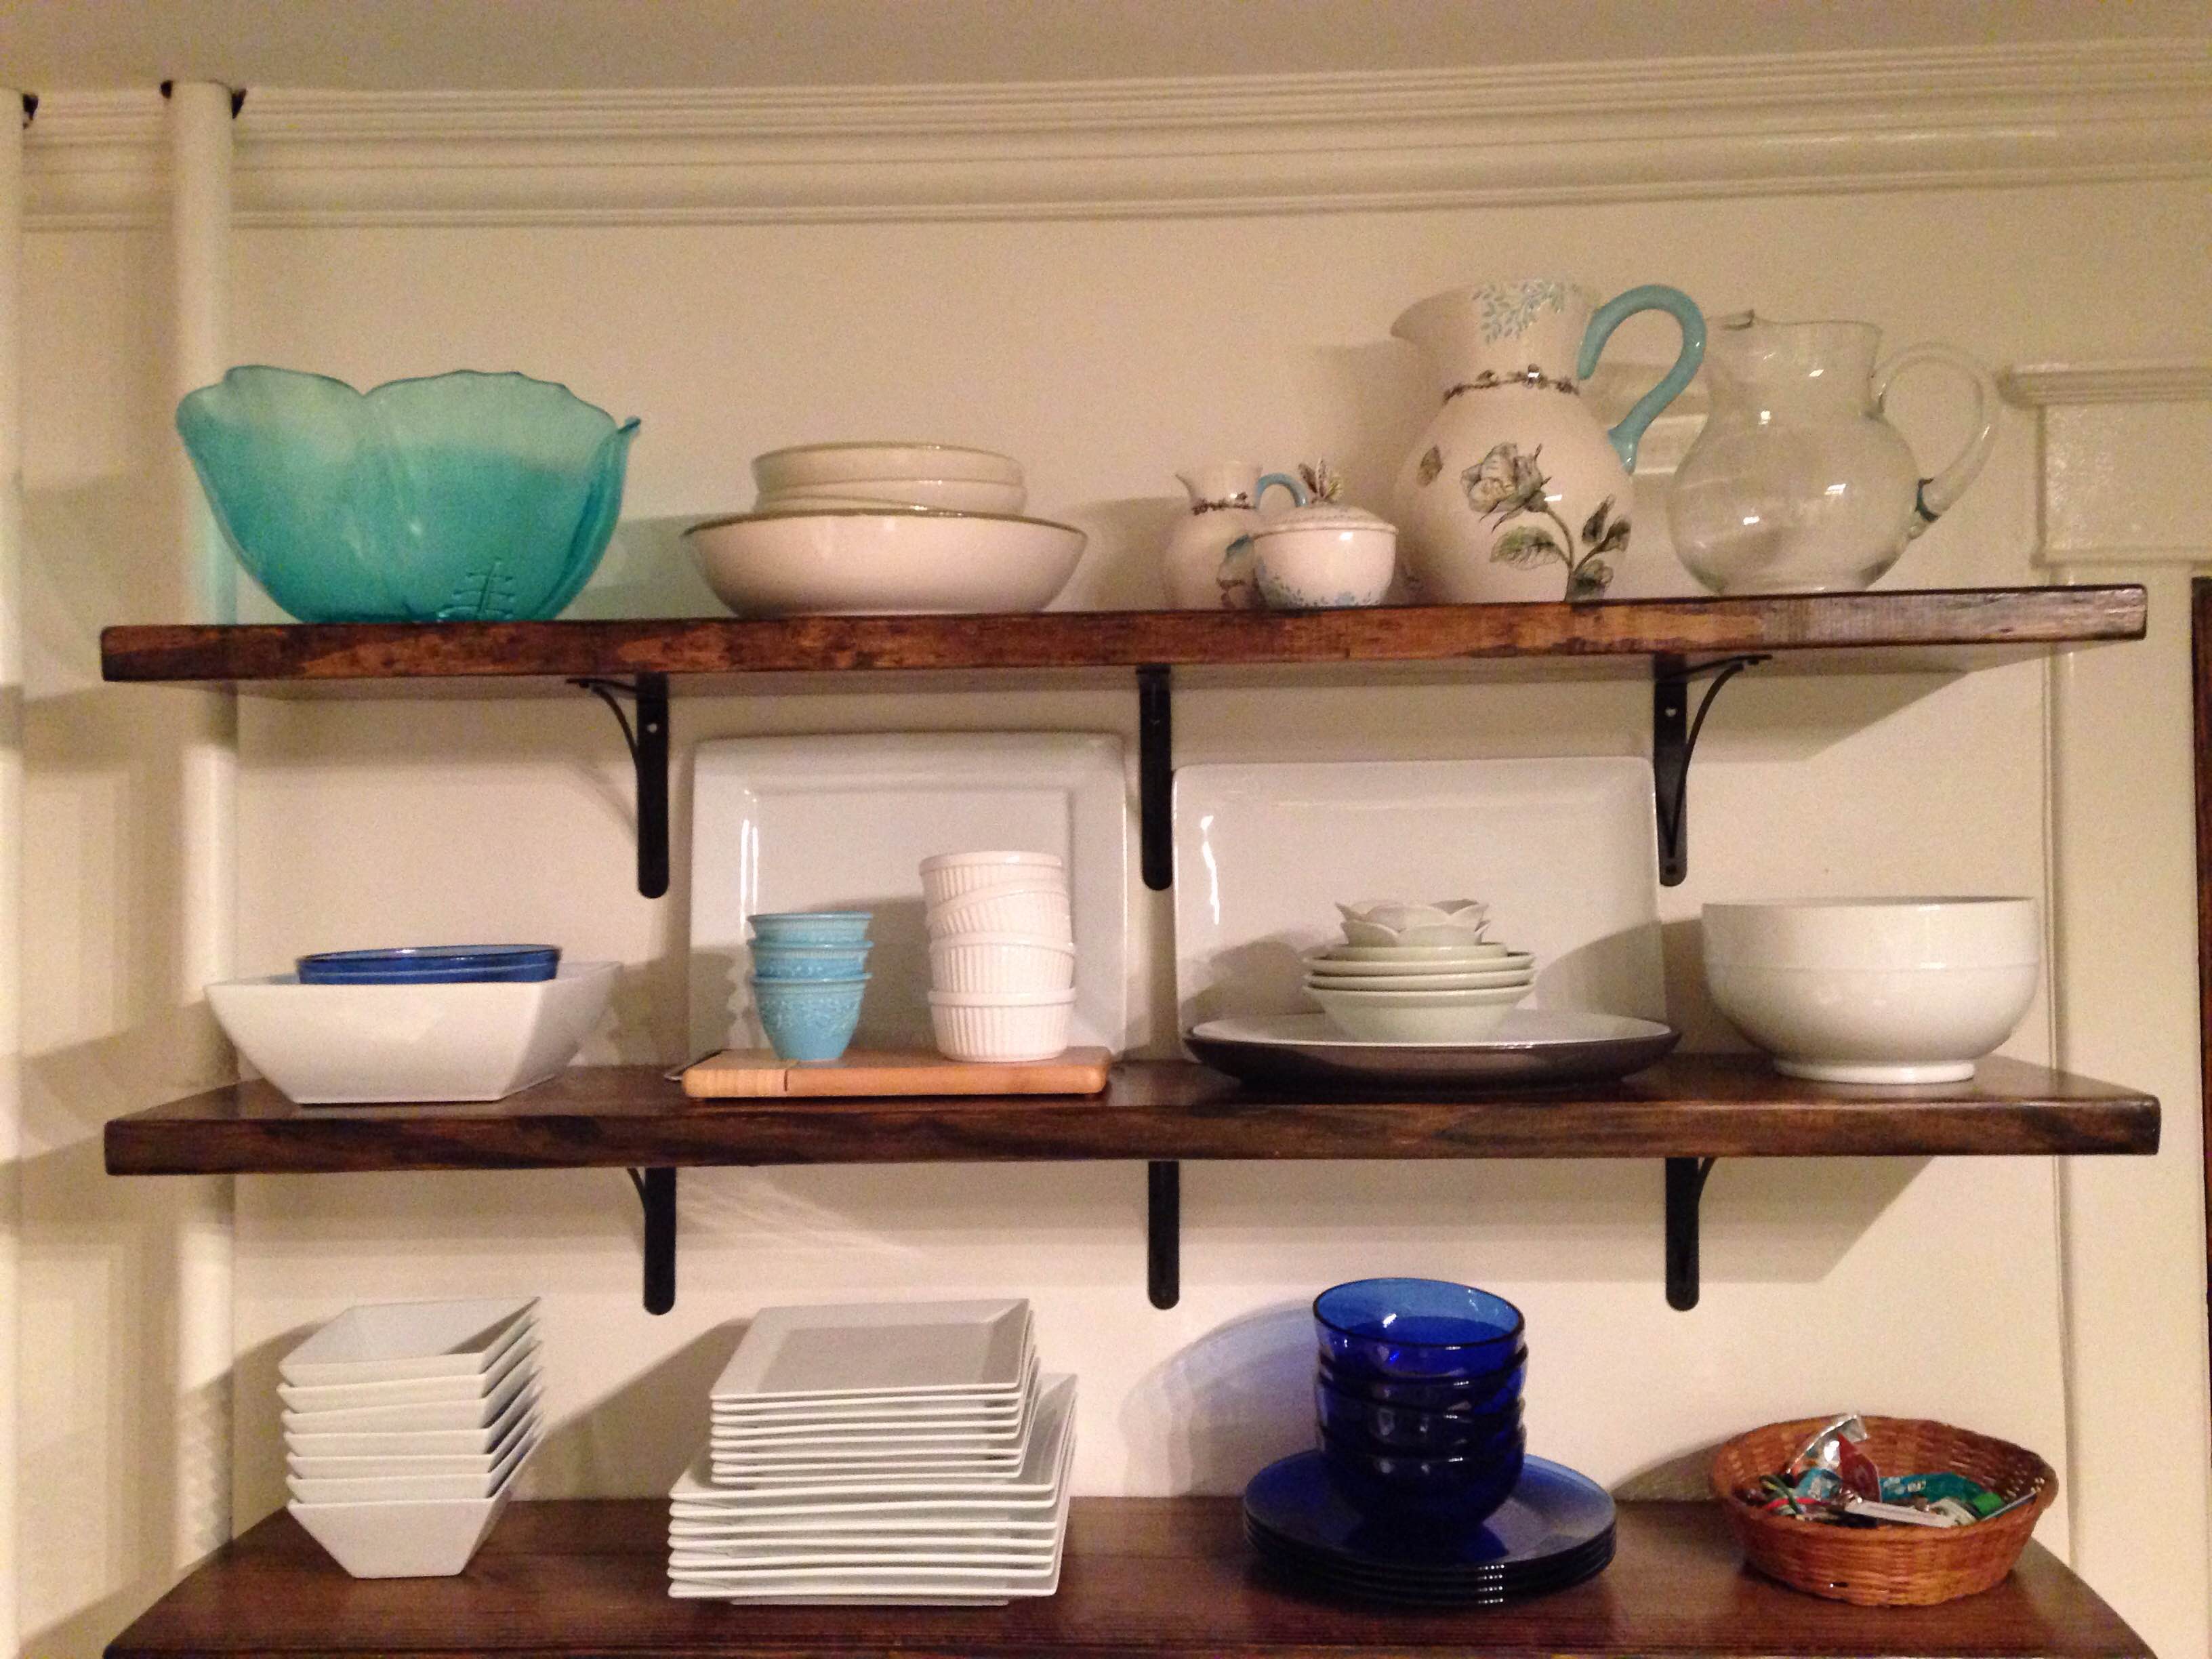
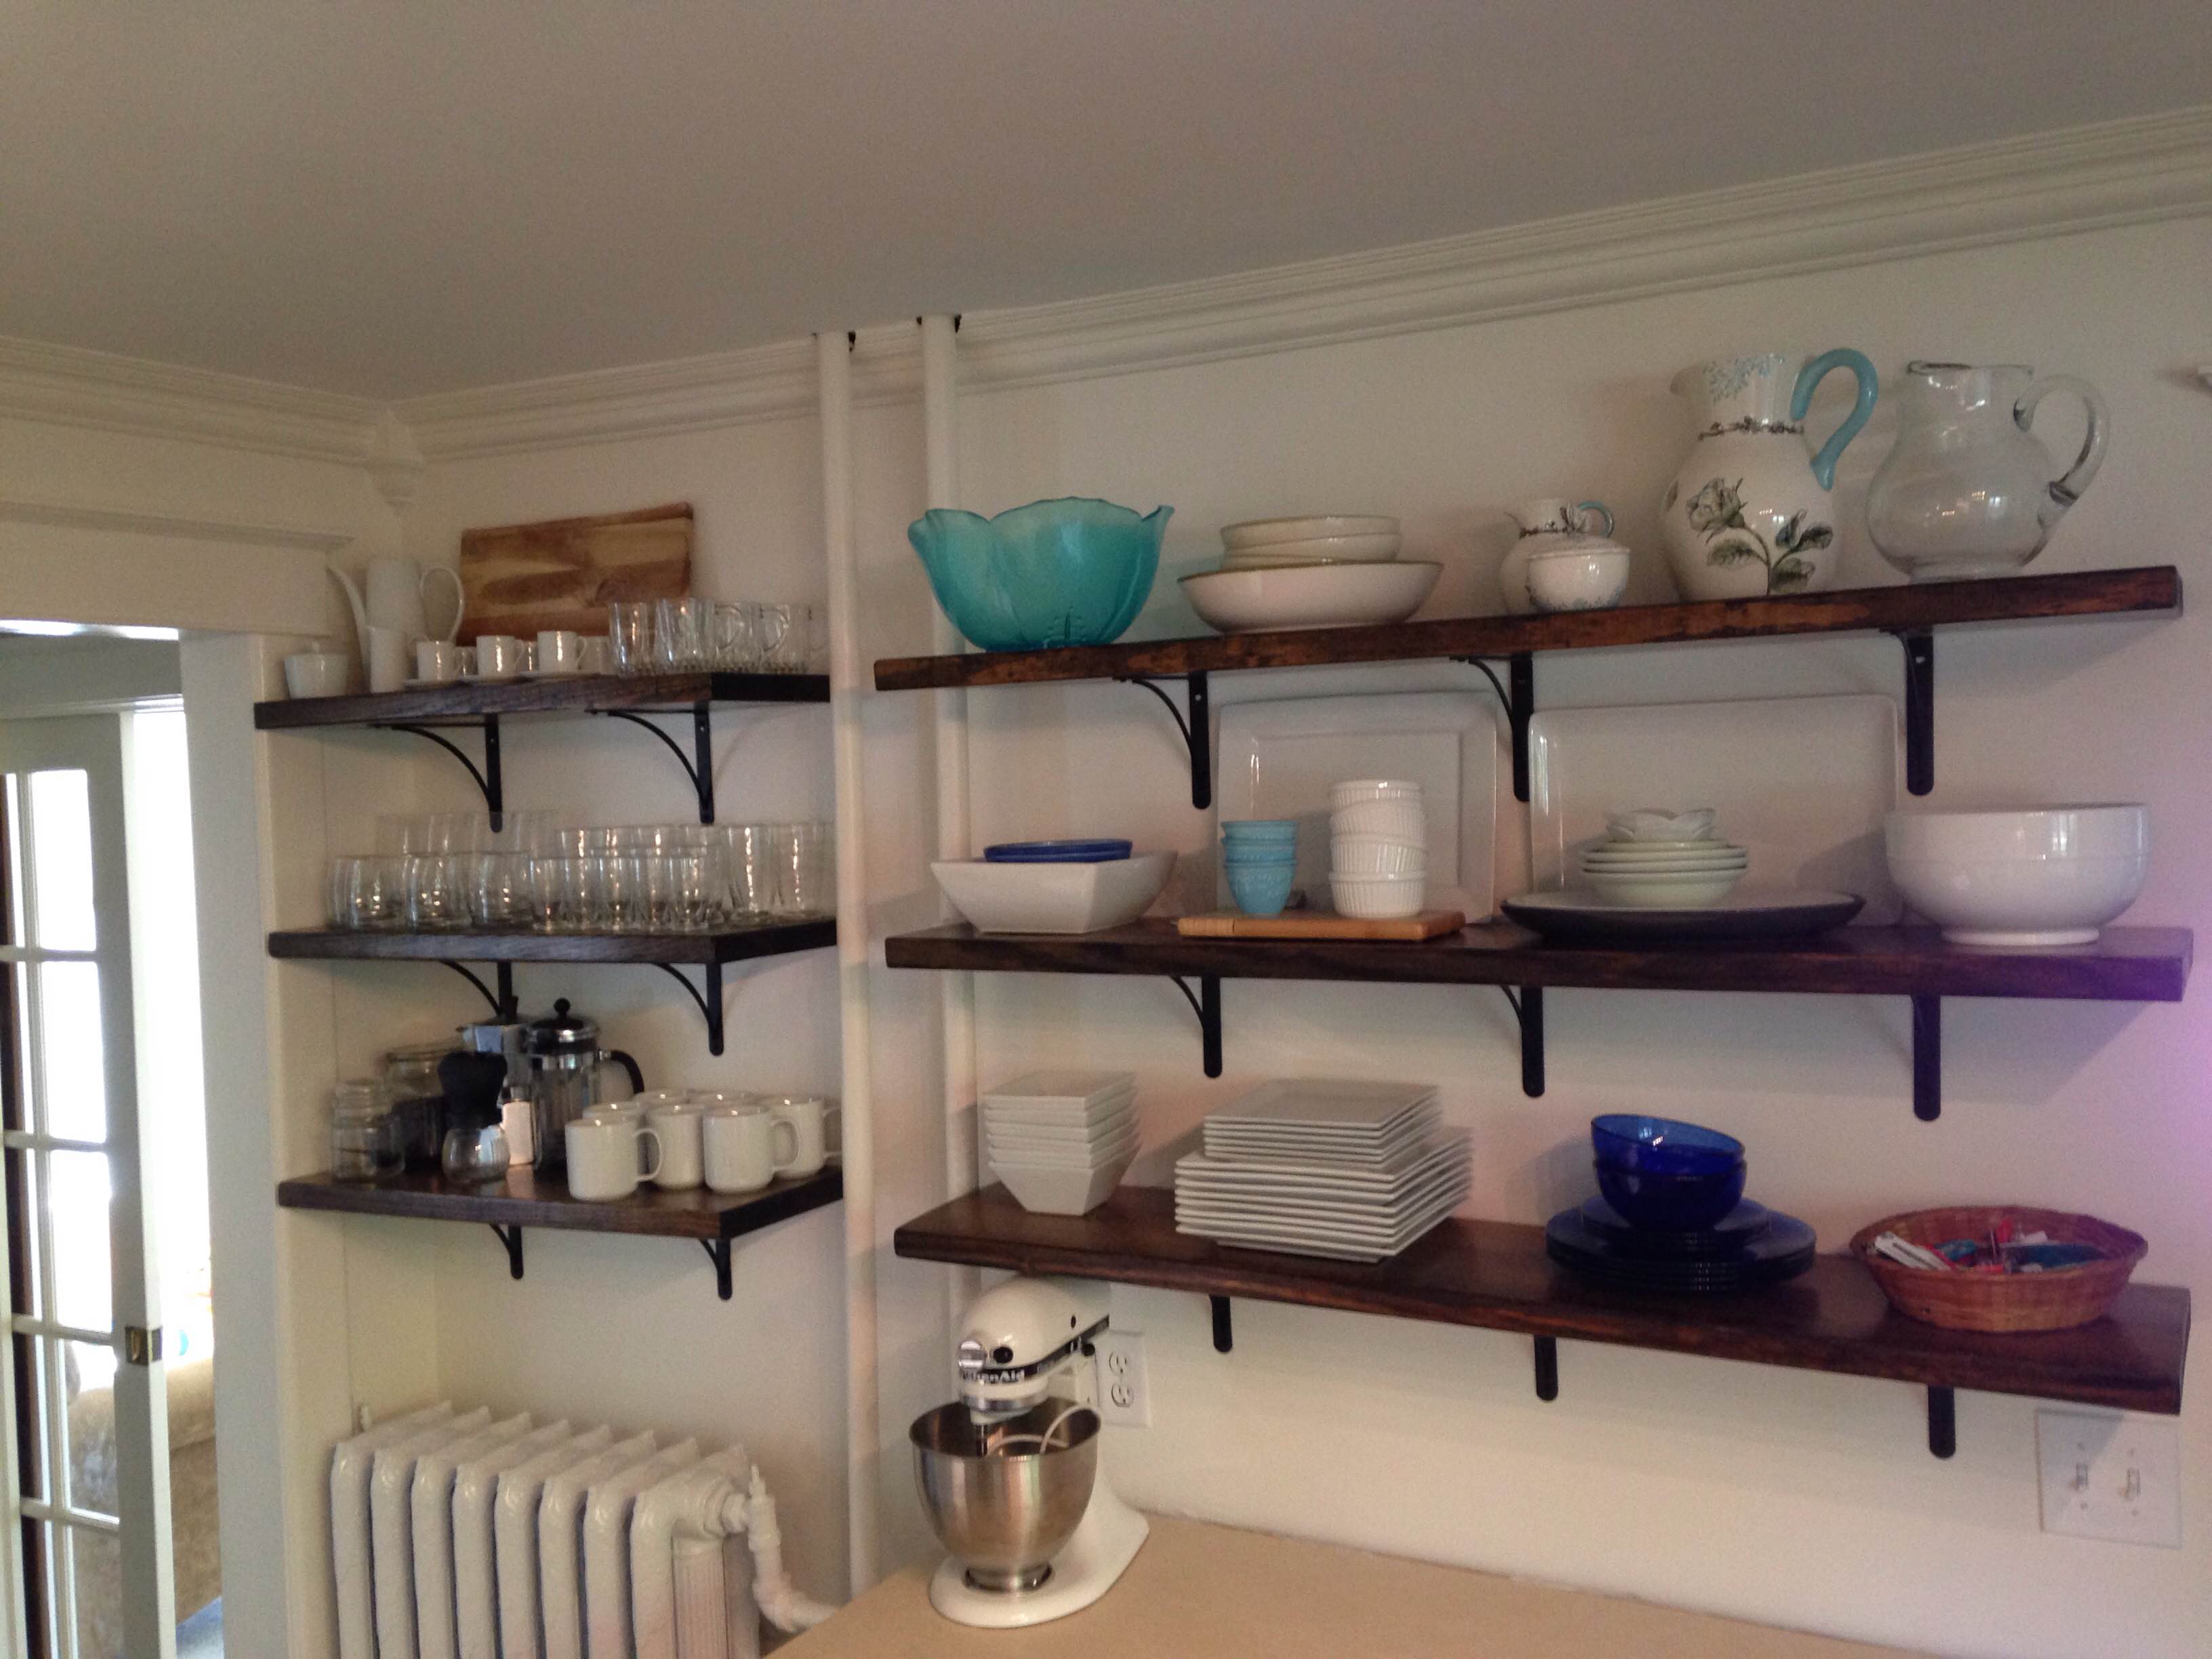
It took me about four more hours to style the shelves with all my favorite things, but that was the fun part!


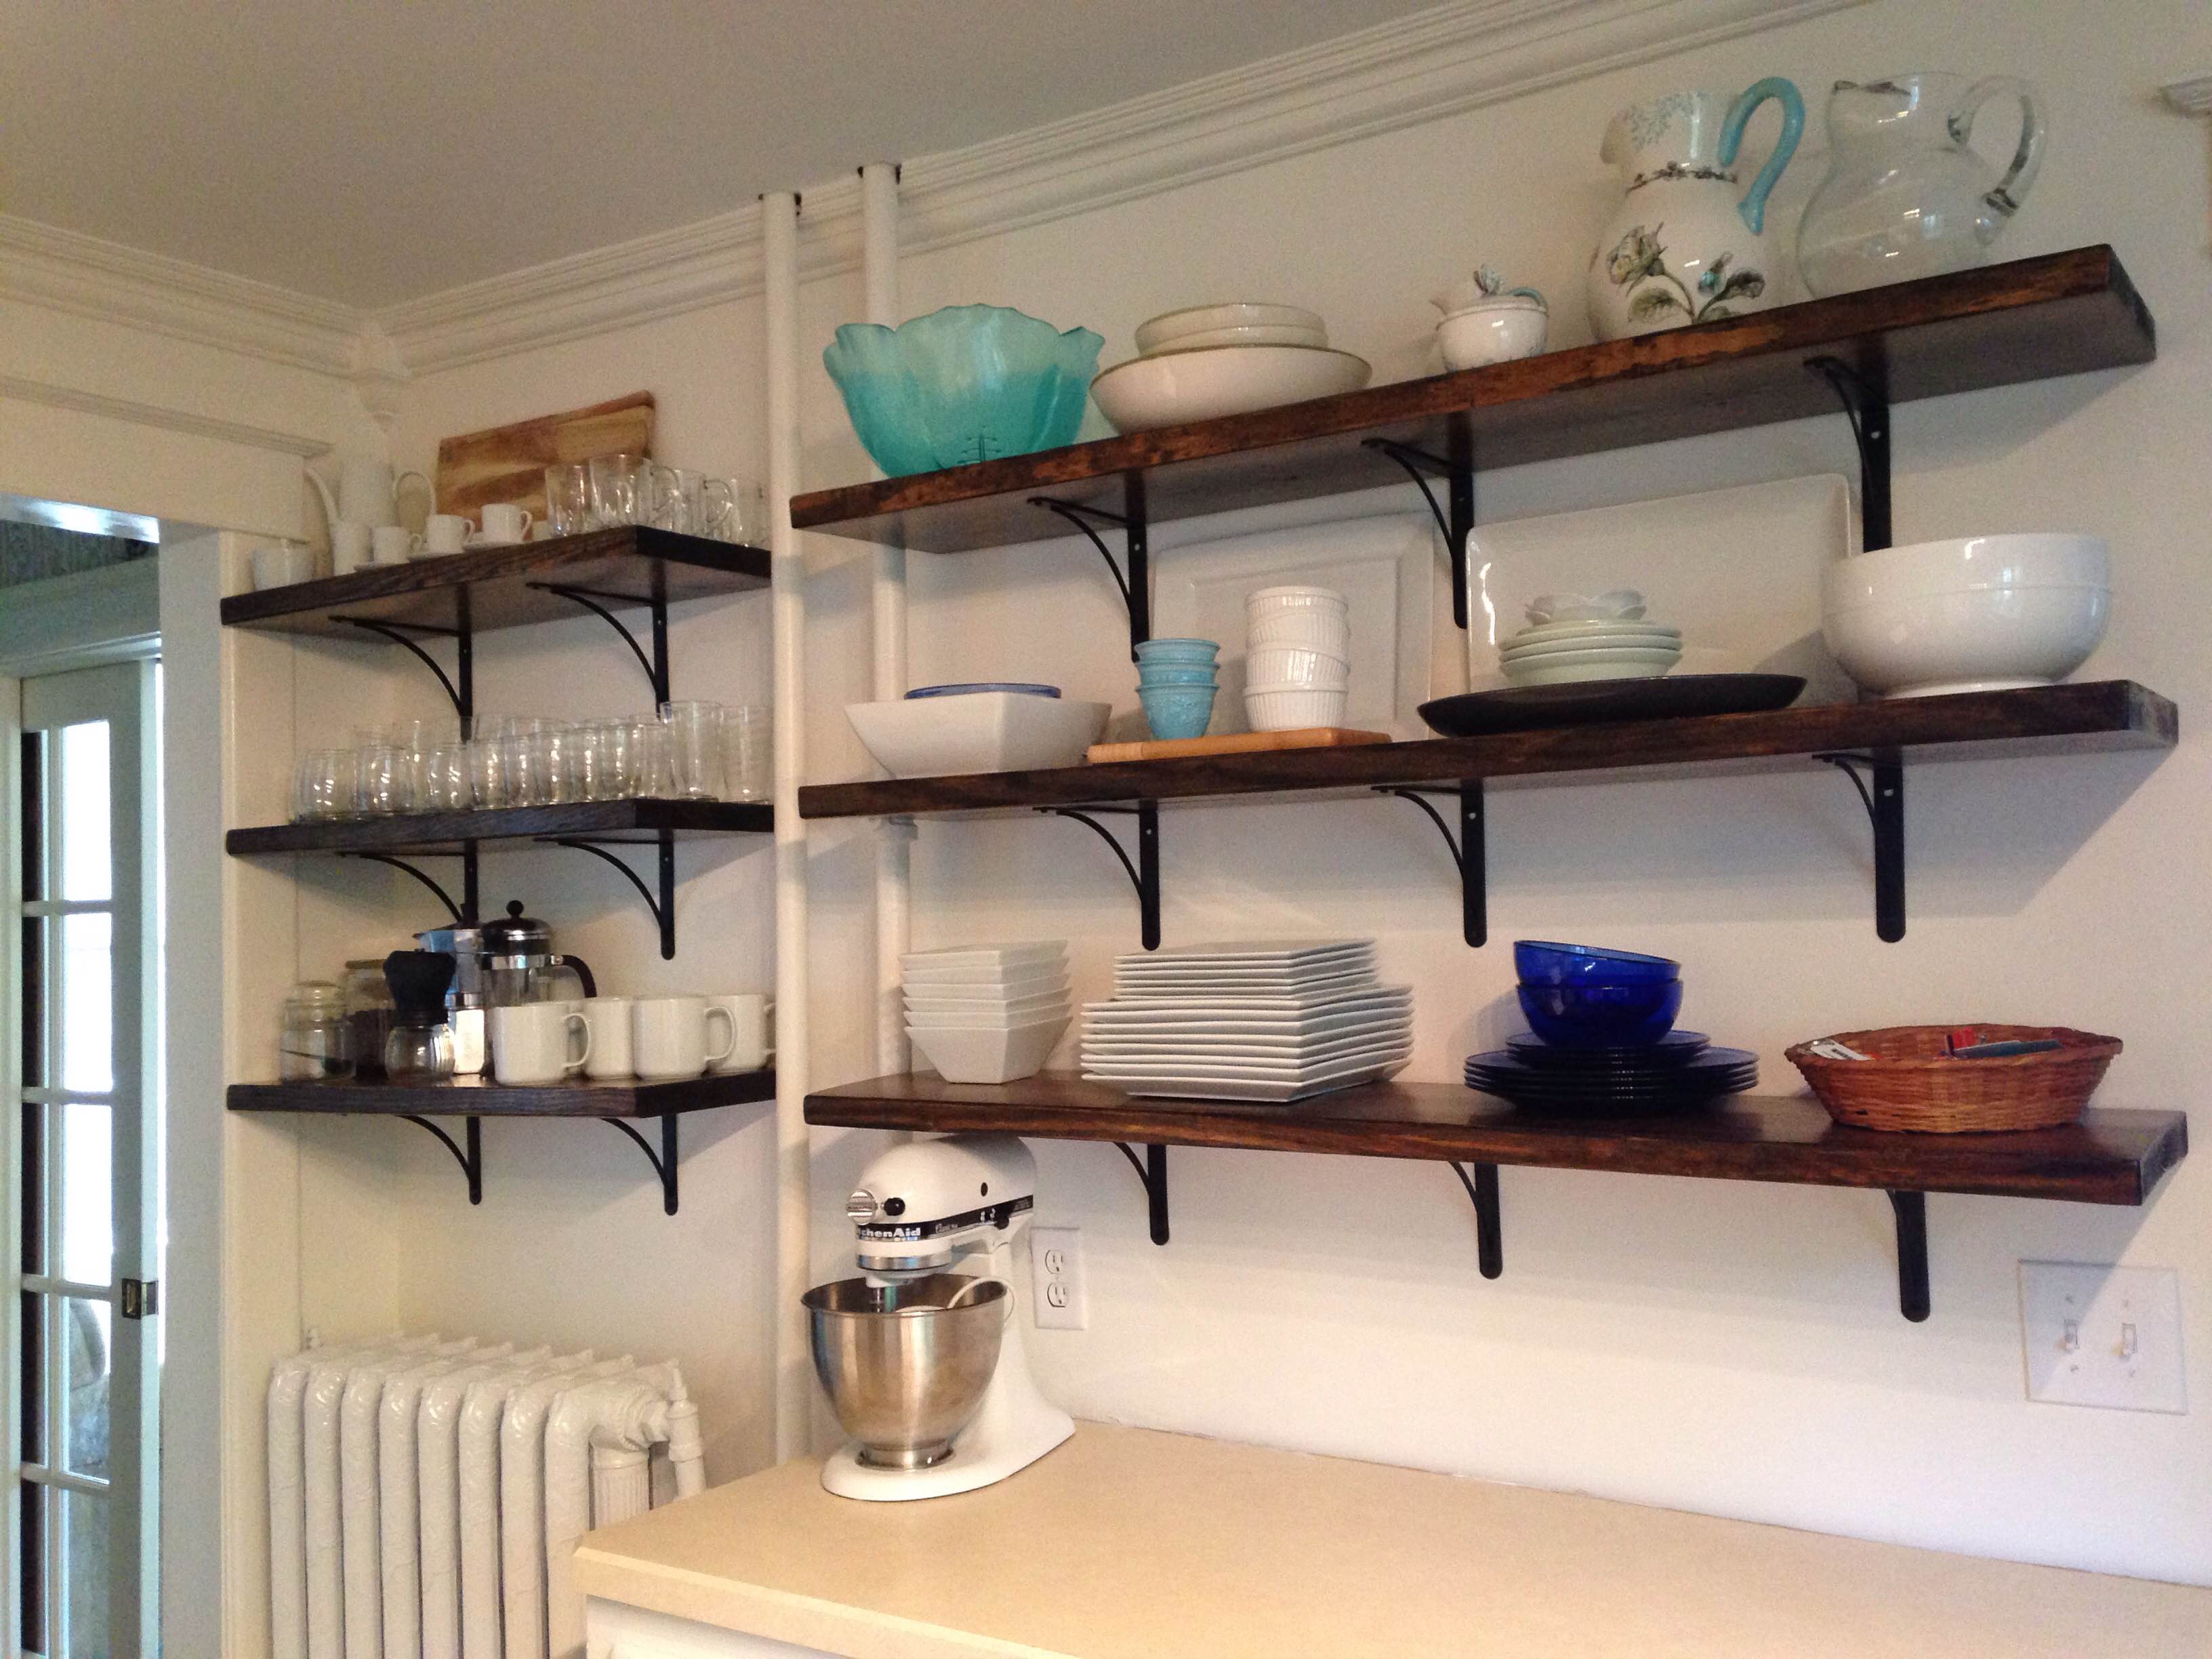

I had a placeholder key basket in the first pictures, but you can see the one I replaced it with below.
So far, I am obsessed with open shelving! It somehow seems way more convenient to unload the dishwasher or grab something I need while cooking with everything out in the open (really, this is probably all in my head, it takes one second to open a cupboard door, but I’m okay with that). Plus, I love seeing all our pretty things on display, and it’s really helped me pare things down and get rid of what we don’t need (or hoard it in the attic, but either way…).
And a little before and after for good measure:
There is still a lot to do in the kitchen, like replacing the horrible brown wall-to-wall carpeting, finishing the molding, and choosing new counter-tops, but S and I agree that this project changed the kitchen from in-progress to almost-there.

Why did I not know you had a blog??? Love it!
These kids are such hard workers and have both vision and no fear… It definitely pays off …. Soooo proud ❤️