
When we first moved into our house in January 2013, we knew the kitchen would be the longest, most expensive, but also the most necessary project. For some reason, I don’t have any photos from when we *first* moved in, but here are a few from just after we started doing little things like peeling off the wallpaper (and finding multiple former patterns underneath), taking down the painted back door to remove about 8 layers of paint from the beautiful solid wood (a project that took about 2.5 months), and removing the shelving (and a bit of the plaster) above the radiator.


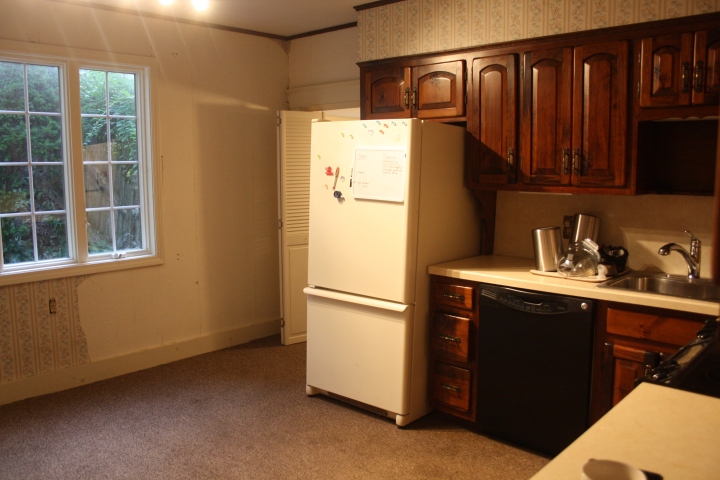


As you can see, there were a lot of less than desirable things about this kitchen. The cupboards are solid wood, but the finish and hardware made them look very dated. There were also laminate counter-tops, large soffits, different wallpapers everywhere, and details that were not our style, like the wood and metal radiator cover, foam brick covered chimney, and mismatched appliances. The absolute worst problem was the brown carpet, though. Carpet in a kitchen is just a bad idea in every way, and the fact that we got a new puppy right after we moved in made the problem 1,000 times worse (dogs + carpet do not mix). So, there were a few problems.
One of the first design decisions we made was that we wanted to get rid of the upper cabinets and soffits and install open shelving. The kitchen does not get a lot of natural light because the only window faces North and abuts a hill leading to our neighbor’s house. The heavy upper cabinetry and soffits with the dark wood and black tones weren’t doing it any favors. So, sometime in the summer of 2014, we decided to rip out everything between the counter-tops and the ceilings. That was a fun, dusty project for S and his brothers.


We had the wall with the window and the wall with the back door covered with 1/4 inch drywall because the plaster and lathe was uneven and missing in places after the cupboards came down, and the outside wall had so many layers of wallpaper that it would have taken us a year just to remove it all ourselves. Then, S put cement board on the walls above the stove and dishwasher and moved the outlets out so that we could have subway tile installed from counter to ceiling.


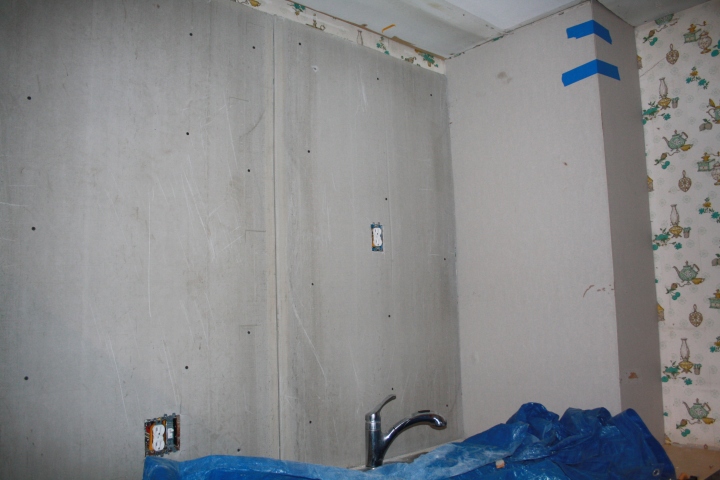
And, the subway tile went in (we hired out because we didn’t want our first tile DIY to be our kitchen walls!).


Around the same time, we finished stripping, scraping, sanding and staining the back door, and took some Brasso to the old hardware, making it look completely different! (I wish I had a before photo! Just trust me…)

Next, we painted the walls and the cabinets a creamy white (Swiss Coffee, I believe) to make it look clean and warm at the same time, installed some molding, changed out the hardware, and painted the radiator and hot water pipes. You can also see the fully finished and installed door below. This all made a huge difference and we loved how light and bright the kitchen was for a while. But, we did start to get sick of the lack of storage, so finally, THIS spring (2015), we got around to installing the open shelving (see this post for a full account of the project).


And, after the shelving went in:


Until this fall, the rest of the kitchen still looked like this:


Soon after this, we sold the refrigerator on Craigslist and replaced it with a black one to match the rest of the appliances.
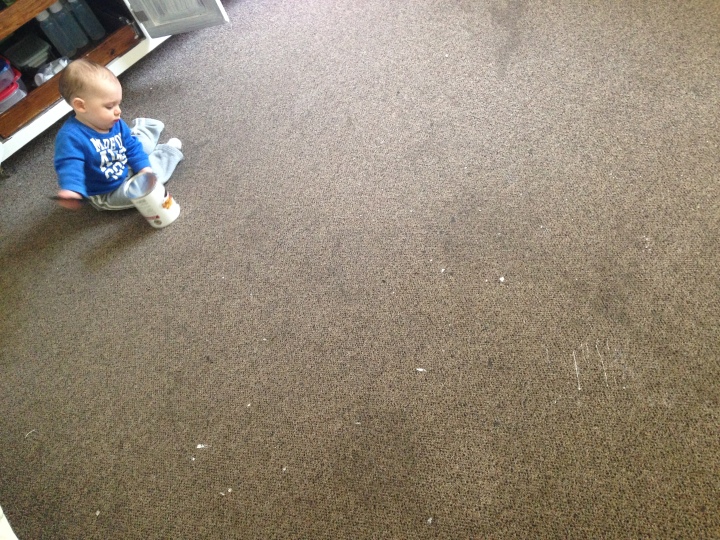
I can’t believe G crawled and played on that disgusting carpet for the first year+ of his life! UGH! Strong immune system – check.
We were (way, way past) fed up with the kitchen carpet by this fall (2015), and decided we would rip it up and see what we could do with the floor underneath. From peeking under the corners, we knew that the carpet was glued to at least one layer of vinyl tile (maybe it was two?), which was then glued to what was probably the original wide-plank wood floors. What we hoped was that we could peel up the carpet (which ripped up large sections of 1/2 vinyl tile 1/2 glue), scrape up the remaining vinyl tile and glue as much as possible, and then call the amazing wood floor refinishers that had done the rest of our house and see if they could sand through what was left down to the original wood. The weekend we decided to tackle this project, we recruited S’s brothers to help and his sister to hang out with G and keep him away from all the disgusting dust and dirt. I’m not exaggerating when I say it was the worst project I’ve worked on in this house! By the end of the day, my hands were completely raw and I felt so discouraged, because that tile was REALLY stuck in places, and would only come up in the tiniest, dime-sized pieces. As you can see, this was not a glamorous day.
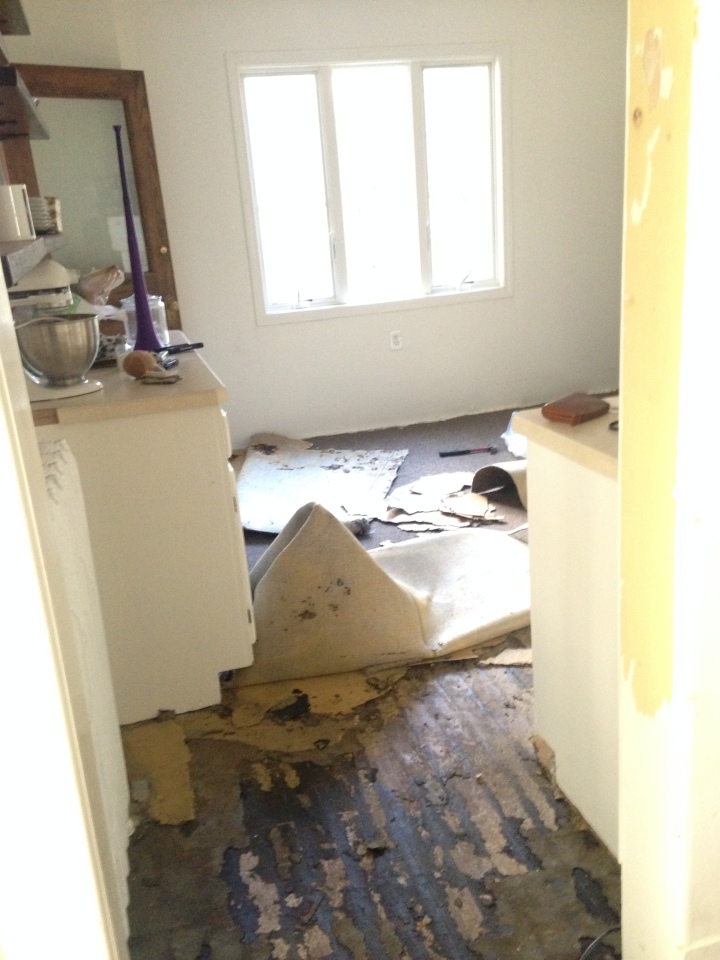


The above picture is as good as it got. So, before we planned to kill ourselves another day, we decided to call our floor guy. And, we got some bad news: it’s actually illegal to sand through lead paint! We thought the leftover vinyl tile glue would be the problem (and maybe that would have been, too), but we didn’t realize the floor had been painted yellow at some point until we got underneath large sections of tile. Essentially, we did all that work for nothing (!), but at least we felt good about trying to salvage the original floor. So, it was on to Plan B: tile.
I really love old kitchens with printed tile or tiny hexagon tiles in patterns. I think it looks so beautiful and interesting, and really works with an old house where the floors are probably not level or square. I am way too indecisive to pick a patterned tile, however, so I wanted to go with a tiny tile with contrasting grout. I considered both black and white hexagon tiles, but in the end, I found these octagon and dot tiles in an all-white colorway that I thought would add just a bit more interest without being too busy, with charcoal grout.

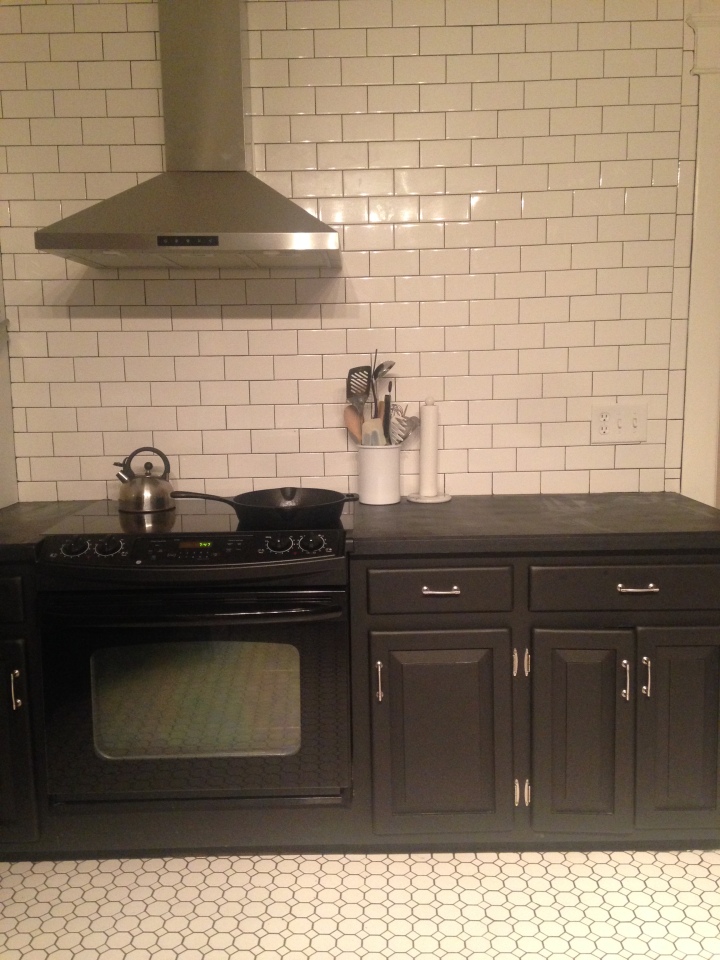
And, in the meantime, S installed a simple stainless steel hood to provide some much needed light and air filtration over the stove. The chimney portion is just for looks, as there is no easy way to vent it outdoors without ripping out the entire ceiling, which we were not willing to do. So, we have carbon filters that we can change periodically to reduce the amount of grease and smoke floating around our kitchen when we cook. Plus, we think it looks really pretty against the subway tile and makes the stove a centerpiece on the two tiled walls.

The next step for the floors was to put down cement board for the tile to sit on. S did the big pieces himself, and then our amazing new friend and contractor Wayne, who works with his wife Laura, took over the project. He poured self-leveling cement in the largest dip in the kitchen floor, although there were still plenty of sections on this old, lopsided floor that gave them trouble.


G immediately decided the smooth cement was a really nice spot to lounge. He’s so weird and cool.


Then, the tile started to go down. Wayne did run into a problem with the walls being SO far from square, and had to adjust the tile accordingly, but this is why we hired professionals and did not attempt this kitchen ourselves! I can’t even imagine the nightmare that would have been!


The floor was finished just a few days before our annual Christmas party, and looked absolutely beautiful. We were SO excited. And in my infinite relief that all big projects were done before the party, I decided to start another: painting the cabinets and counter-tops! Haha. I don’t know what’s wrong with me sometimes.
Ever since we’ve moved in, I’ve wanted to paint the terrible ivory laminate counter-tops as a hold-over to replacing them with stone (soapstone or slate) in the future. I ended up using this tutorial, but started off by sanding the laminate and painting it with the same bonding primer I used on our ceramic tile bathroom floors last year. I followed the primer with three coats of black chalkboard paint applied with a roller (and angled brush for the edges) and a layer of buffed paste wax (although the smell put me off and I will use beeswax in the future, because it is all-natural).
At the same time, I painted the cupboards in a flat black (two coats, following a coat of Kilz latex primer). I’ve loved black bottom cabinets for a while, especially in kitchens with white uppers or open shelving on the top. Black cabinets on black countertops is a look I’ve noticed more recently, but I love it and I think it looks both modern and classic at the same time. Plus, it all helps our black appliances to blend in, making the whole kitchen more sleek.

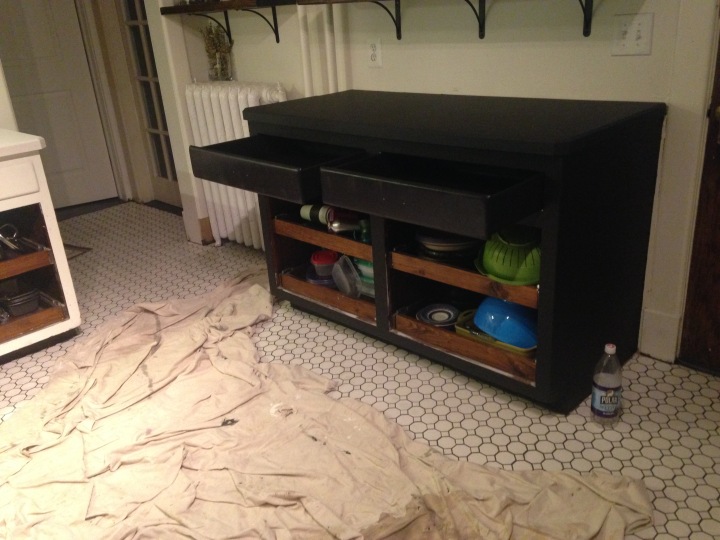


We absolutely love the way the floors and cabinets/counter-tops came out. It finally feels like our kitchen is coming together into something we will want to live with for years. We still need to do finishing touches to moldings, and we want to update to a gas stove, ceramic sink, a barn door for the laundry room, a new island and of course new counter-tops, but even with all that in the future, our kitchen really feels like a beautiful and functional place to spend time every day.


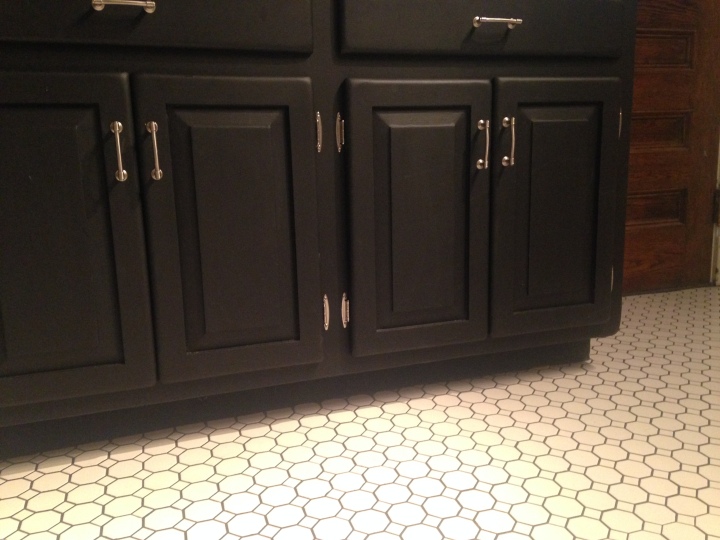


We had a marble transition piece installed leading from the kitchen tile to the wood floors in the rest of the house, and I love the juxtaposition of the three different textures.


And, finally, the before-and-afters!


Wow! I love what you did to the kitchen. The floors are fantastic.
Thank you! They are our favorite part.