
I’ve been looking for a simple, vaguely midcentury modern dresser to use as a buffet for my dining room for a month or two. My only criteria were that it had very simple, modern lines so it wouldn’t really compete with any of the other furniture in the room (or the wallpaper once it’s up), that it was something I could paint white, and that it was cheap!
Last month, I spied this dresser for $40 on Facebook Marketplace, and it was really a mess!


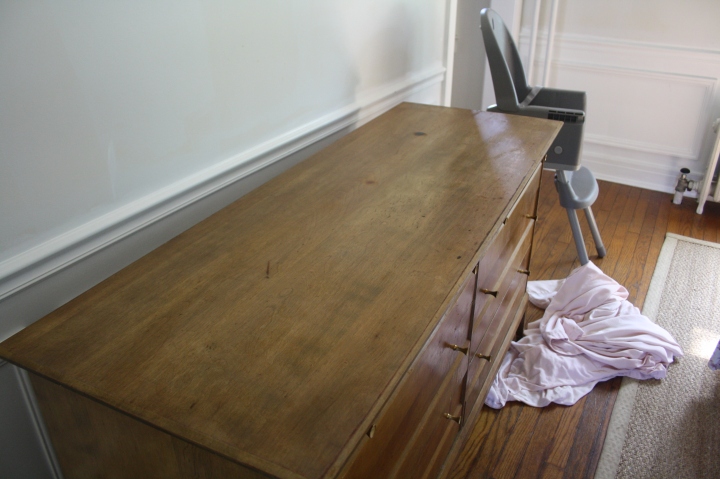
You can’t tell JUST how filthy it was from these pictures. It was actually sticky, with what I think was cigarette tar! And it smelled like cigarettes, too. (Is cigarette tar covered furniture becoming my specialty? I hope not!)
It might seem kind of crazy, but these kinds of projects are the ones that make me the most excited. I love taking something that would very likely have ended up in the garbage, cleaning it up and refinishing it to be something beautiful. It is so satisfying, and it feels so much more environmentally friendly than buying something new or even buying a pristine antique.
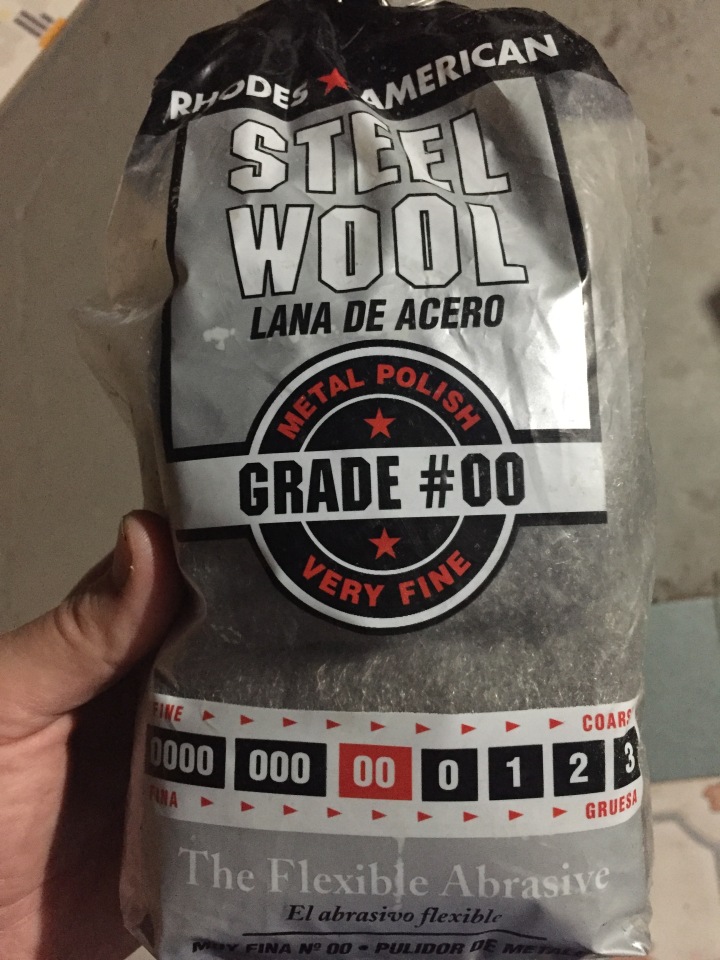
The first thing I did was clean it with extra fine steel wool and Murphy’s Oil Soap (one of my favorite things!).

Look at the difference in the color after it was cleaned!! (The top one is the “before.”) Are you grossed out? Because I am.
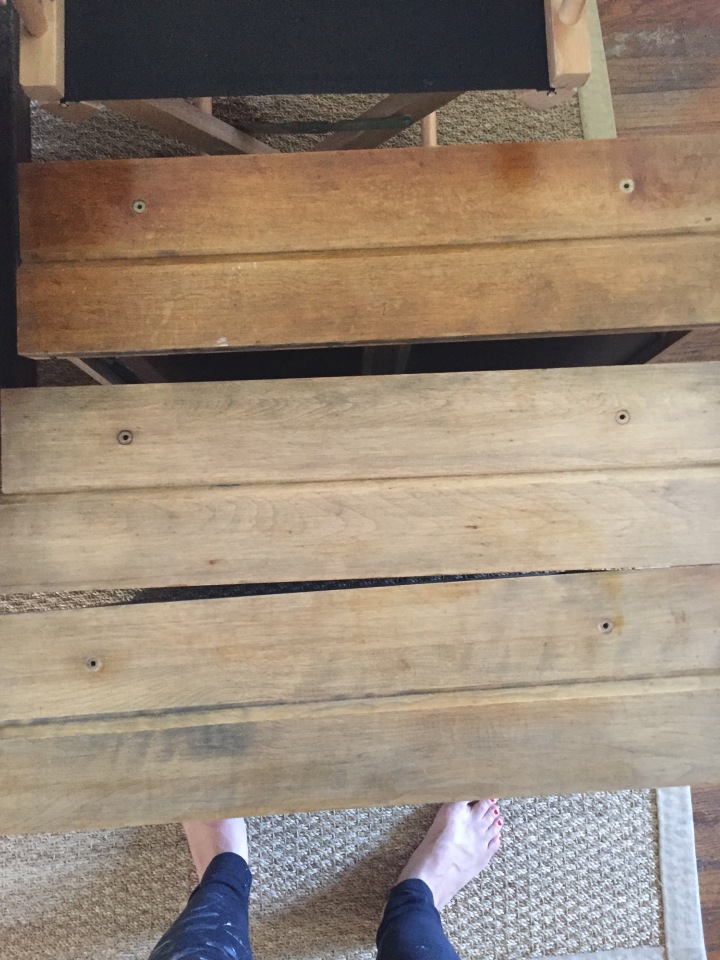
While the dresser is solid wood (and astonishingly heavy), even after being cleaned, the wood was not pretty, and would have taken a LOT of work to refinish. I mean, I always planned to paint it white to use as a buffet for our dining room, but knowing that I wasn’t painting over beautiful wood made me feel better (does anyone else have guilt about painting solid wood furniture?).

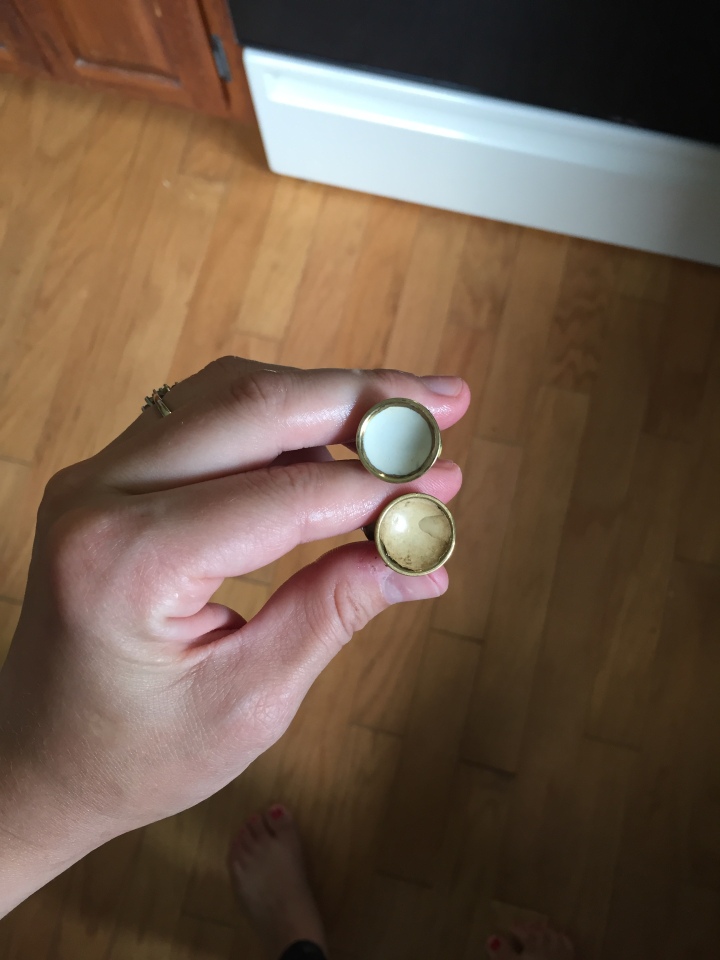
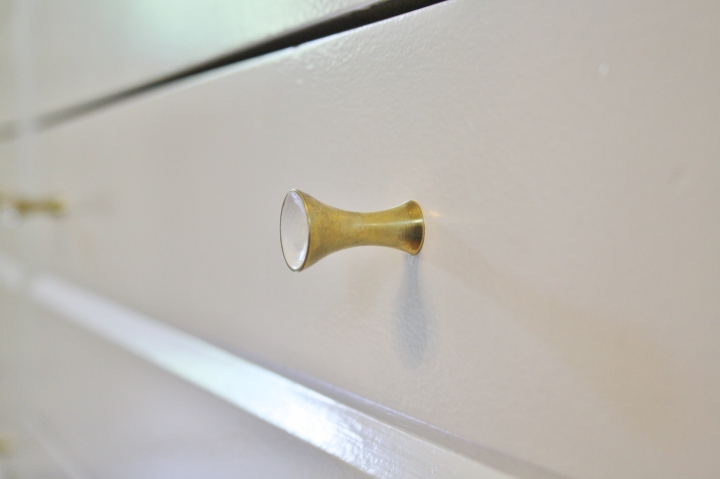
After cleaning the wood, I started working on the hardware. I cleaned the solid brass knobs with Brasso and a cotton rag (with rubber gloves – Brasso is harsh).


You can see the one I had already cleaned on the far left.
Then I cleaned the white face of the knobs with Murphy’s Oil Soap and the fine steel wool again (because it was the only thing that would get that grime off!).
Then, it was time to prime the dresser. (By the way, I did not do all of this in one day! It was probably about 8 or 9 naptimes over about 2 and a half weeks. Naptimes are a standard measurement of time in the mom world.)
First, I lightly sanded the entire surface with 100-grit sandpaper. Then, I used Kilz Latex Primer because of the stain-blocking capabilities (and because it’s what I always use – it’s just the best). I used a small angled brush for the crevices and rolled the flat surfaces with a small nap roller. (Tip: Label the bottom of your drawers before you take them out to paint. Also, don’t paint the sides of the drawers or they will stick forever.)
Here it is after it was primed.

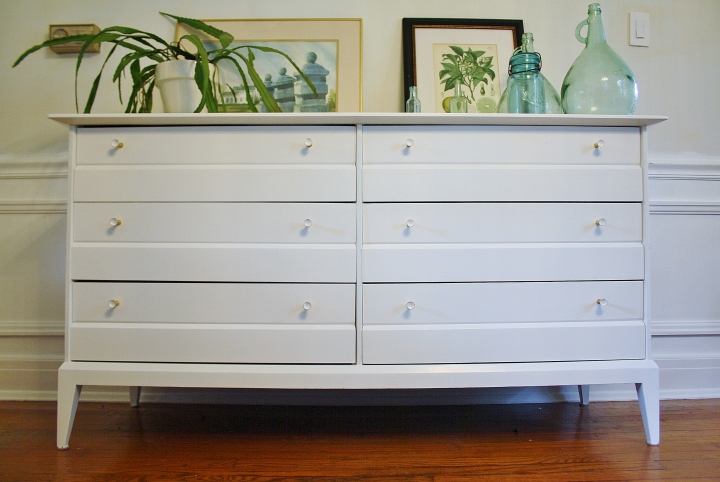
After that, I used the same brush and roller to apply 3 full coats (plus one more coat with just the roller on the top, sides and drawer fronts) of Valspar’s Ultra White in Semi-Gloss – the same paint that is on the wainscoting behind it. There is an etagere and a china cabinet on the opposite wall, plus the table and chairs, and since this “buffet” is along a walkway between the kitchen and the hallway/stairway, I didn’t want it to make the room feel crowded. By painting it the same color as the molding, I think it helps it to blend into the wall and feel unobtrusive and visually light.
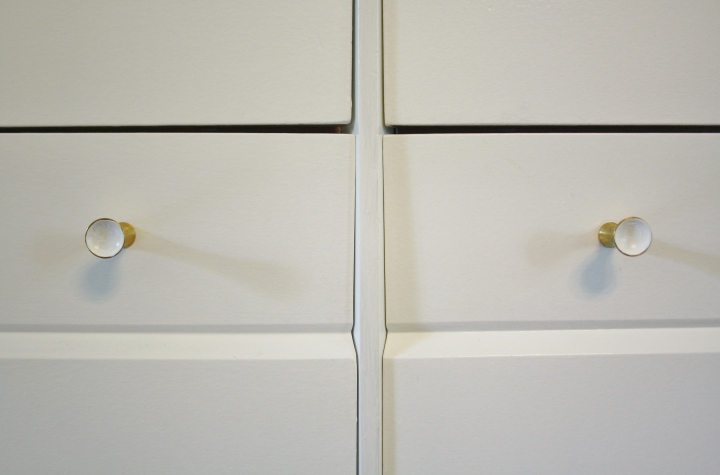
As for the hardware, this is how it looked after I cleaned it:

As you can see, the white coating on the concave part of the knobs was really worn on most of them. Plus, the ivory color just looked dirty next to the bright white of the dresser. So, I decided to paint them with a tiny craft brush and the same paint as the dresser. Here they are after one coat:

I think I ended up putting three coats on them.
I also plan to coat the dresser with paste wax to protect the paint a little (I am always afraid to use Poly because it changes the texture and color sometimes and can yellow over time. If anyone has a brand they like, let me know!).
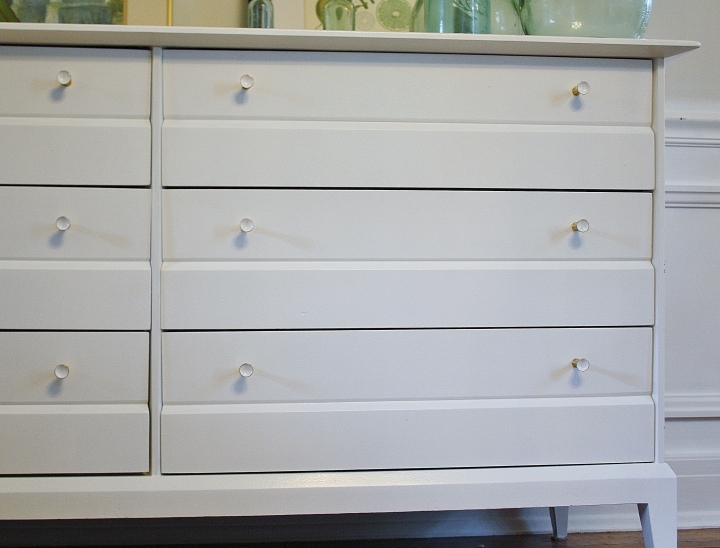
So without further ado, here is the finished product! This is probably not how I will style it once the wallpaper is up in this room, but its so much fun to style a bright white piece of furniture with color — everything pops!


And, the before and after!


Very very nicely done! My husband and i did something similar with a dining table that we bought second hand. Lots of hard work But worth it!
Thank you so much, Dawn! I read about your table on your blog — you should share photos of it sometime! I would love to see. Isn’t refinishing furniture the most rewarding thing?
WOW i love this….So cool how you took something for only $40 and made it beautiful! love it
Thanks so much Jasmarina! ❤
Wow, it turned out so beautiful! Isn’t it amazing what a little elbow grease can do? I love seeing people take a diamond in the rough and make it a gorgeous piece for their home. I am working on a similar project with a little hutch I got at Goodwill for $20! Thanks for the inspiration!
It always amazes me to see the way something can be transformed! It’s so satisfying. I hope you share pictures of your hutch, I’d love to see!