Our dining room in our new house started off looking like this:
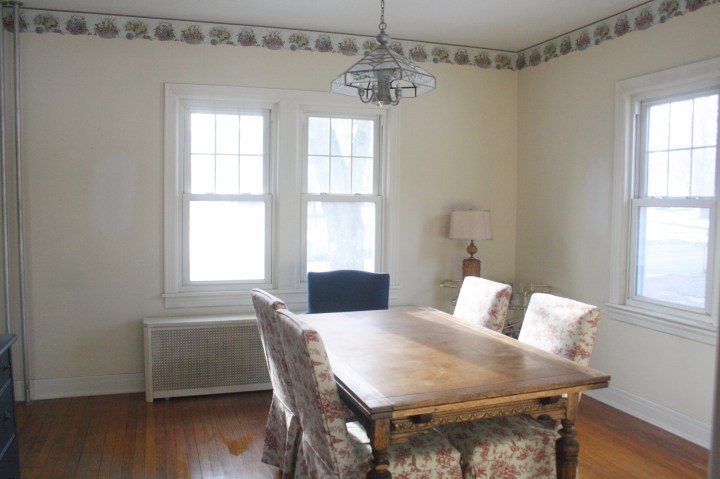
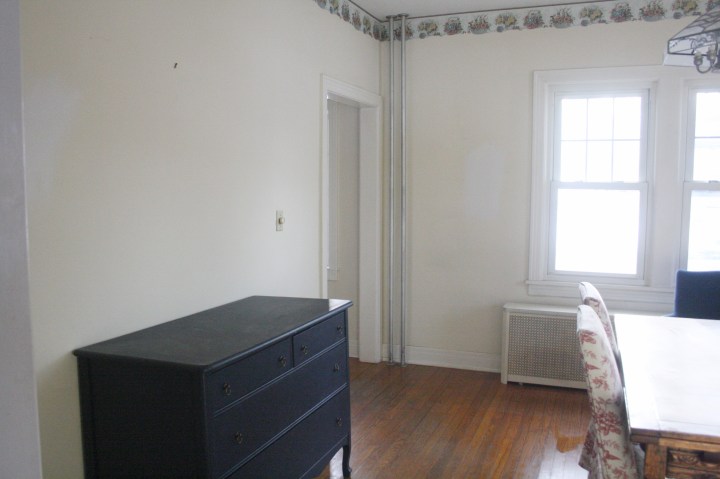
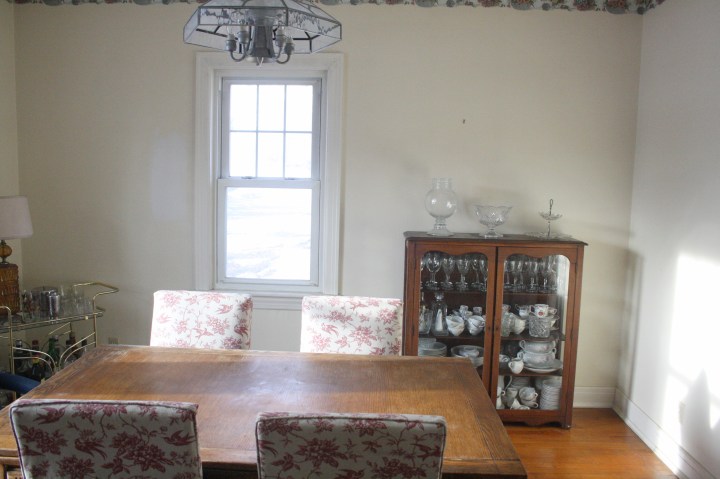
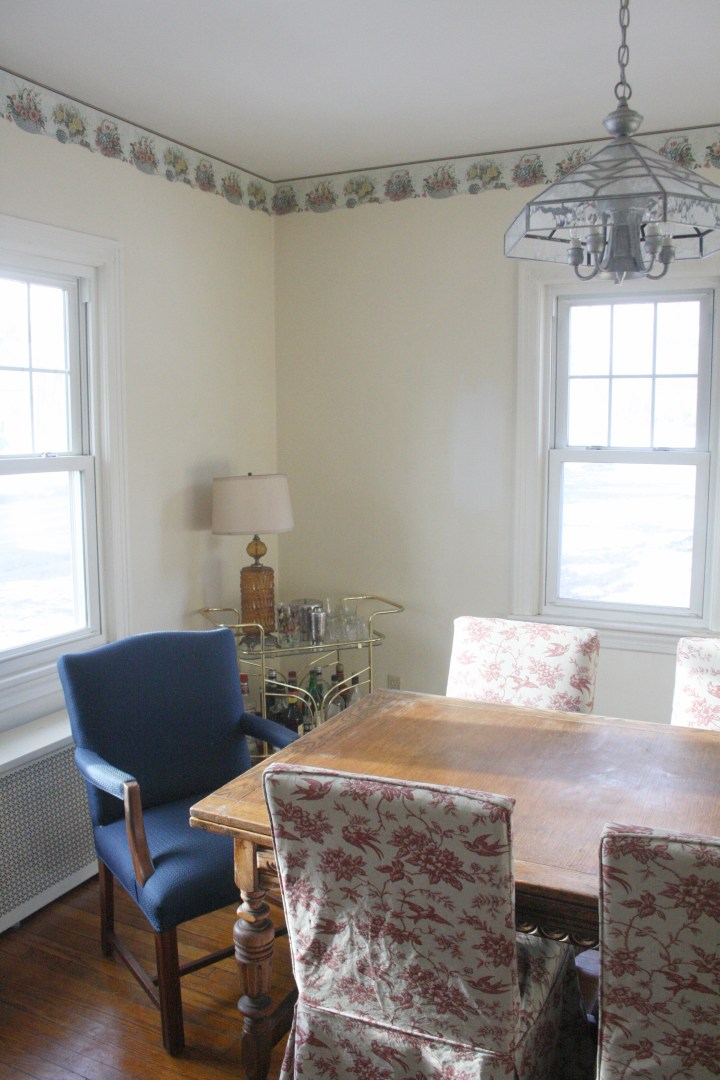

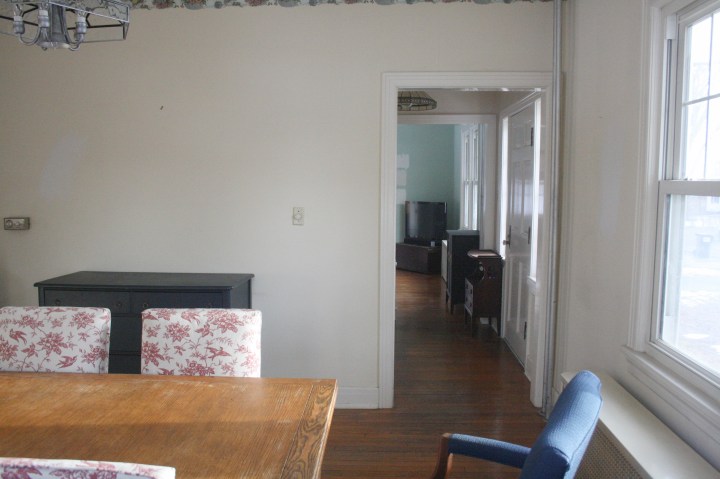

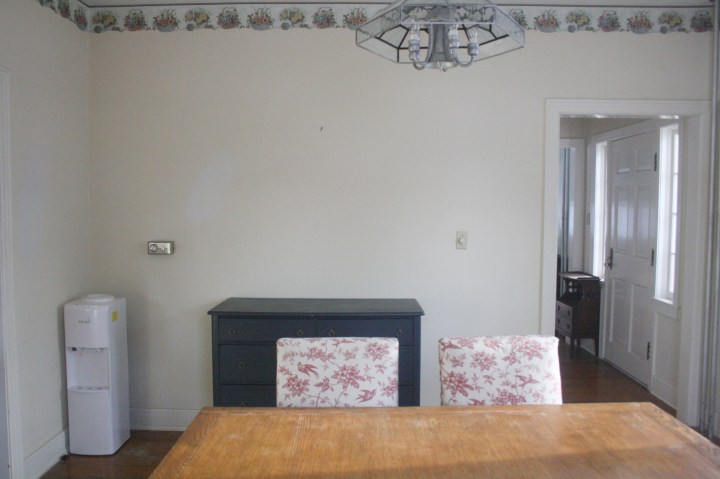
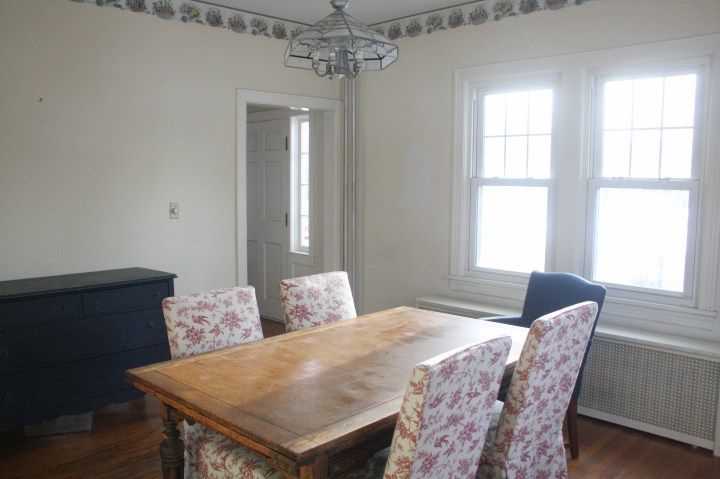
You can see all of the “before” photos here and my initial inspiration for the room.
Obviously, the first thing I did was steam off that border. Then, I knew I wanted to add wainscoting to make the room feel a little more special, pretty and interesting to look at when you’re sitting and enjoying a long dinner with family or friends. I love picture frame wainscoting because it’s classic and feels like it fits the style of the house. I chose a basic chair rail to start, but for the frames, I chose a slightly more chunky piece of molding than you usually see — it is almost the same size as the chair rail.
This room was my inspiration — I wanted the molding to feel really substantial and slightly more dramatic.
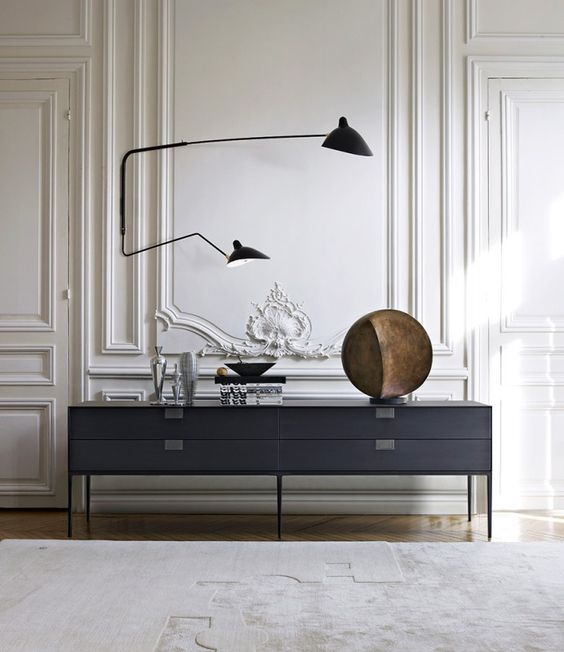
Compare that to this, where the molding is more quiet and subdued:
I had remembered reading something that said modern wainscoting is usually placed too high (as compared to classical wainscoting and related to the ideal aesthetics of a room), and that the term chair rail was actually a misnomer (many people think its purpose was to protect the walls from chairs hitting them — which was not the case). So I found this article and this article, which are great summaries of the history of chair rails and wainscoting and the correct way to install it to make your room look its best.
It may be surprising to learn that the rule of thirds is not the best choice when determining chair rail height. You should actually split your room into fourths. So, for our room with 9 foot ceilings (108 inches), the top of the chair rail would be installed at 27 inches. I actually installed it at 30 inches because I was worried that 27 would look strange to those who expect it to be all the way up at 36, but I wish I had gone a bit lower! Look at these photos (from this article) as an example — lower wainscoting makes your room look huge; if it’s higher your room looks squat.


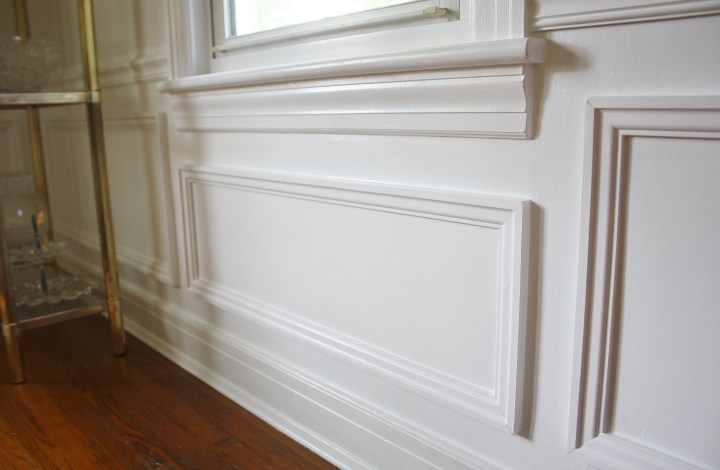
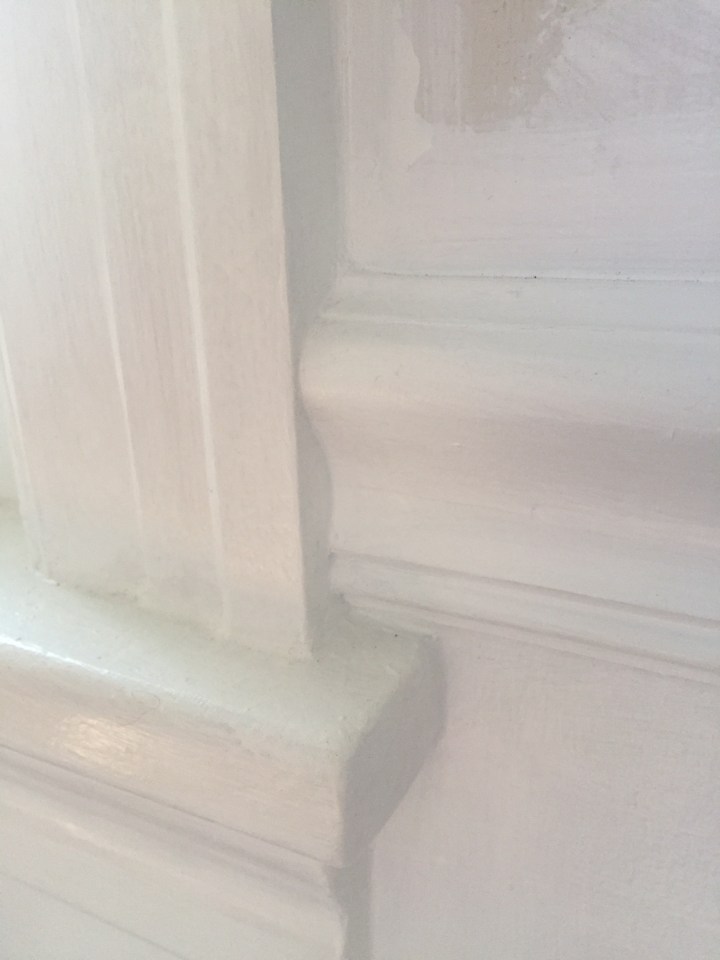
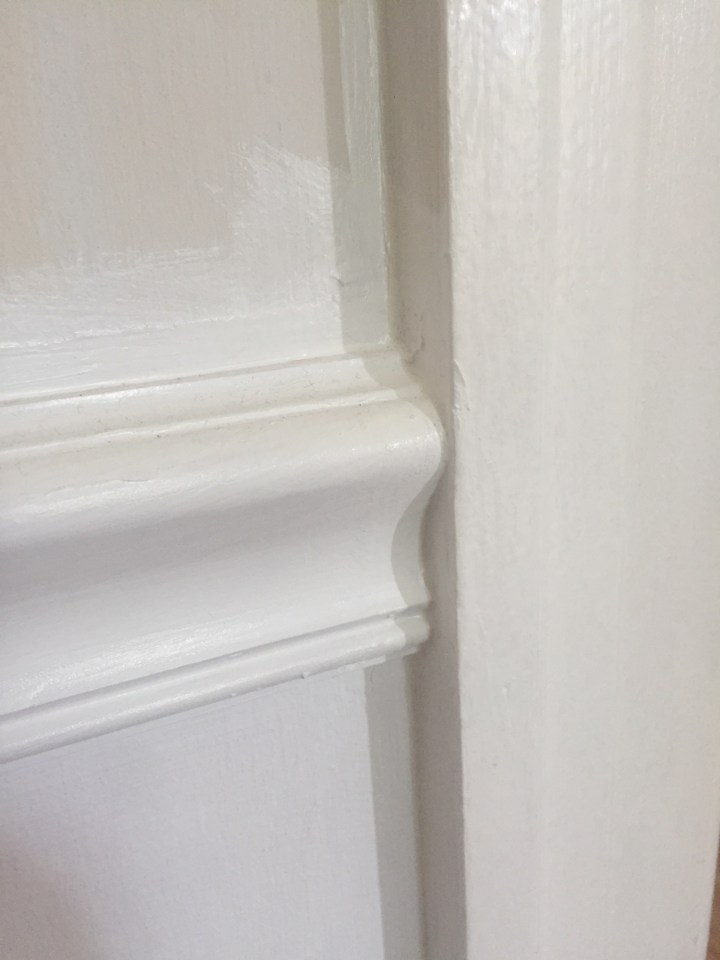
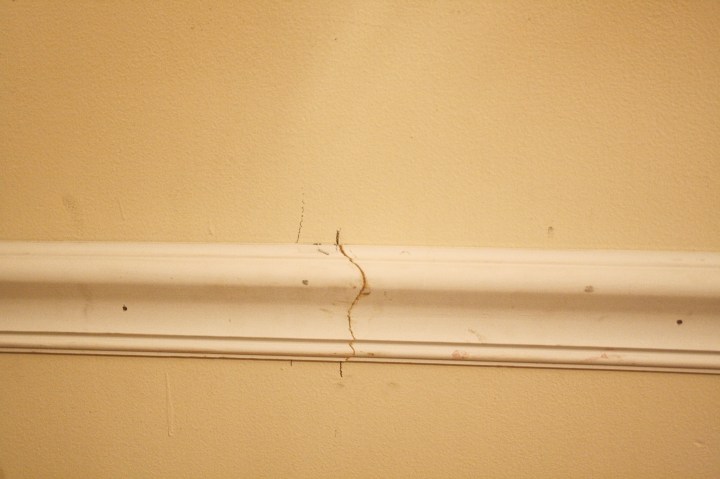
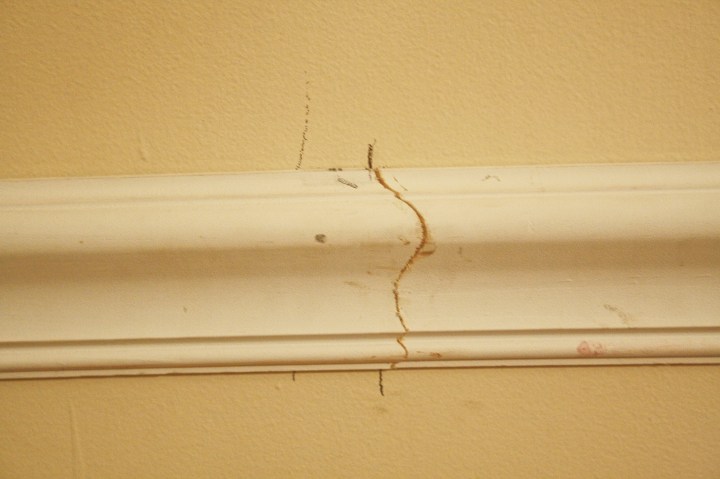
Installing the chair rail was pretty easy because the chair rail was not as deep as the molding around the windows and doors, so it could flow seamlessly into the side of the door and window molding — here’s a close up of the finished chair rail so you can see:
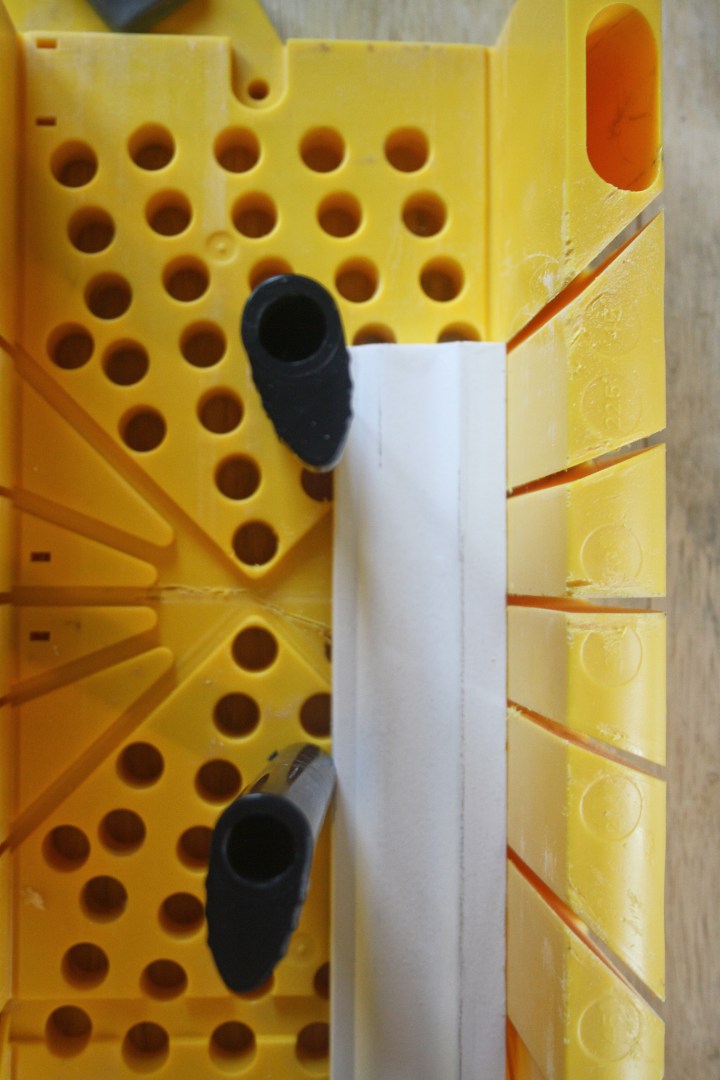
I used this miter block and hand saw to cut all of the molding, because at that time we did not have a miter saw (we have purchased one since then because it is much easier for crown molding).
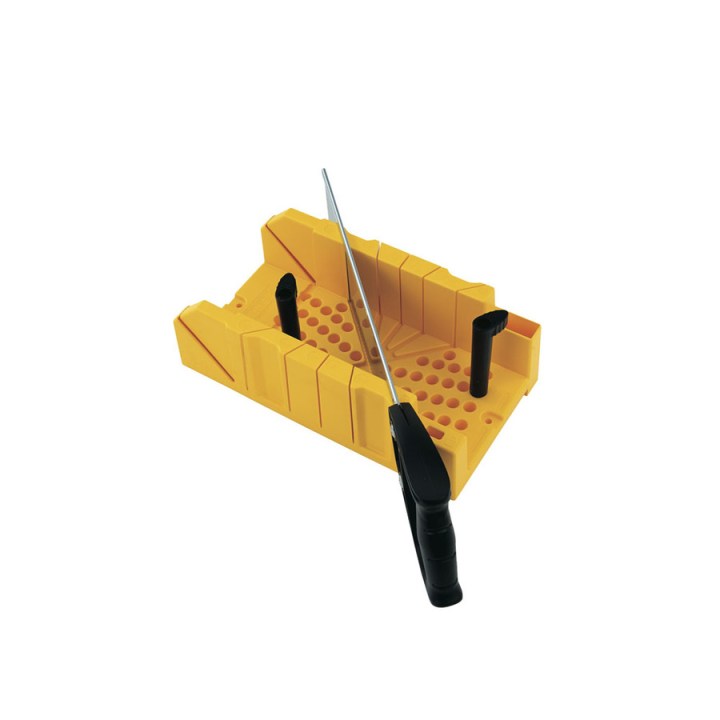
It was not too difficult to use a hand saw for this kind of molding. The cuts are just not as clean as with an electric saw — you have to sand down the edges after you cut.
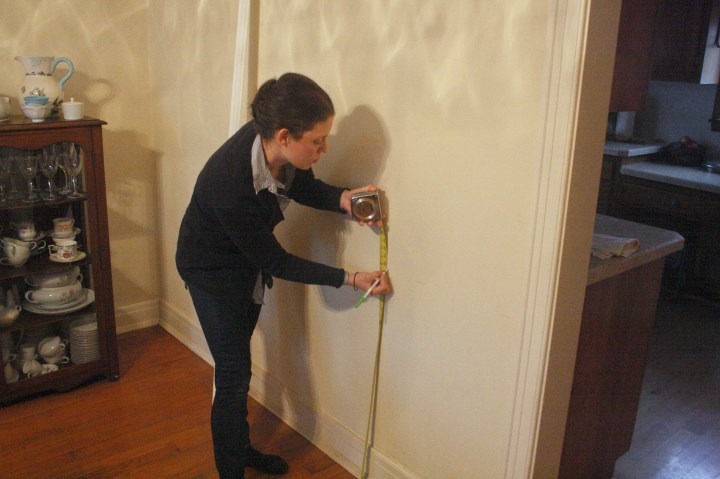
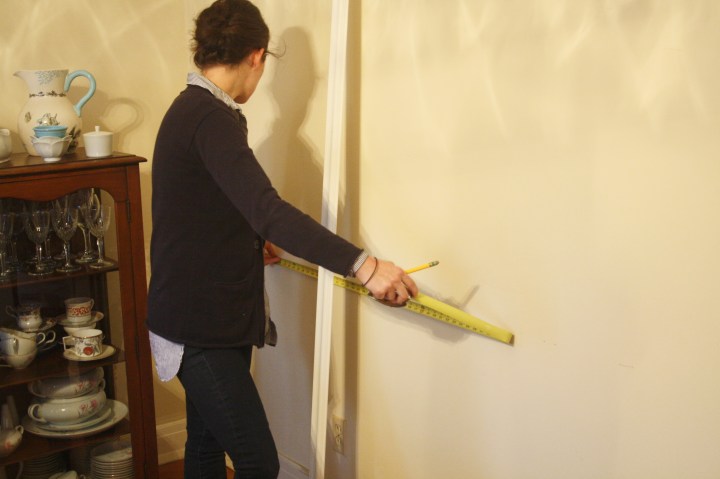
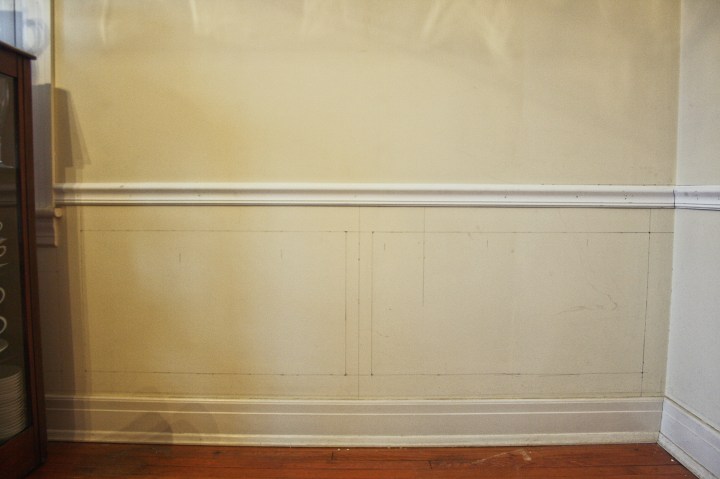
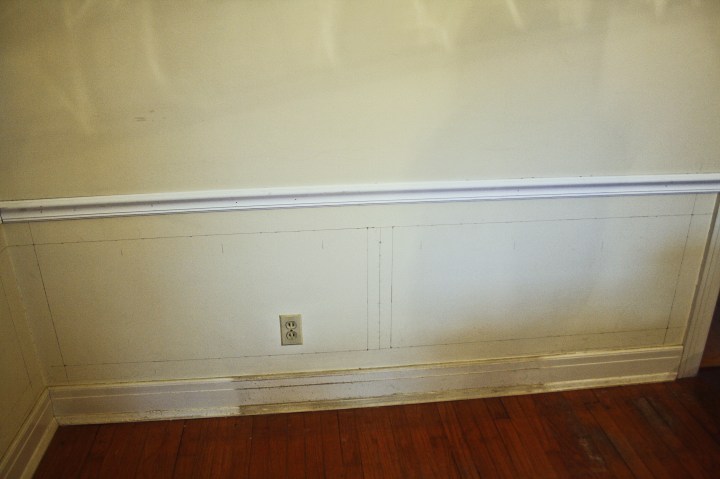
The first thing I did was measure up 30 inches from the floor and make marks around the room. Our house is old and nothing is level, so it was important to measure the lengths of chair rail at the correct height, as the length near the floor or ceiling might be different. (I apologize for the photo quality! These were taken at night — you can see the old chandelier’s light effects all over the wall.)
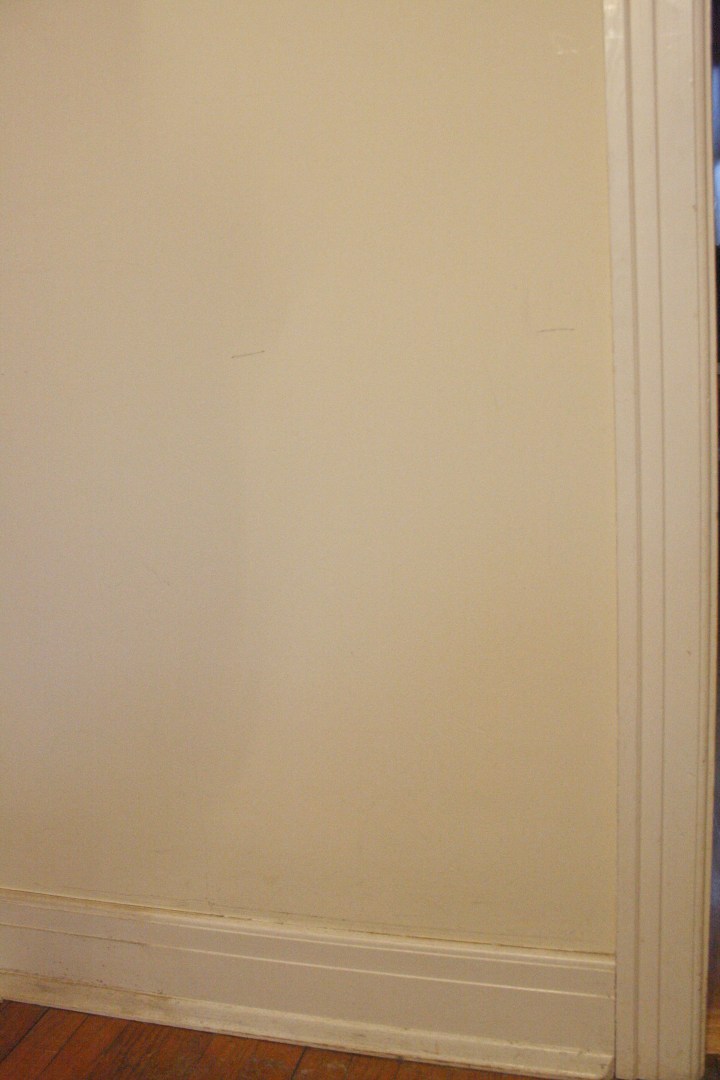
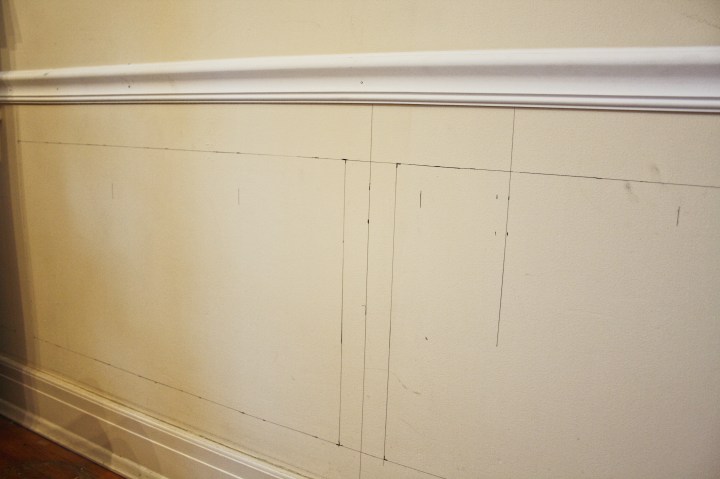
Above, you can see where I marked the height of the chair rail (the top of the chair rail will go along those lines). Can you see the worn out/dirty paint on the baseboards? I scrubbed that to death and it didn’t change — what a relief it was to paint those!
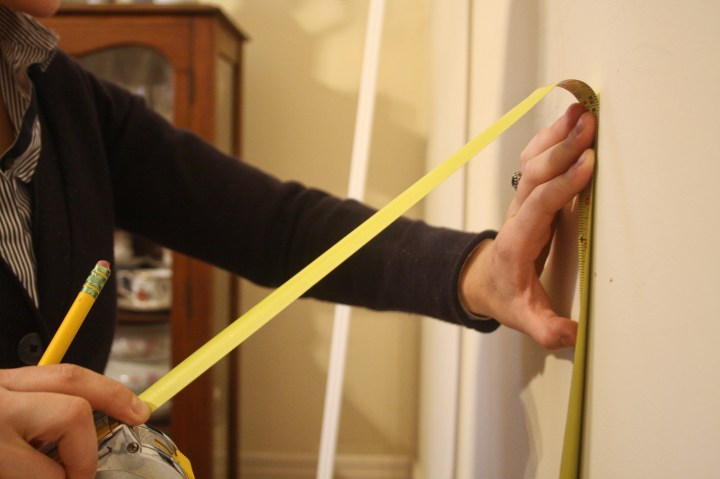
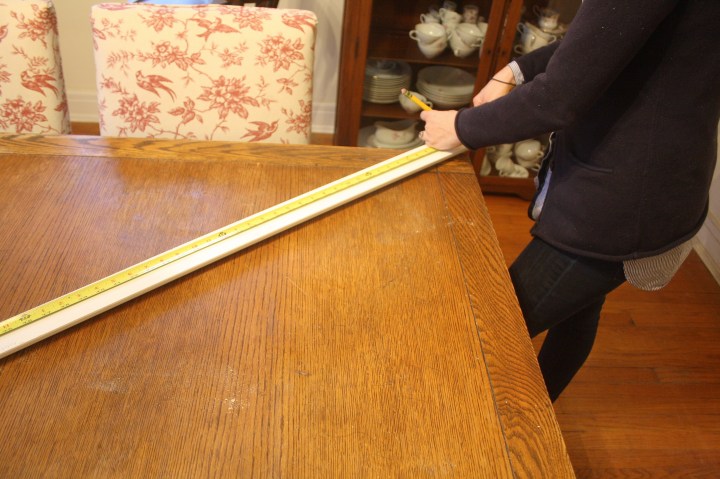
After marking the height of the chair rail, I started measuring for the length one section at a time. For the first piece, I was measuring between the door molding to the kitchen doorway and a corner on the other side.
I found it helpful to hold up the piece of molding before I marked where it would be cut, because there was going to be a straight cut on one side and an angled cut on the other. I didn’t want to cut the angle on the wrong side — this just helped me visualize where I needed to make the angled cut. It might seem like a useless step but I think you can never be too careful when cutting molding — you don’t want a piece to have to go to waste because you were overly confident!

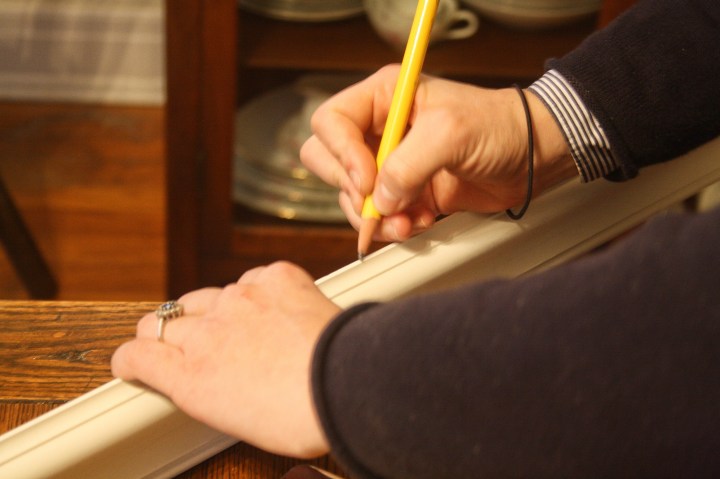
Then, I marked the molding on the top where the cut was going to be. Remember that the mark will be the “long end” of the angle — the cut will angle back toward the length of the molding and the point of the angle will be at the mark you make for the length.
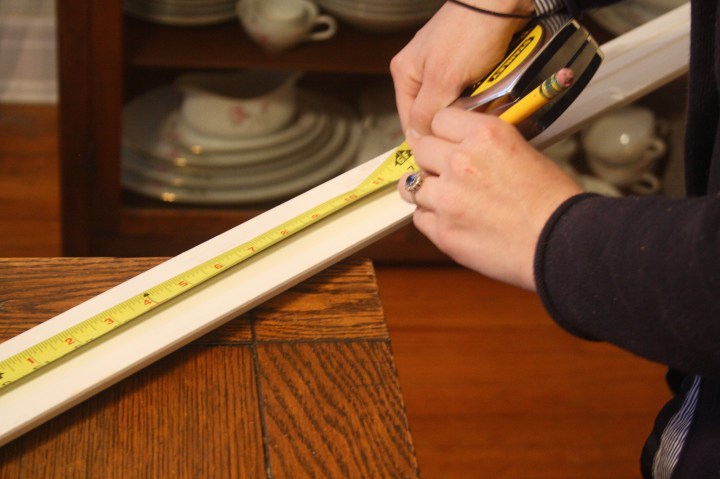
Remember to cut a tad larger than the mark that you make, to account for the saw blade. I cut each piece 1/8 of an inch longer than the mark I made, and they came out perfect.
Once my piece was cut, I held it up to check if it fit. A few times I had to sand down the point of the angle (probably the fault of the rough hand saw). Then, I hammered the nails part of the way into the molding before I started putting it on the wall. This saves time and helps prevent it from moving while you’re holding it up, and before you can sink the nail into the wall (be sure to use a nail set tool when you’re finished, to sink the nails below the surface of the molding so you can fill them seamlessly at the end).
 Because these pieces of molding are so long, it is definitely helpful to have a second person to hold the piece in place while you’re nailing it in. (We did not level these chair rails — in an old house, it is sometimes better to have a piece of architecture level with the ceiling or floor than truly level, as they will appear more level to the naked eye if they are parallel to other elements in the room. Here, we had already measured up from the floor, so we knew those marks made the chair rail level with the floor.)
There was only one wall where the pieces of molding I had were too short to span the entire wall. For this, I made a scarf joint, where I made one piece of molding overlap the other at an angle so that the joint would appear more seamless in the end.
Adding a chair rail to this room was one of the quickest projects I have done for the biggest impact! It was my first time using a miter (hand) saw and my first time working on molding, period, and I found it very easy. If you’re intimidated by molding and angled cuts — try this project first!

Unfortunately, my satisfaction was short lived, as I still had a LOT of work ahead of me.
Next came planning and marking where the picture frames would go. I am always so sad when I see picture frame molding where all the frames are the exact same size all the way around the room! I just think it compliments the architecture of the room so much better if it is custom sized for each wall.
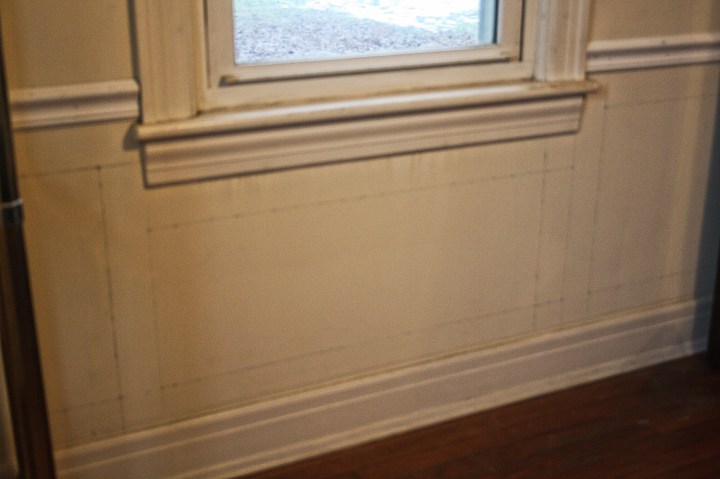
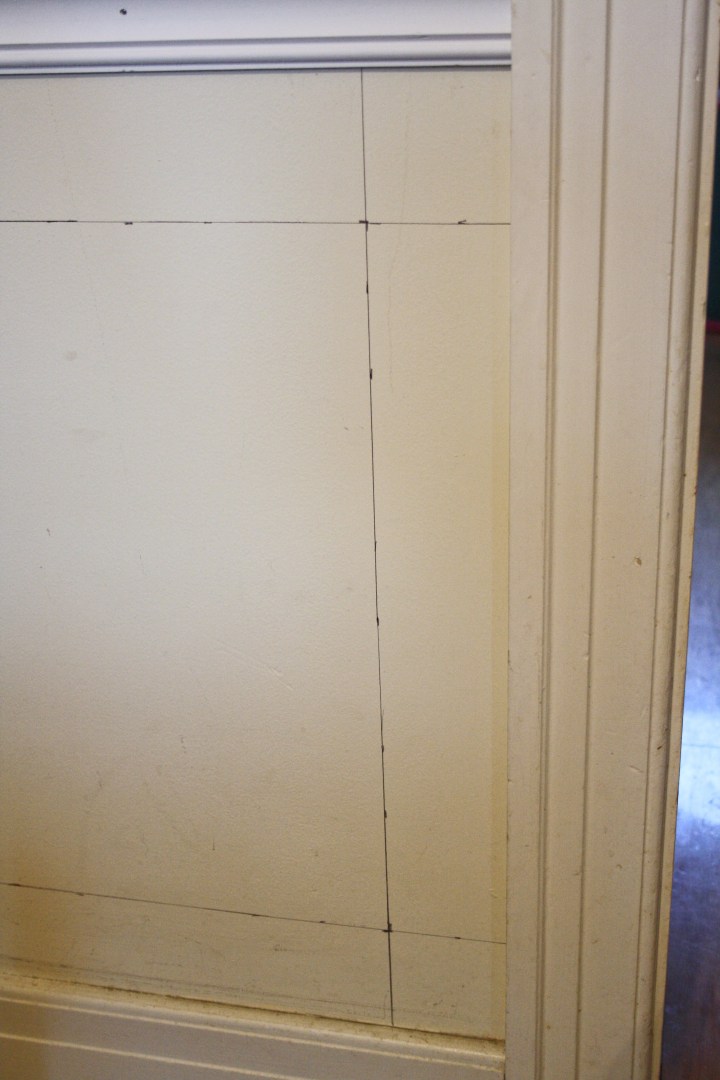
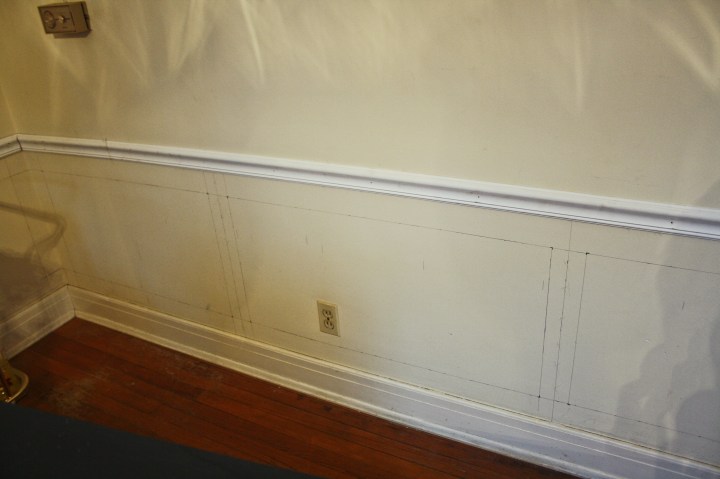
For our room, I wanted a 3 inch border around and between each rectangle. The first frame that I marked out was beneath the small window. I made the two vertical sides parallel with the window molding, and the two horizontal sides were 3 inches from the bottom of the window molding and 3 inches from the baseboards. Those lines represent the outside of the rectangle. (This picture is horrible, but it’s the only one I had of the marks under the window, so I had to use it!).
For the rectangle to the left of that, I measured 3 inches from the window rectangle and 3 inches from the wall to the left, 3 inches down from the chair rail and 3 inches up from the baseboard and I had another frame. Those ones were pretty easy, and there were a few other rectangles in the room that were similarly simple — boxed in by the wall on one side and a window or door molding on the other.
For the other stretches of wall in the room, I had to first choose how many rectangles I wanted to split them into. I eyeballed this — making sure that they wouldn’t be too much smaller or larger than the other rectangles in the room. It was pretty obvious that two stretches of wall needed two triangles and the third stretch needed three.
For the walls that needed two rectangles, I measured the total distance between the two ends. I subtracted 3 inches for the beginning and the end spaces, and 3 inches for the center space (so 9 inches altogether), and then divided the remaining number in two. The result was the horizontal length of each rectangle on that wall. To mark it out, I made lines 3 inches in from the molding and wall on each side (and from the chair rail and baseboard), then measured the length of the rectangle from there and marked the other end. I did that on each side and had 3 inches left in the center.
For the third wall, I measured the total width of the wall, then I subtracted 3 inches for each end, and 3 inches for both of the spaces between the rectangles (so 12 inches altogether). Then I divided the final number by 3 for the width of the rectangles. I marked the two end rectangles out first, then measured 3 inches toward the center on each side, and the remaining width was the third rectangle.
Alright, if you got through all of that and it actually made sense, I am shocked, because I kind of got lost myself there for a second. Whew!
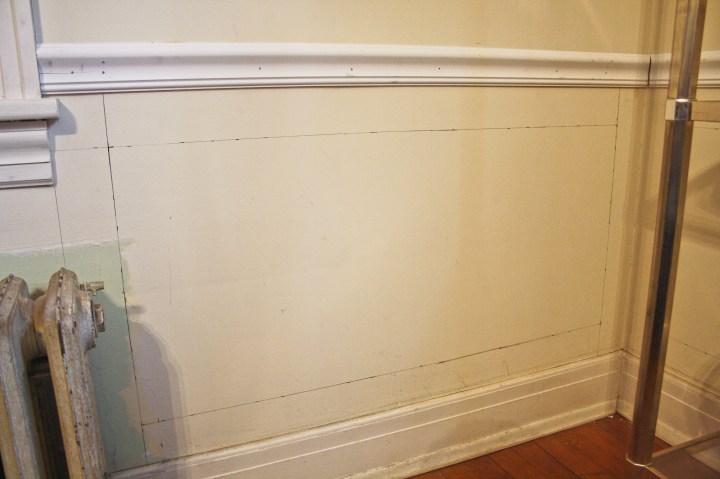
Here are some photos showing how I marked it all out:


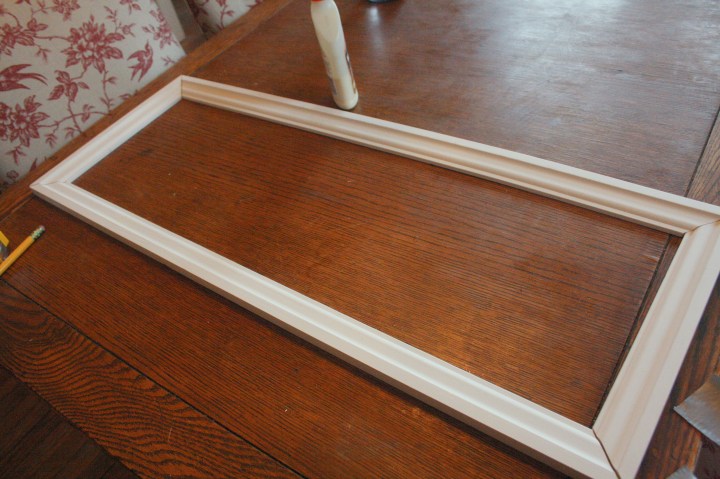
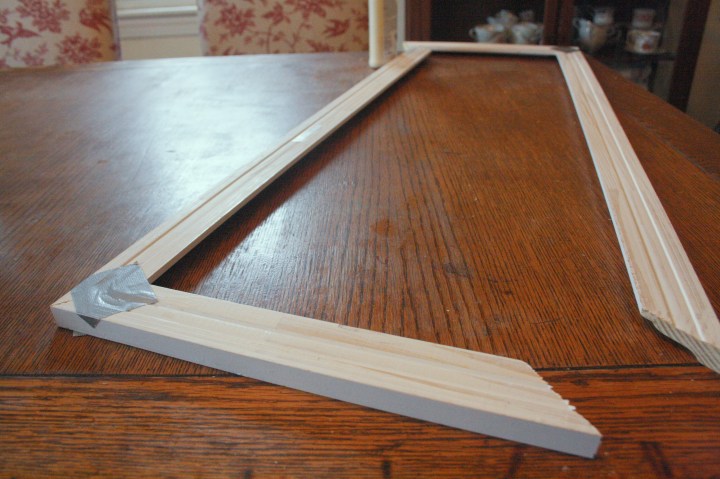
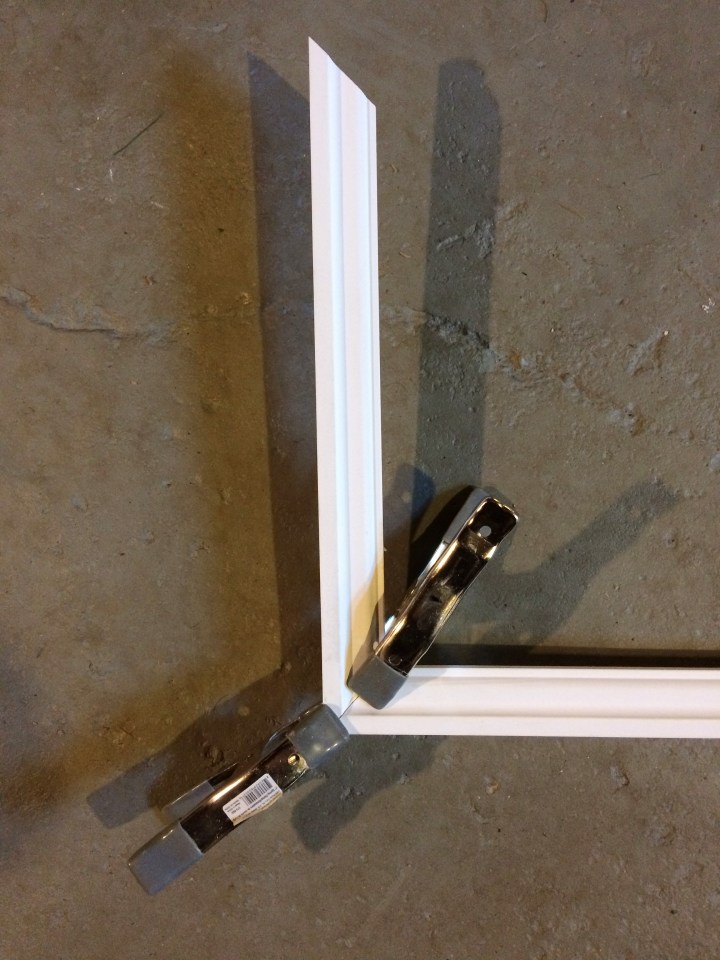
To create the picture frames, I measured each side and used the miter box to cut them, measuring to where the point would be and then mitering inward.
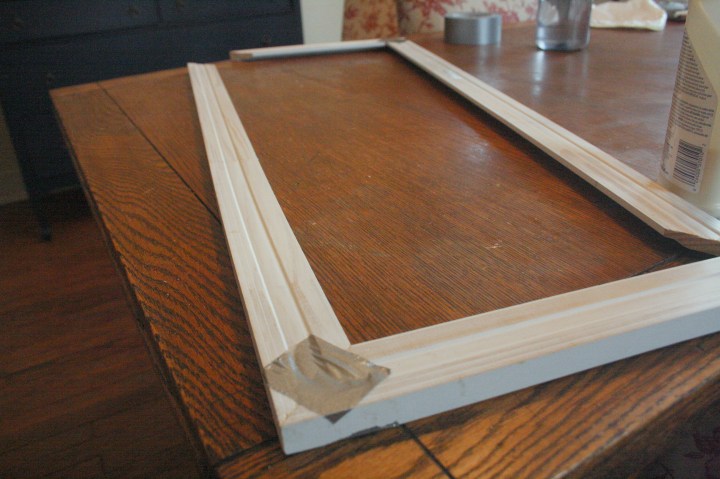
I assembled them before I put them up on the wall, to ensure the tightest corners. First, I checked that they fit together well. Then, I used wood glue to glue each piece to the next (be sure to wipe off any excess right away), and once they were glued I used little pieces of duct tape to keep them tightly together on both the front and the back (tape one side and then pull it tightly and tape it to the next side), and then used clamps to hold the corners together on top of the tape (although the photo below does not show the tape — not sure what happened there).
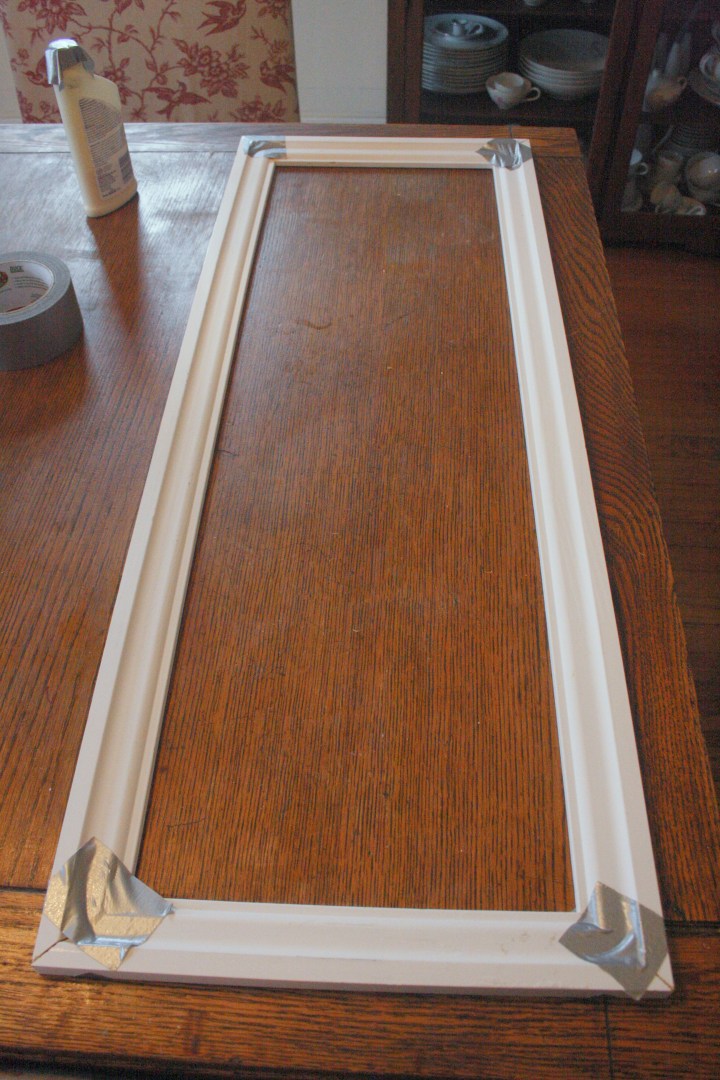
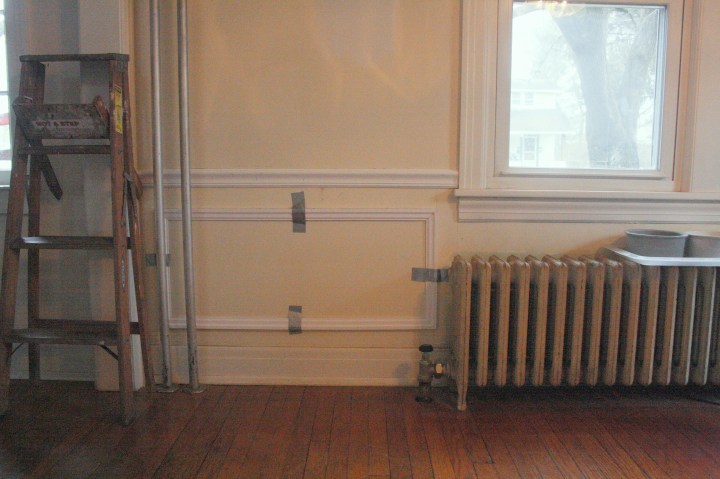
After the frames were dry, I removed the clamps and the tape, then used construction adhesive and duct tape to attach them to the wall. The lines were so helpful for this and made it go really quickly. Again, pull the tape tightly to make sure it really pushes the frames to the wall. After the glue dried a bit (not all the way), I nailed the frames to the wall, and then sunk the nails. (It would have been really helpful to have a nail gun for this!)

After that, it was just a lot of caulking and joint compound! I like to use joint compound for any areas that I will want to sand afterwards (like the corners where molding meets or nail holes), and just use caulk in corners where trim meets the wall, where I can use my finger to smooth it. Caulk just doesn’t sand that well, even though it says it is sandable.
Once all the filling and sanding were done (by far the longest part of this project), I primed all the molding with Kilz Latex Primer and then painted it with Valspar Ultra Semi Gloss in the un-tinted Ultra White.
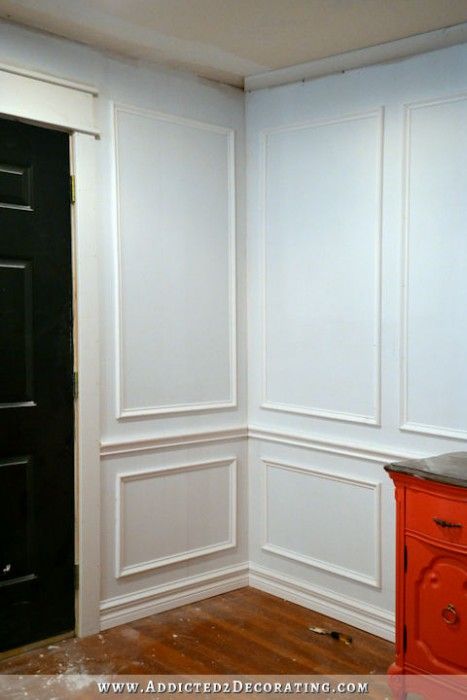
So, here are the after pictures for the wainscoting, and the general progress pictures for the dining room:


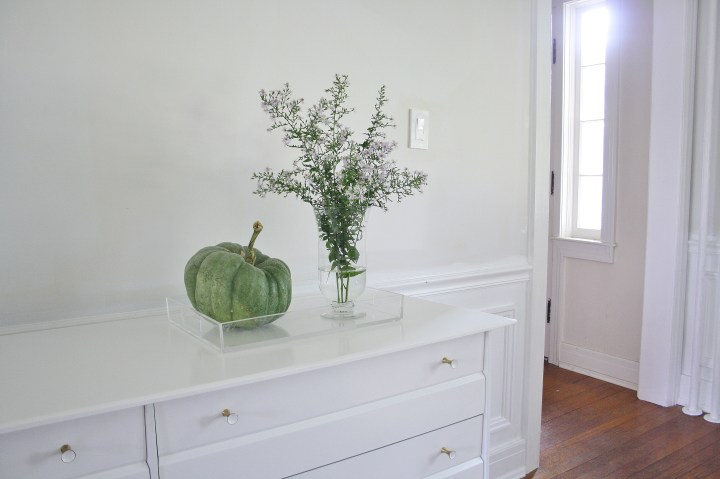
The obtrusive, brown thermostat you can see above has since been replaced with a simple, white one.

One regret I have is not finding a way to add frames below the double windows at the front of the room, behind the radiator. I thought I wouldn’t mind that they weren’t there, but I think it makes the molding seem like an afterthought — like it obviously came much later and wasn’t original to the house. I am going to figure out how to nail it in behind the radiator and add it later on.
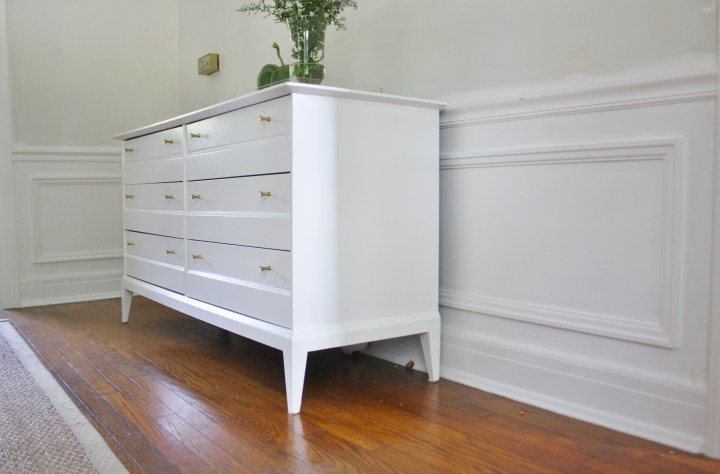
Since we took the before photos, we have changed out the buffet (one revamped old dresser for another), replaced the chandelier, and found a new, larger and more child-safe china cabinet.
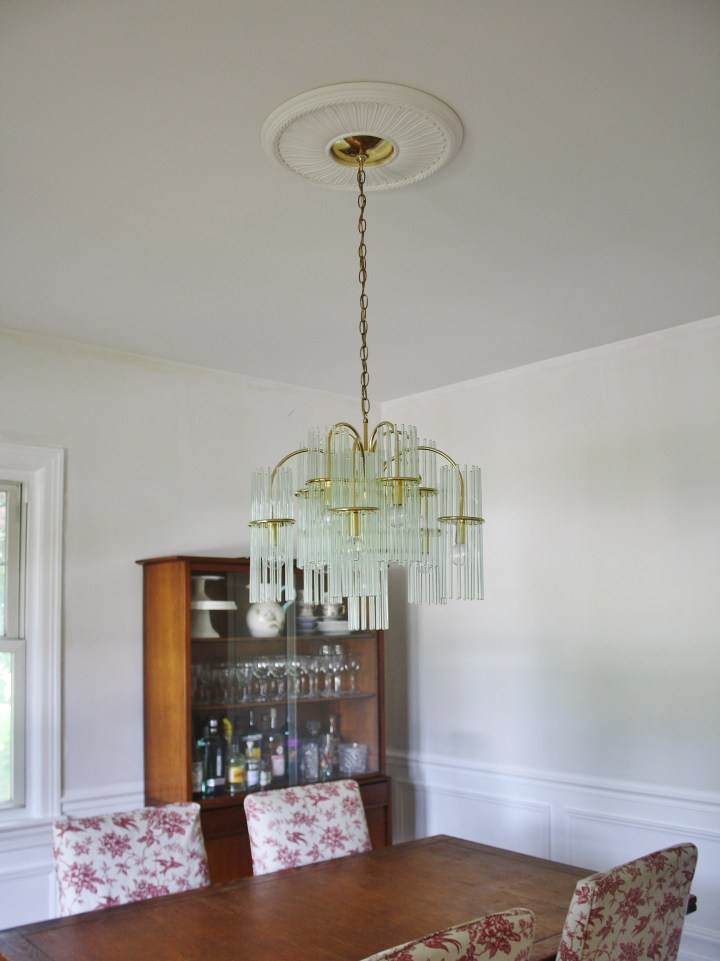
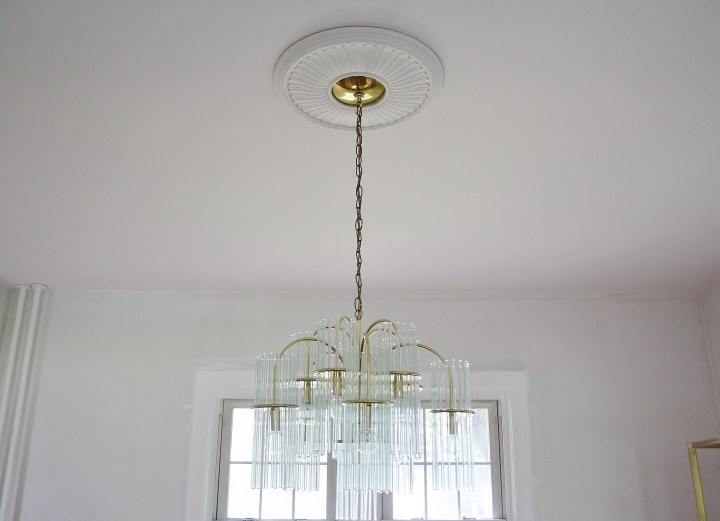
I found this chandelier on Craigslist for $90, and I believe it’s Gaetano Sciolari for Lightolier. I love how it looks midcentury and art deco and glam but is still really airy because of the low-profile metal arms and translucent glass rods. I think it’s going to look great with the wallpaper! Kind of like this inspiration photo:

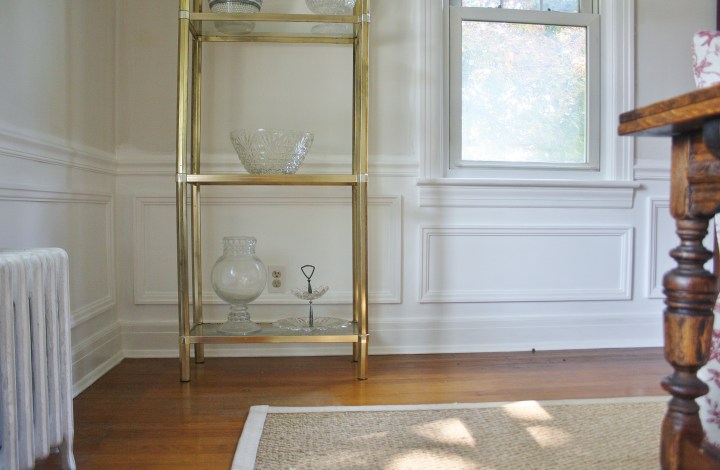
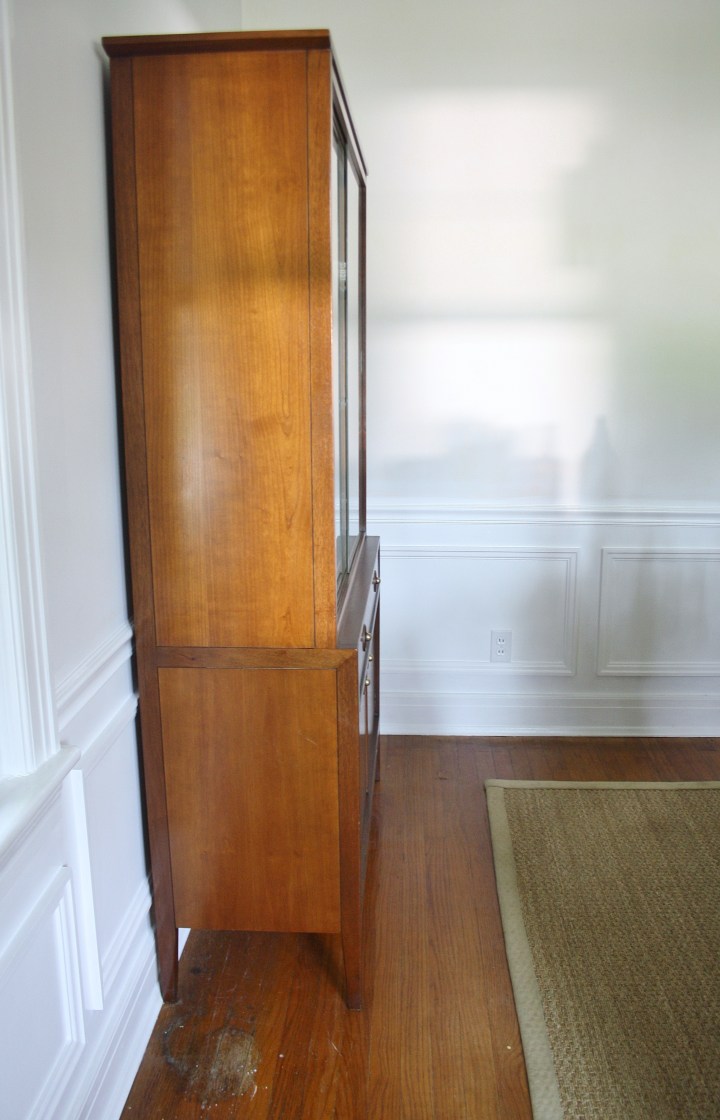
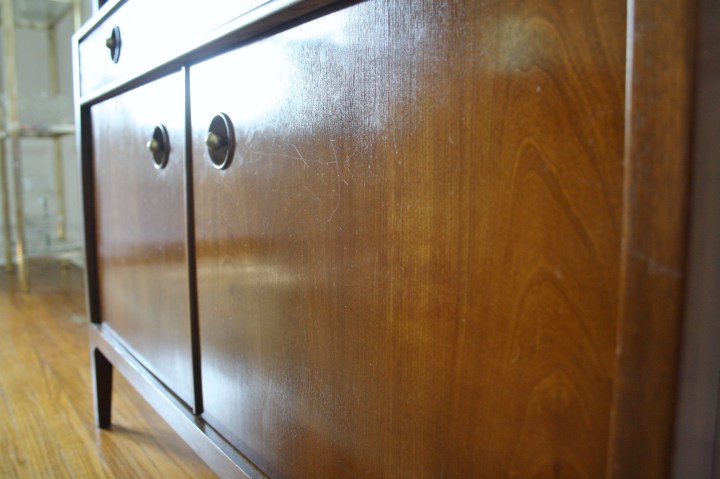
The new china cabinet was also a Craigslist find, for $75! I wasn’t sure I was going to like it, but when I got there and saw the pristine, beautiful wood (the wood looks a tad orange in some of these photos but it’s really a rich, medium walnut with a low sheen finish — so beautiful!), I felt like I had struck gold! It is Counterpoint by Drexel, designed by John Van Koert, and it has wonderful clean lines that are midcentury but not in an obvious, retro way. And, it is in perfect condition. I loved our old one, but since it sat directly on the ground and was all glass, it was really dangerous for the kids. Plus, I wanted more closed storage. This one is perfect because it provides all the storage we need while it is still very slim and relatively petite overall for a china cabinet.
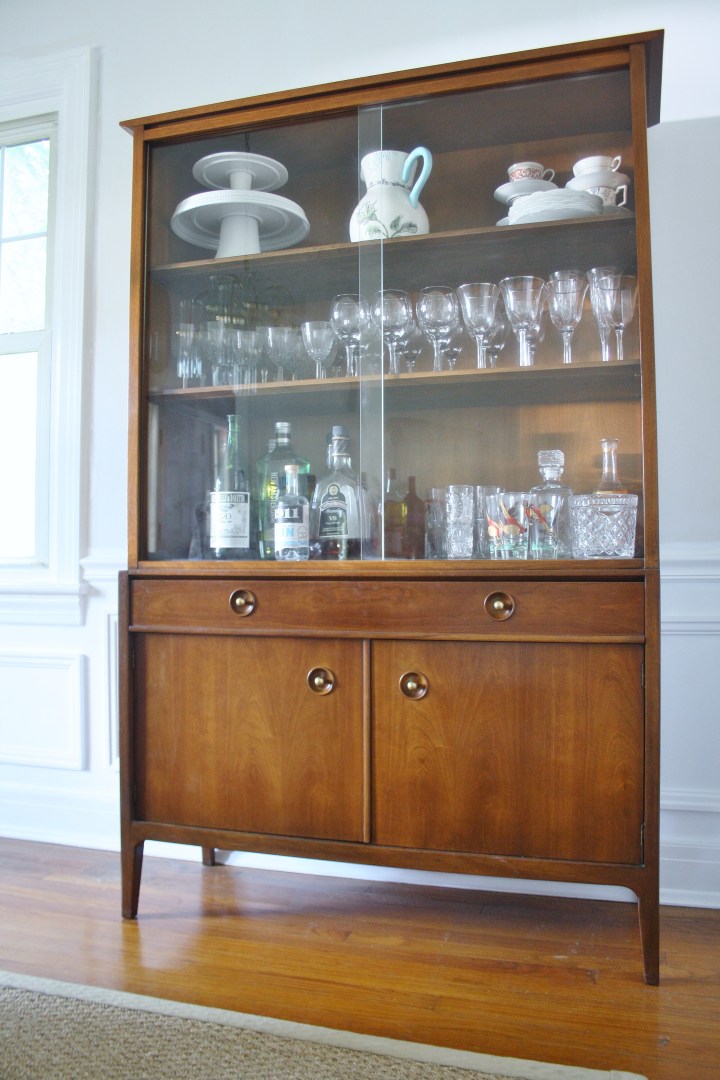
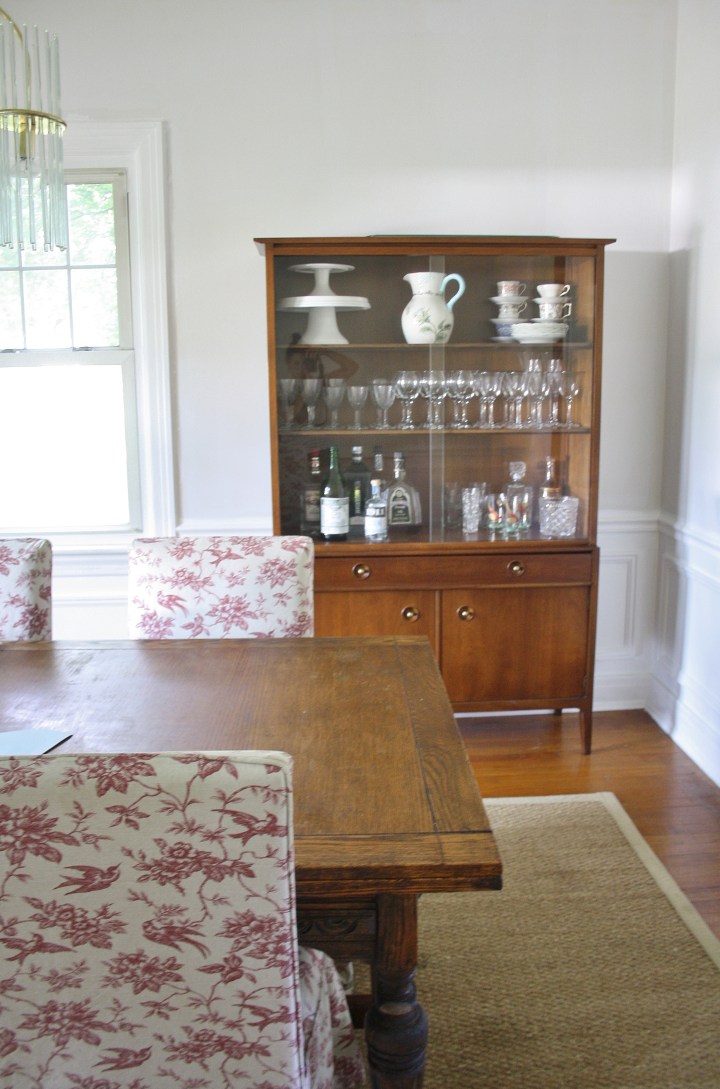
I think the whole room feels more balanced with the taller china cabinet next to the window in the middle next to the etagere on the other side.
Up next, I need to finish painting the radiator and the pipes on the front wall. Then, I can start tackling the wallpaper! I’m so nervous and excited about this project — I’ve never done it before so I’m really scared to mess it up, but I also CAN’T WAIT to see how the wallpaper changes the room!
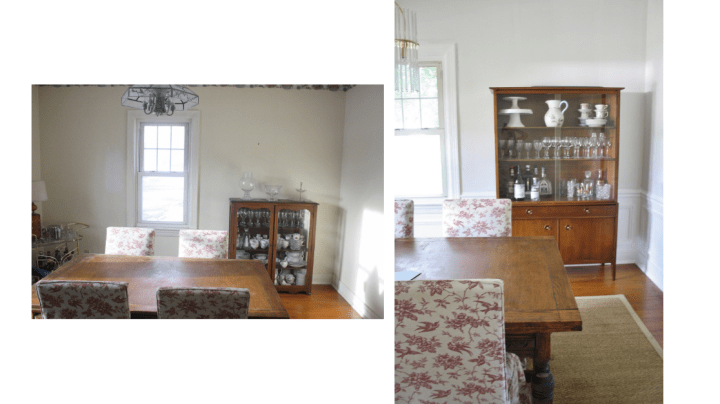
Here are some side by side before and progress photos to compare:


Hi! The room looks great! Just wondering what exact molding you used for the picture frames?
I will try to find out and get back to you!
It was this Finger Joint moulding from Lowes: https://www.lowes.com/pd/EverTrue-1-625-in-x-8-ft-Interior-Pine-Primed-Finger-Joint-Window-and-Door-Casing/3042970.
Your wainscoting job came out great, thanks for sharing the knowledge and results.
This looks great! The 25% Dado rail absolutely makes the room.
Did you use a brush for painting? Or brush and roller combination? Any tips for paintint wainscotting with picture frame molding?
I used a brush to paint the molding and a roller to paint the in-between areas. That was the best way for me to avoid drips in the corners.
Thank you for your reply! I worry about brush marks, and also about the roller leaving a texture. Thanks!!