I bought this sweet bench from a garage sale I happened upon one day about 3 years ago — still probably the best garage sale I’ve ever been to. It was at an old brick Victorian house, and the older woman living there had cleaned out the attic, which was full of antiques that her parents had collected over many years. She had no use for a lot of them, so she was selling them all at amazing prices. I also bought the rocking chair you can see in this post ($15) and one of these dressers ($2!) there. I think I paid $30 for this bench.
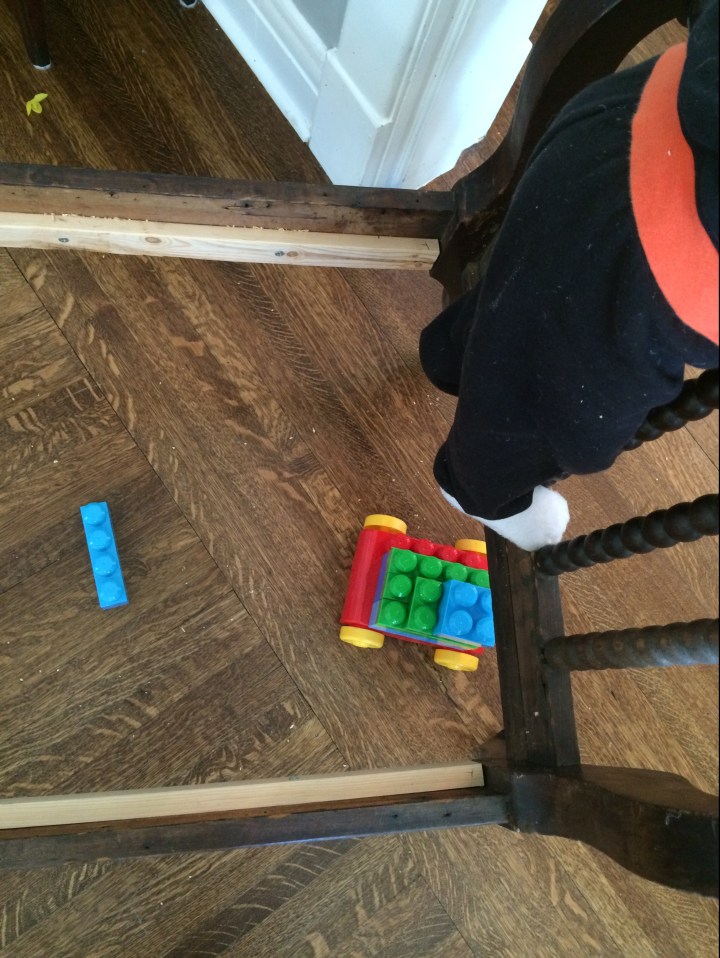
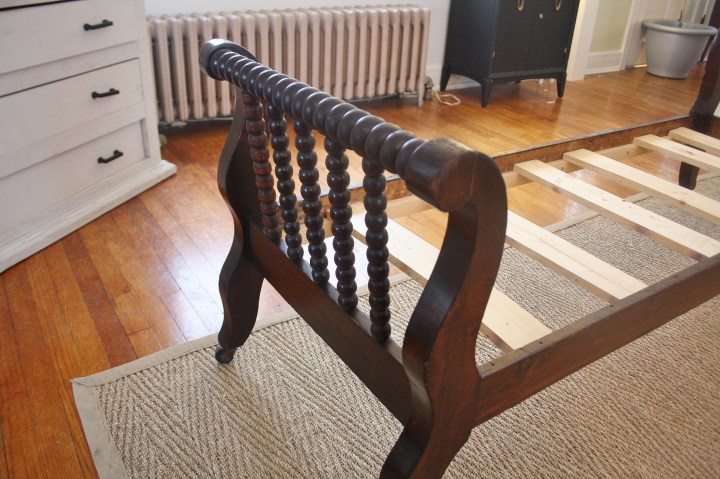
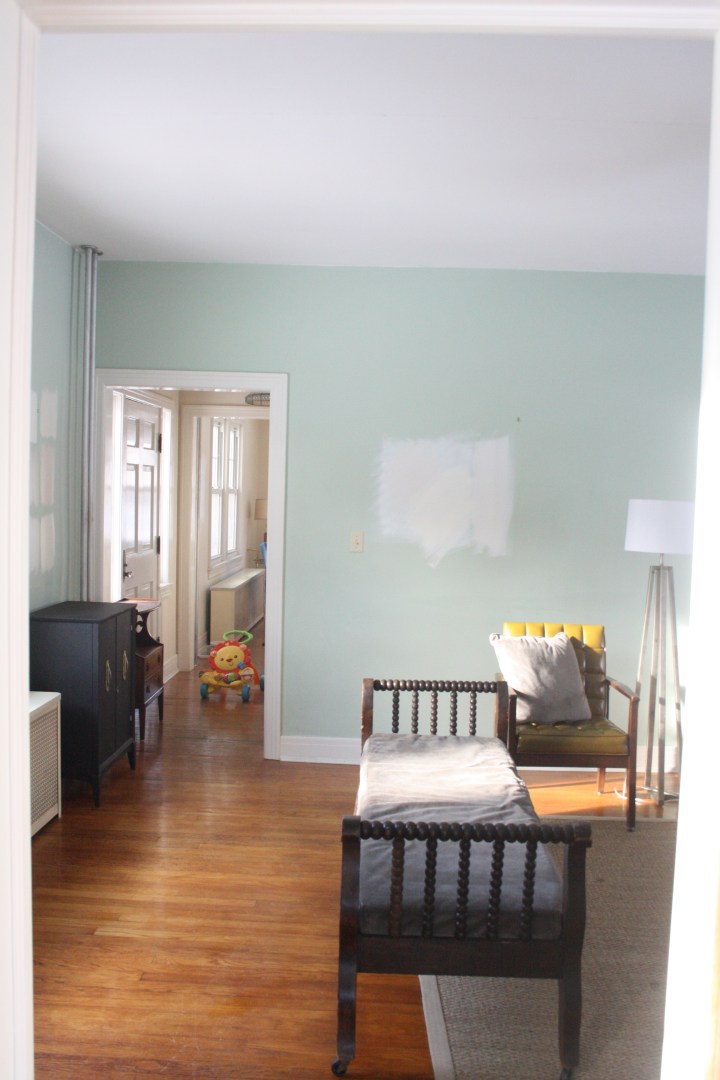
Here are some (very informal) before photos in our old house. (How has Graham grown up so much?!) Where you see the new wood below, Steve had added 1x2s to the sides with small screws to support slats and a cushion. We made the slats out of 1×4 scrap lumber, which you will see below, and then cut a piece of plywood to fit over the slats and hold the cushion.
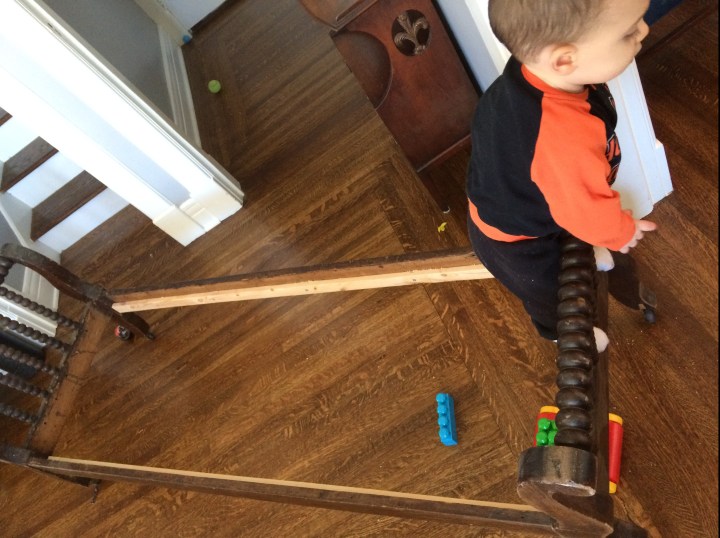
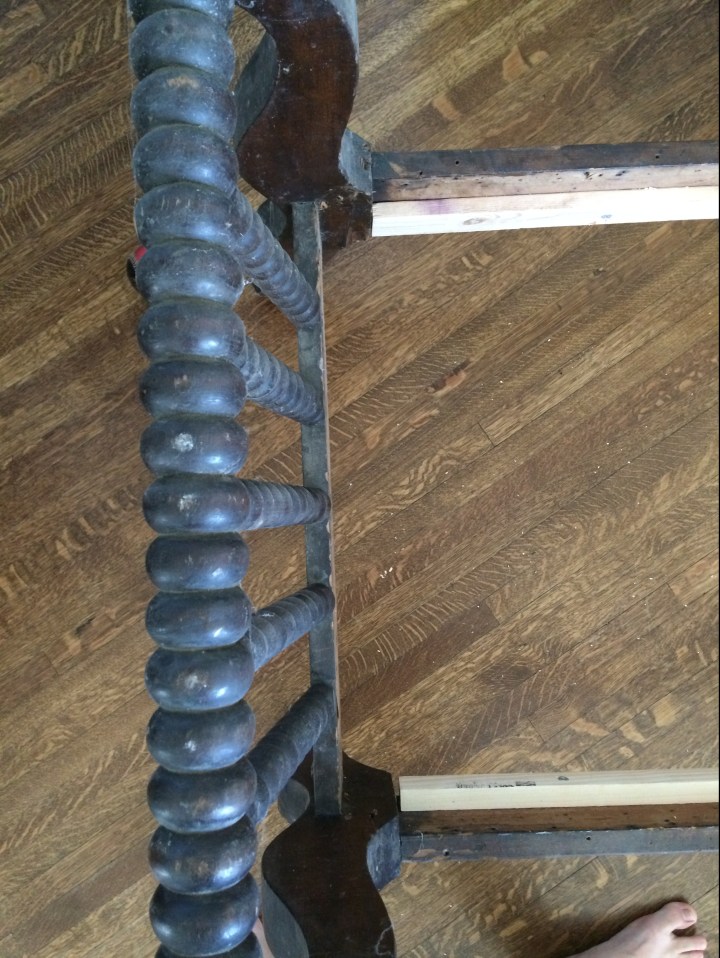
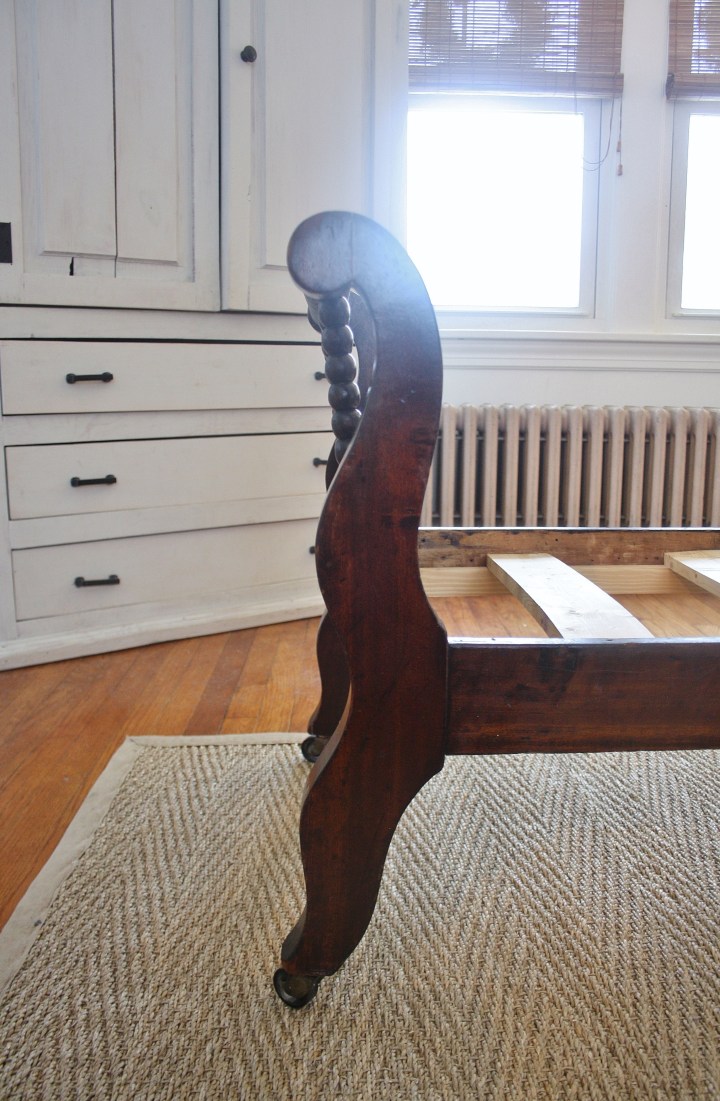
You can see here that the wood was in really rough shape. There were also a few cracks down the arms/legs that Steve’s uncle fixed for us with wood glue and screws.
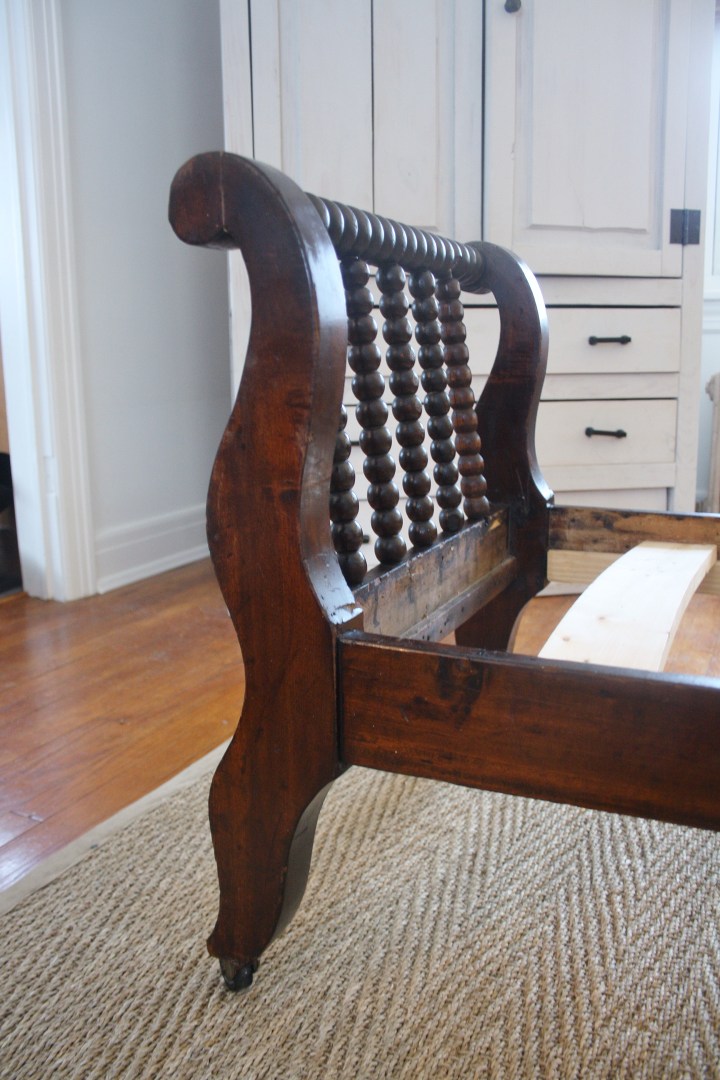
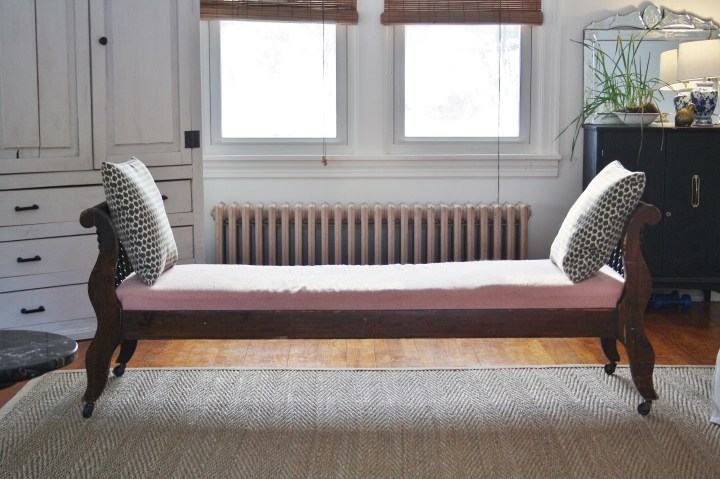
I went through these steps to refresh the wood last week (3 years – a normal length of time for me to finally address a project!). These photos were taken after cleaning it with Murphy’s Oil Soap and very fine steel wool, and then adding one coat of Restore-a-Finish. I went back and added another coat of Restore-a-Finish and a coat of Danish Oil afterwards.

As for the cushion, that’s a long story. This bench was my first ever attempt at a box cushion. I used dark grayish-brown velvet I found on clearance at JoAnn’s, which I never really liked. The box cushion turned out okay for my first try, but it was definitely baggy. So, I had wanted to reupholster it for a while, but then we decided to move, and projects at the old house took over, then we actually moved and projects here took over — you get the picture.
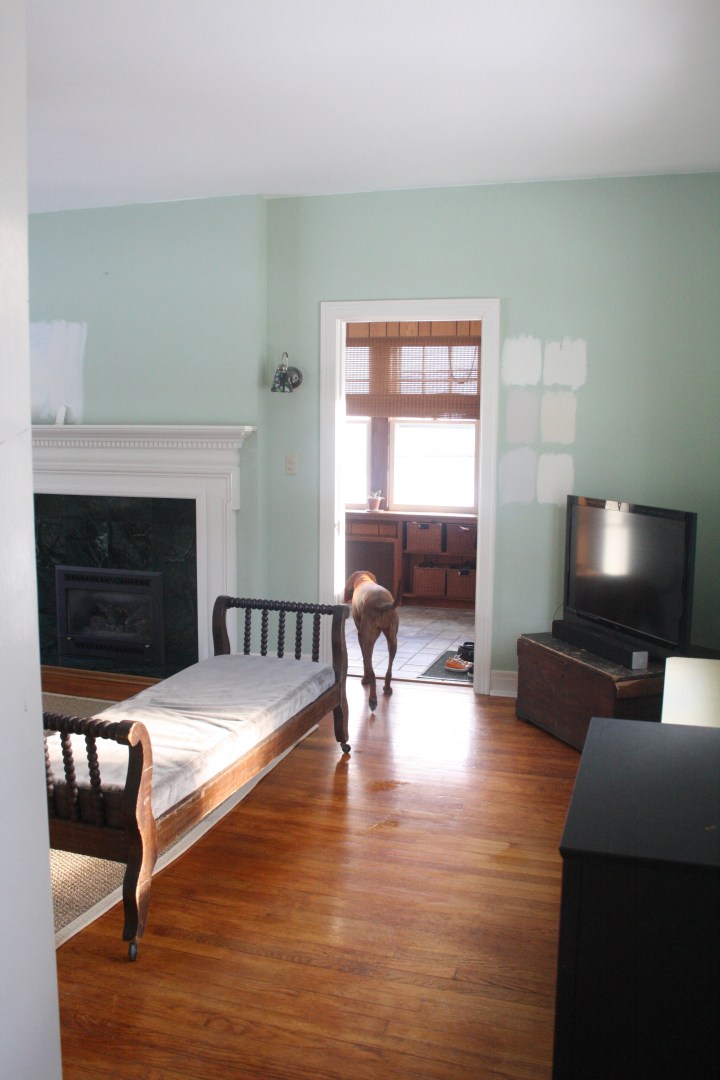
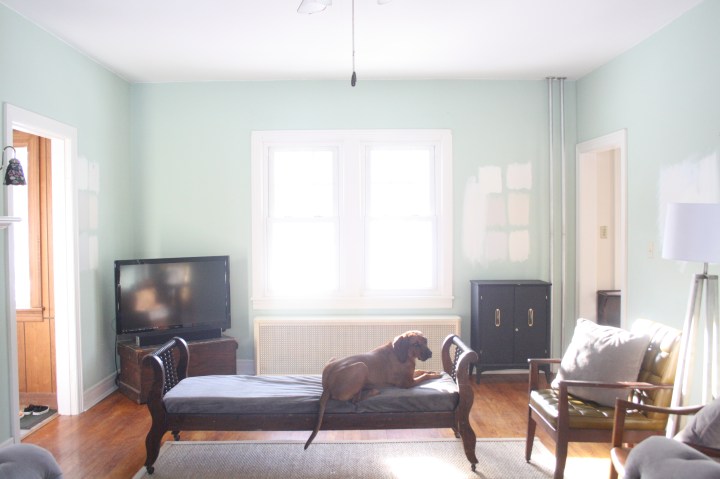
Here is what it looked like with the gray box cushion, just after we moved.
Then, before our Christmas party this year, after I found our short-lived coral couch, I decided to reupholster the bench with this random coral curtain I found at Target so it matched and everything looked pretty. You can see more about that here. For that, I just stretched the fabric around the original foam that I had used and stapled it to the underside of the plywood.

The coral was definitely pretty with the mahogany wood, but the curtain fabric was not made for upholstery and started to pill immediately. Plus, it didn’t match our new, neutral living room.
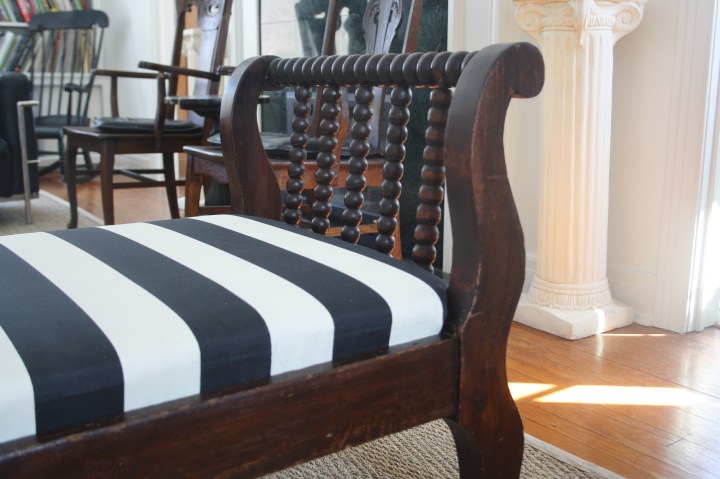
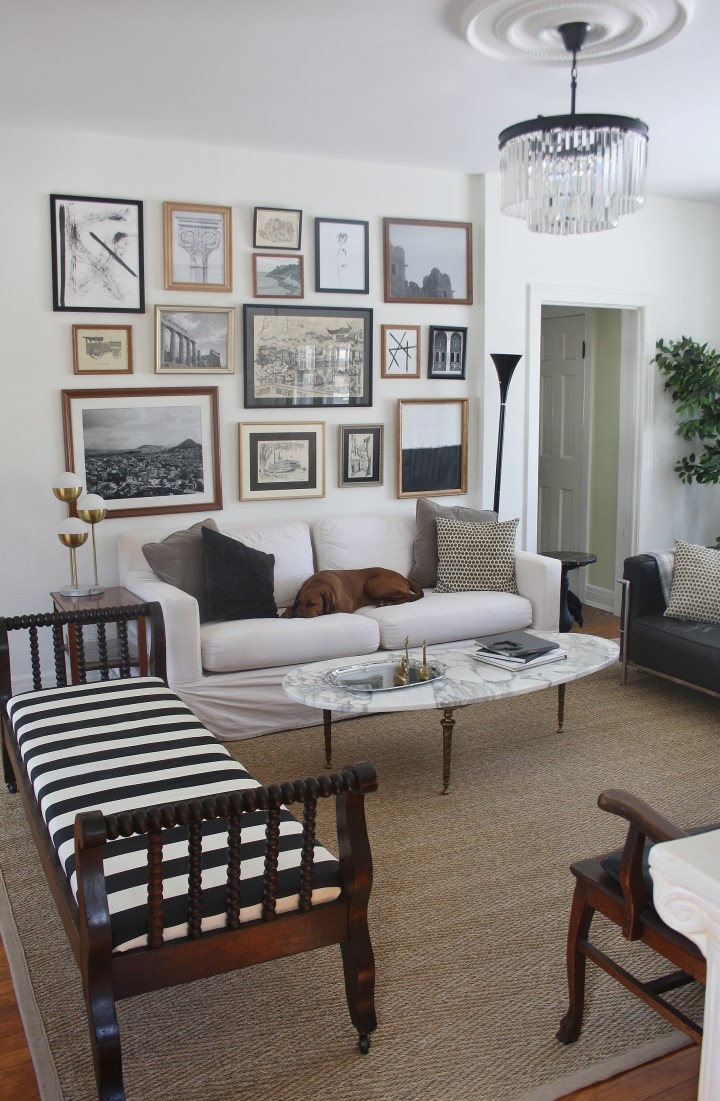
When I found this bench originally, I was really inspired by Nicole of Making it Lovely‘s black and white striped couch.
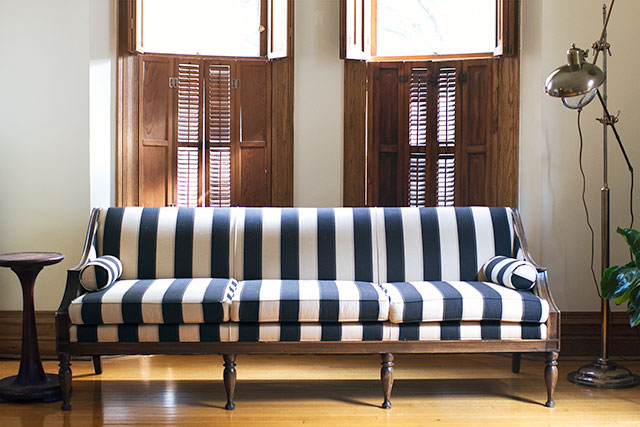
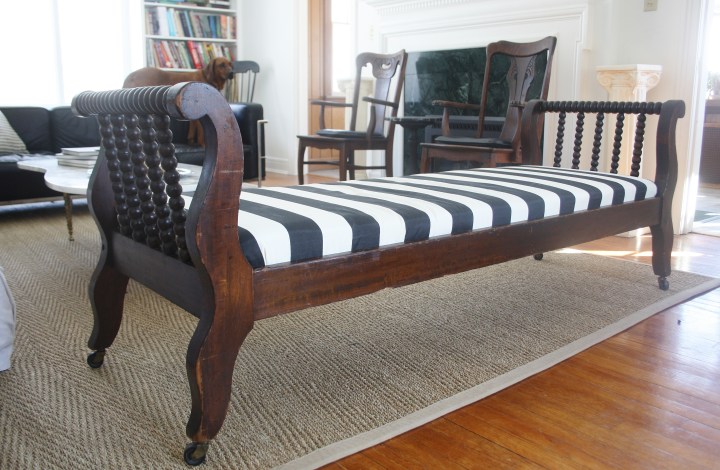
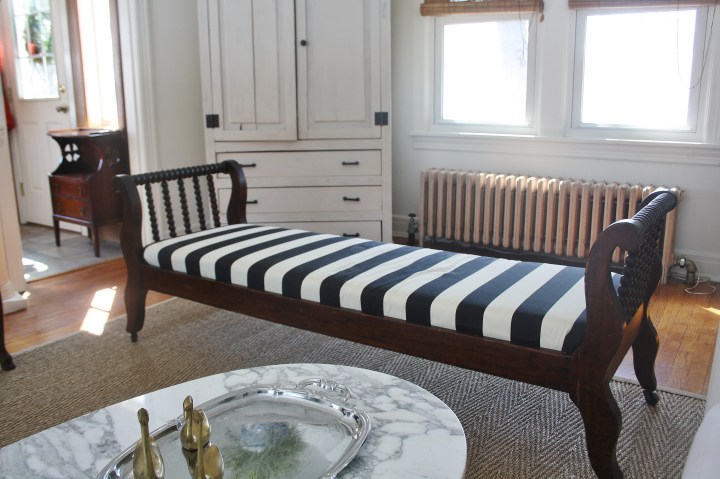
The stripes are graphic and modern in a timeless way and really set off the more detailed antique architecture of the couch and the beautiful wood tone.
So I finally came back to that look and searched for the perfect black and ivory stripe. (The black and white stripes I found at my local fabric shop were too brash.) I found just what I was looking for, and for a great price point, at Online Fabric Store. It is Premier Prints Outdoor Vertical Ebony Fabric and it was just 8.98/yard! I bought three yards and had plenty to spare. (I plan to use the extra for the backs of some pillows.)
I was too afraid to attempt a box cushion again (I’ll try it again sometime!), so I upholstered this the same way I did with the coral fabric.
I knew I wanted the stripes to run short ways as opposed to long ways, but the fabric was too short in that direction, so I would have to sew it together seamlessly and I was really nervous! I even tried to talk myself into thinking that long ways looked okay (a quick Instagram poll that was 100% against that set me straight pretty quickly). Finally I sucked it up and got sewing.
I laid the fabric right side together and lined up a white stripe next to a black stripe. Luckily I could see through it to see where the two colors met, and this was the same line I followed when I stitched it.

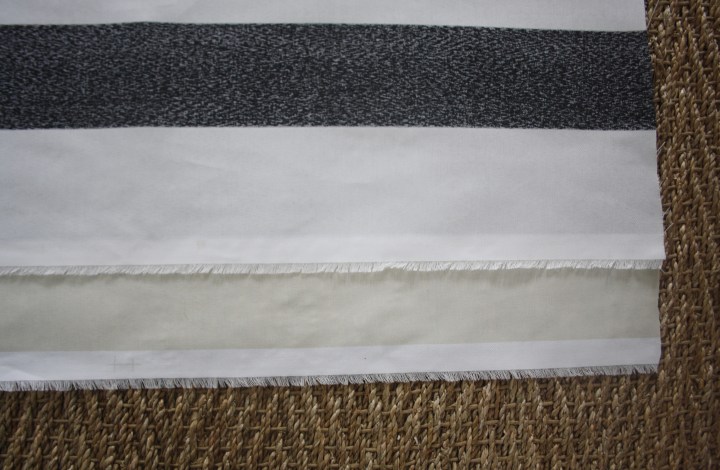
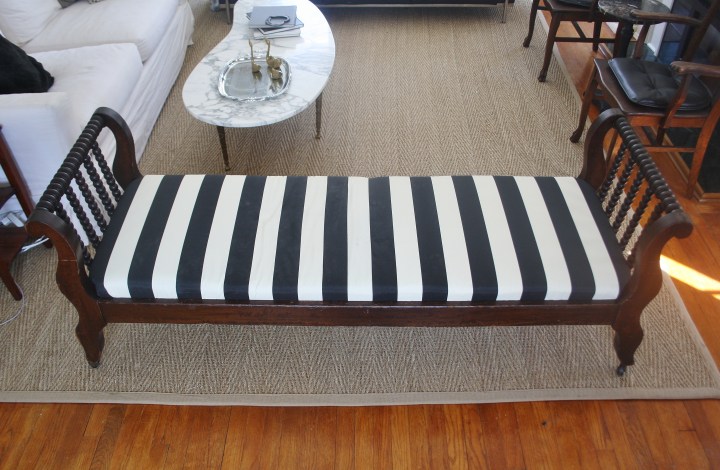
I pinned it together and stitched it, and miraculously it came out perfect! You can’t even tell there is a seam there. Yes!
When I went to cover the cushion, I realized that I could see the green foam through the ivory stripes (duh), so I bought an ivory top sheet at Walmart for $5 to cover it with first.

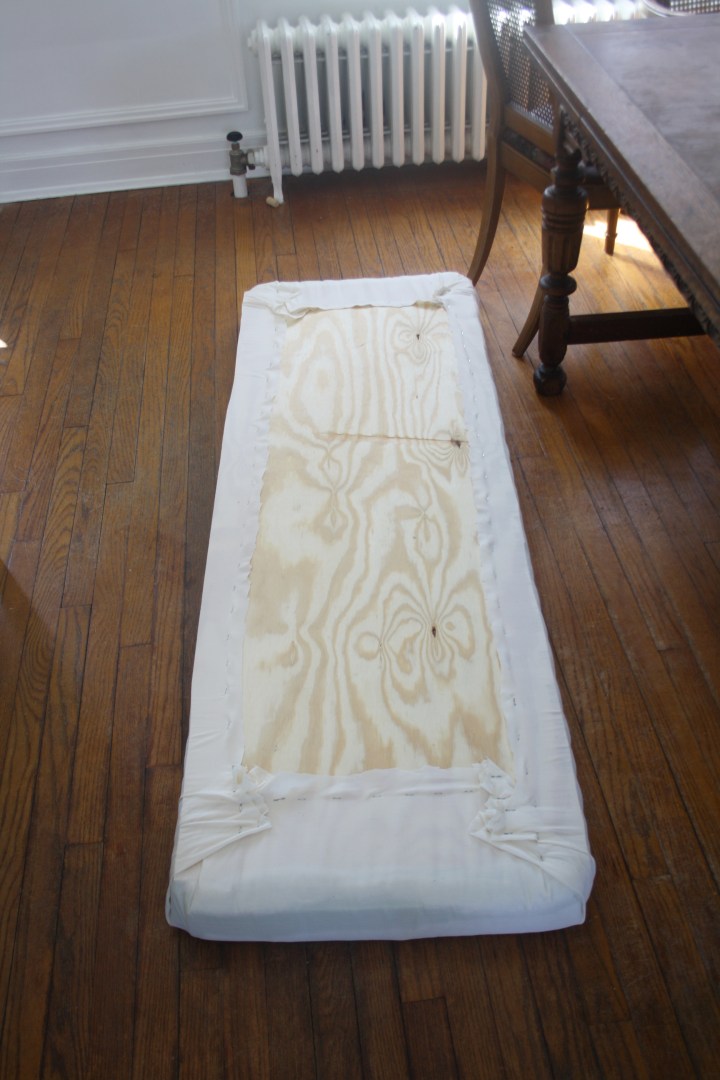
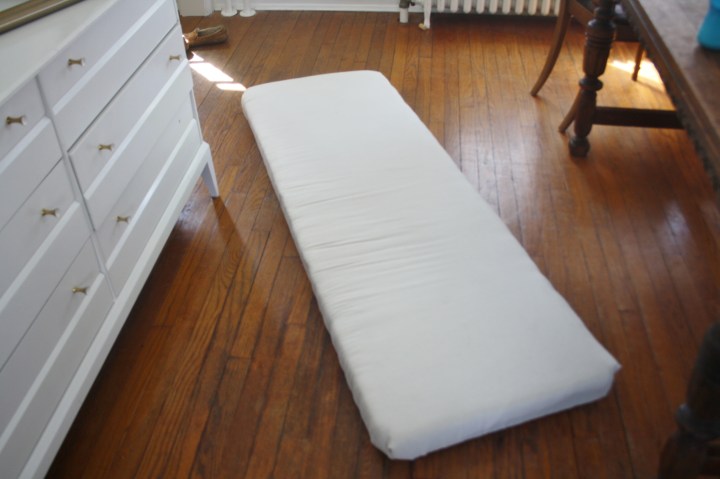
Iron the sheet and staple it snugly around the foam and plywood, then trim. Nice and easy.

(The plywood is shorter than the foam because the bench has a strange notched out area at the end — in case you were wondering!)
I marked the midpoint of the cushion lightly on the side and lined up the center seam of the striped fabric with that mark. After that it was just a basic seat cushion upholstery job!
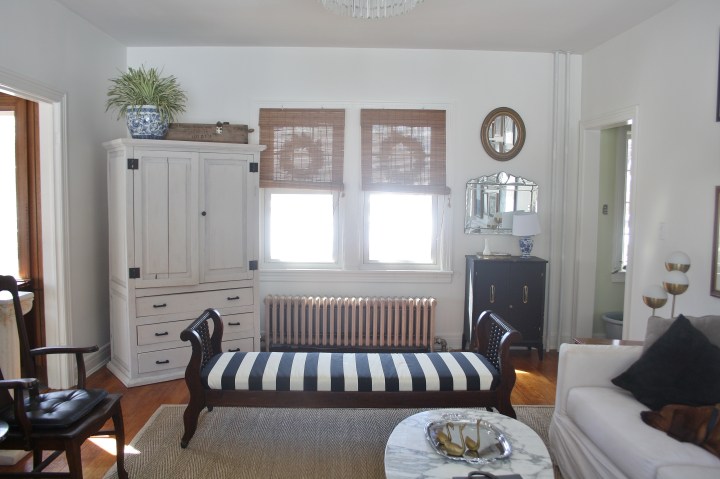


No joke – the day after I upholstered this, Harrison drew all over two of the ivory stripes with blue crayon! I did end up getting it out with my favorite Spray n’ Wash, recommended by my amazing Grandma. Let’s just pray it stays clean from here on out.
Does anyone have any good box cushion tutorials?? Let me know!

So beautiful! I cant wait until I have a house of my own to implement all your perfect ideas !
Thanks Andie! I can’t wait to see what you do, too!!