Almost all of our furniture is vintage or antique. I just like it so much better than most new things — it’s the best quality, the most beautiful wood, with unique details you can’t find anywhere else, and of course at a great price point.
But of course, when you’re buying vintage, you have to be okay with “not perfect.” Wood will likely have dings, small scratches, cup rings, or maybe even breaks — but if you’re willing to do a little work, you can make most things look as good as new, without fully refinishing them!
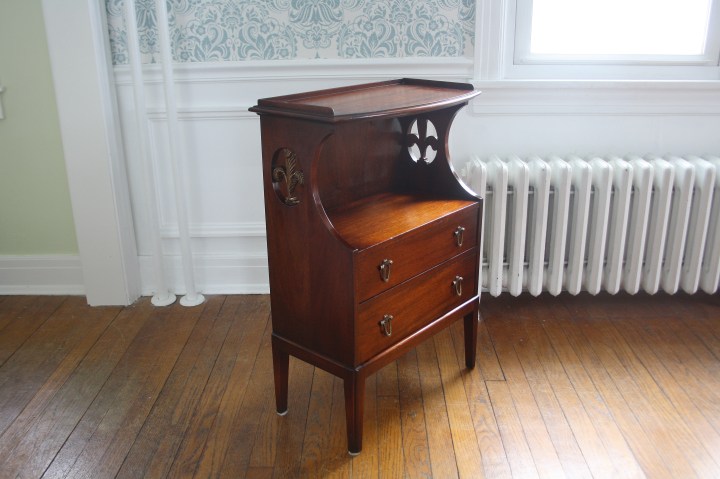
This stand is one of my favorite pieces of furniture because it is so unique and versatile. I currently have it next to the front door to drop keys and things, but I have also used it as an end table in our old living room. It was a $40 Craigslist find.


As you can see, the wood was in rough shape. It had lots of nicks and scratches from the kids constantly playing with the drawers and climbing on it (they went through a months long stage where they would put all of their toys in the drawers and climb on it to look out the window.) They ended up breaking the lip off of it, and lost interest in it soon after that. At least it was a relatively clean break, and easy to fix (I’ll show you below).
Here are the steps I took to make it look (almost) as good as new. You will need Murphy’s Oil Soap, Ultra Fine Steel Wool, Restore-a-Finish in the correct stain color (I used Mahogany), Danish Oil, wood glue, clamps (these, these, these, or these depending on the job), gloves, and a few rags.

Step 1: Repair any breaks with wood glue.

To repair breaks, first be sure the broken pieces are clean and free of old glue residue (if it’s a previous break that someone tried to repair). Use a small bead of wood glue on the break and press firmly together. Immediately wipe with a wet rag to get any residual wood glue off the outside of the break. Clamp if possible until fully dry.


Step 2: Clean with ultra fine steel wool and Murphy’s Oil Soap.
Dissolve about a tablespoon of Murphy’s Oil Soap in a big pan of hot water. Then lightly scrub the entire piece using ultra fine steel wool.
This will help you get any grime out of the wood grain, even out the finish, and generally get it ready to accept the stain and oil. As you scrub, wipe it down with a dry rag — don’t leave standing water on the wood.
Then, clean with plain water and wipe down with a dry rag, just to get any residual soap and dirty water off the wood.
After these steps, the wood is going to look very dull and grayish in areas — probably worse than it did before! Don’t worry, the next step will be super satisfying.
Step 2: Restore-a-finish.
Wearing latex gloves, put Restore-a-finish on a rag and rub it on the wood in the direction of the grain. This is a very forgiving product, you can’t really mess it up! You can apply more to dings or scratches that are very noticeable, but make sure you put it all over the piece for an even finish. Wipe it down gently with a dry rag afterwards to remove any residual product sitting on top of the wood.
Step 3: Danish Oil.
After the Restore-a-finish is completely dry, grab another rag (still using gloves) and wipe the entire piece down with Danish Oil in the direction of the wood grain. This will just feed the wood and make the whole piece shine.
And that’s it! Beautiful, healthy, restored wood, and it only takes about a half hour.


If you have photos of your own furniture refreshes, send them my way! I’d love to see.

Nice Job – A beautiful piece getting a second life!
I love making things last for another generation!