
This post may contain affiliate links. We will receive a small commission when you shop the links.
In our living room, I knew I wanted a really cozy feeling. For a long time, I was imagining grasscloth, specifically, Schumacher Acanthus Stripe, but after thinking about it (for the past 3 years) I decided that grasscloth didn’t feel quite right for the era of our home.
I decided that what I loved most about the Acanthus Stripe wallpaper was the warmth of the grey-beige background and the nature-inspired stylized stripe pattern. I looked at a few wallpapers that could recreate that feeling, but at some point it popped into my head that I’d love to use a the incredible plasterwork on the living room walls as an inspiration for the motif on the walls (I have this thing with using design callbacks).
So, I decided to create my own stencil. I did a bit of research online and then just ordered supplies and jumped into it.
Here are the supplies you will need to create your own stencil:
— Something to use as a pattern. It can be something you already own , or a pattern from a design book. Below are a few books that have great historic designs that you could use to make a pattern. Or you could draw one freehand.
Fantastic Ornament: 110 Designs and Motifs
Victorian Patterns for Artists and Designers
Ornamental Borders, Scrolls and Cartouches in Historic Decorative Styles
3,000 Decorative Patterns of the Ancient World
150 Full-Color Art Nouveau Patterns and Designs
— Mylar to cut the stencil from. I used this one which is a good weight and size for most wall stencils.
— Paint of your choice. The colors I used were Northern Cliffs by Benjamin Moore in eggshell, Sail Cloth by Benjamin Moore in eggshell, and Rustoleum Chalked in Linen White.
— Level (a laser level would work well for this but I just used the regular level we already had)
The Process:
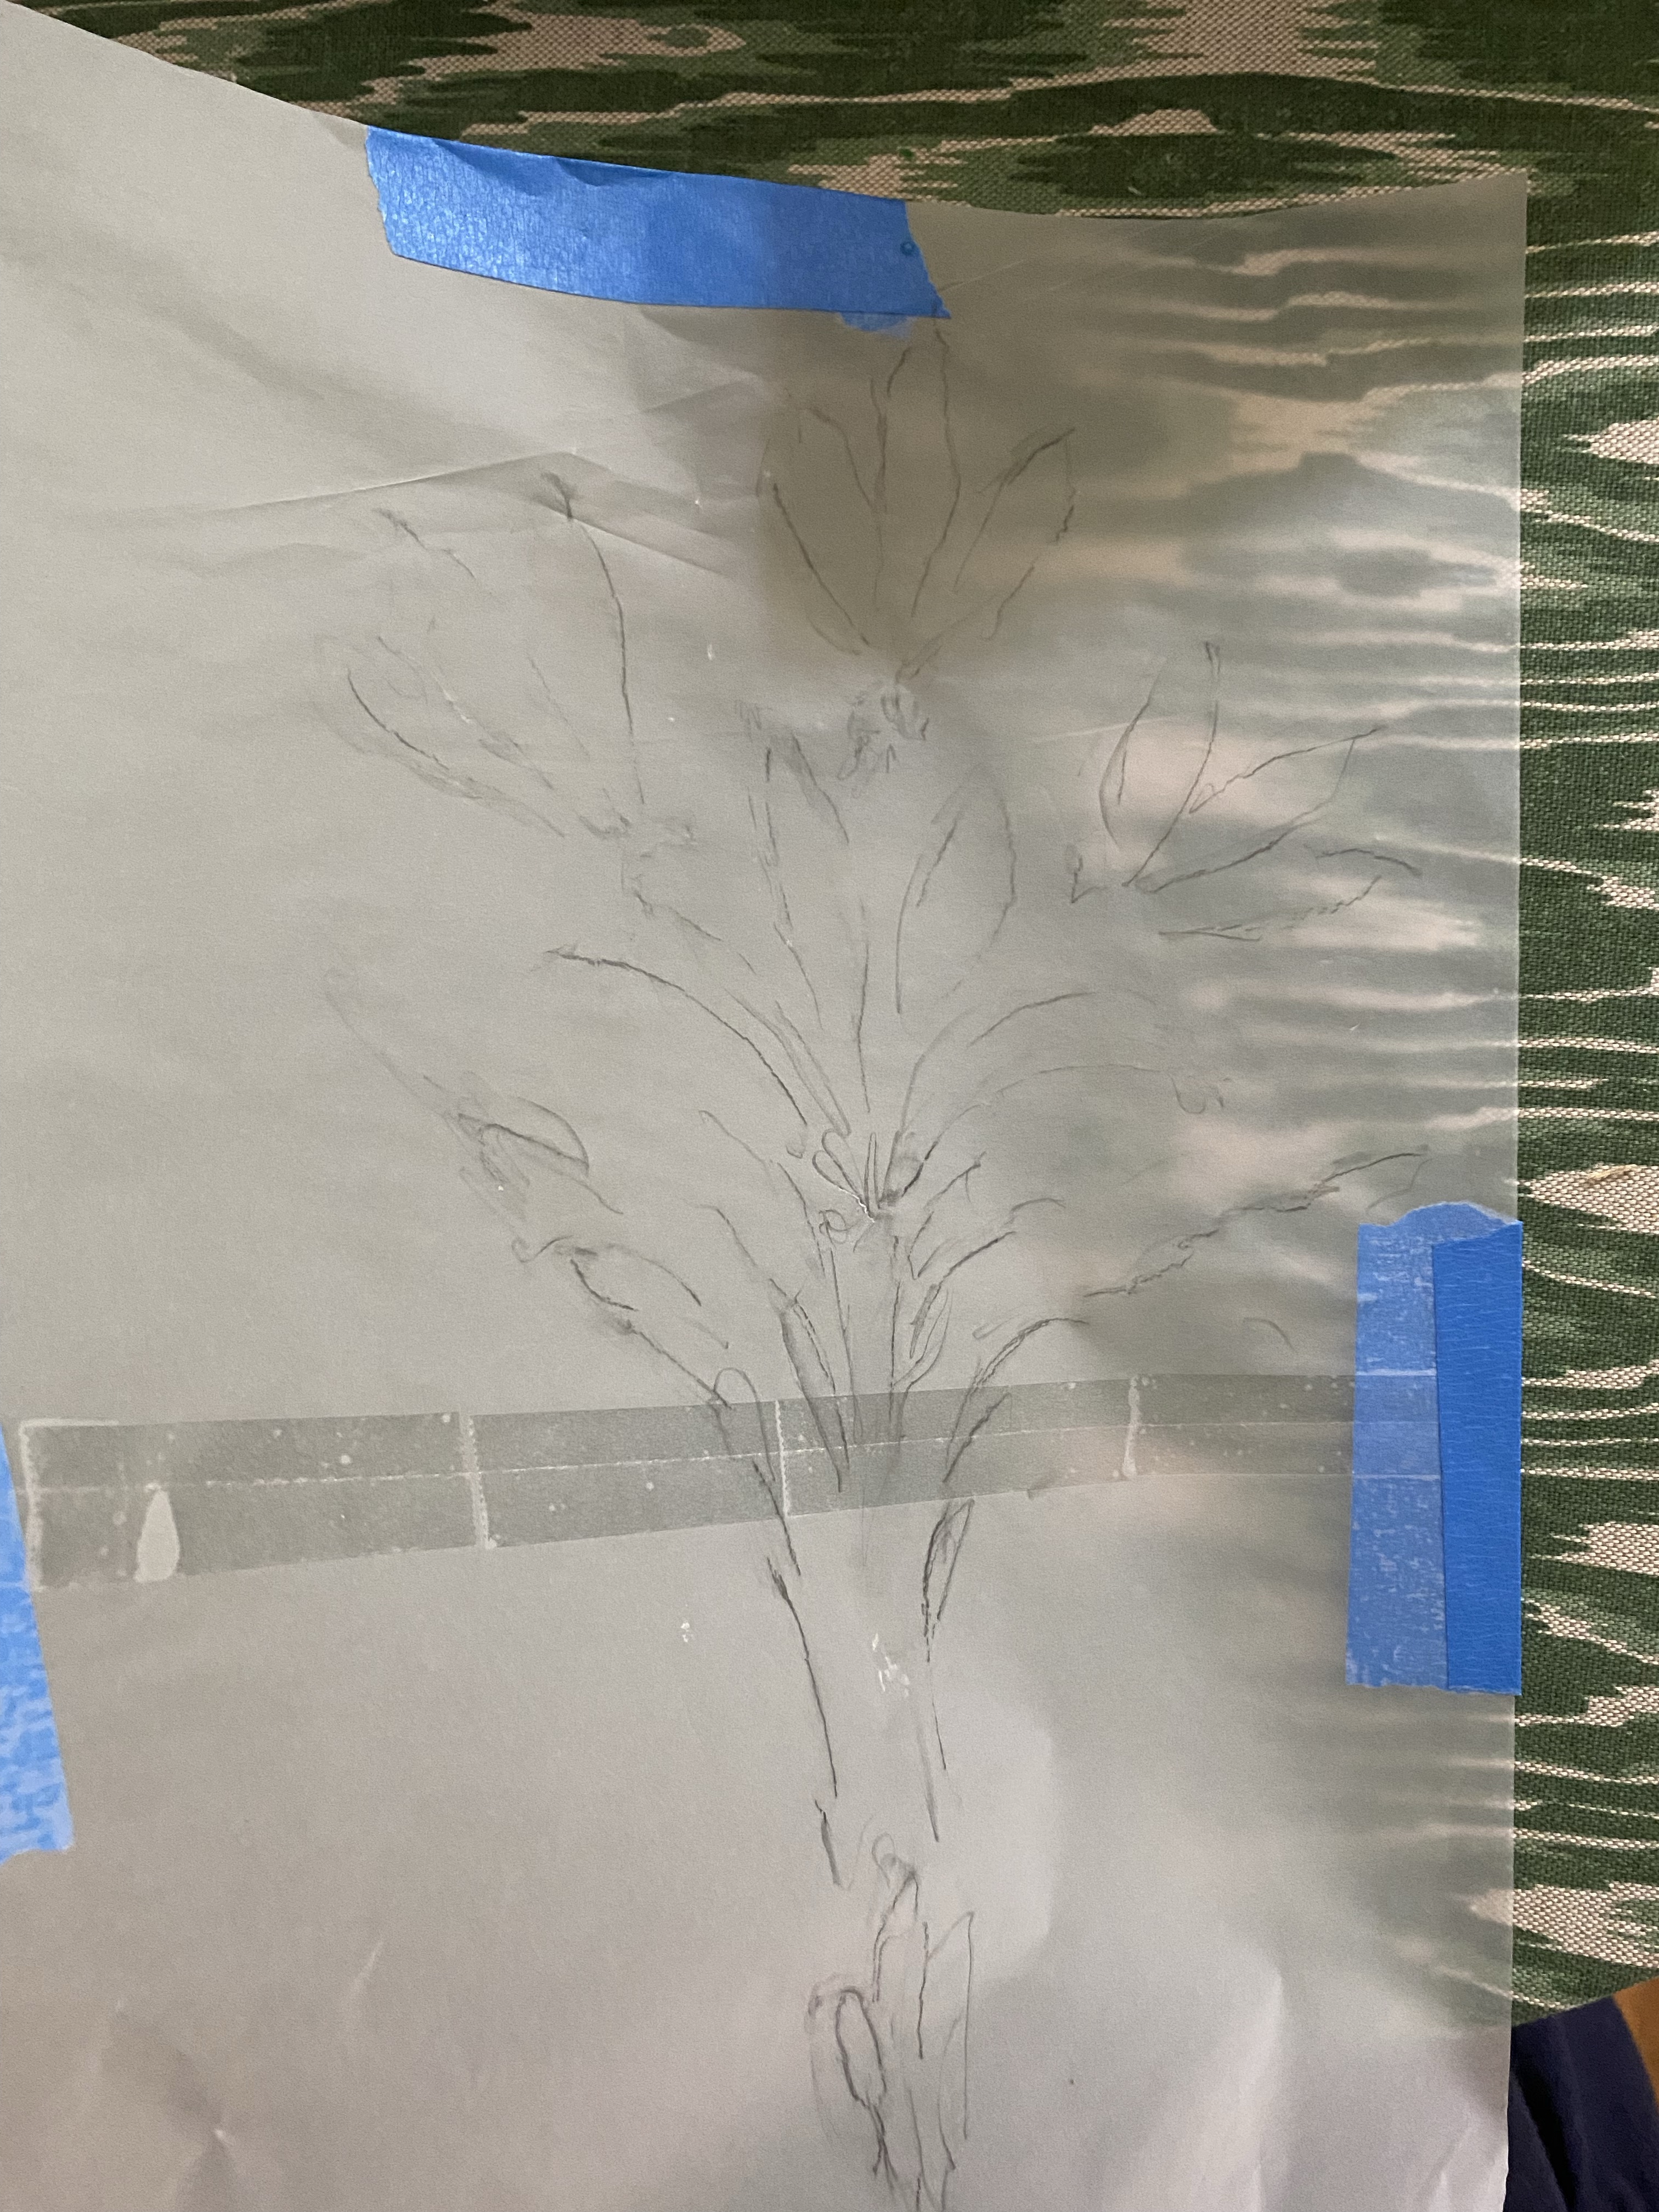
Start by drawing out your pattern on a regular piece of paper, or a tracing paper. Since my inspiration was the plasterwork on our ceiling, I tried to tape the tracing paper to the ceiling and trace it that way with the side of a pencil. This is how that came out:
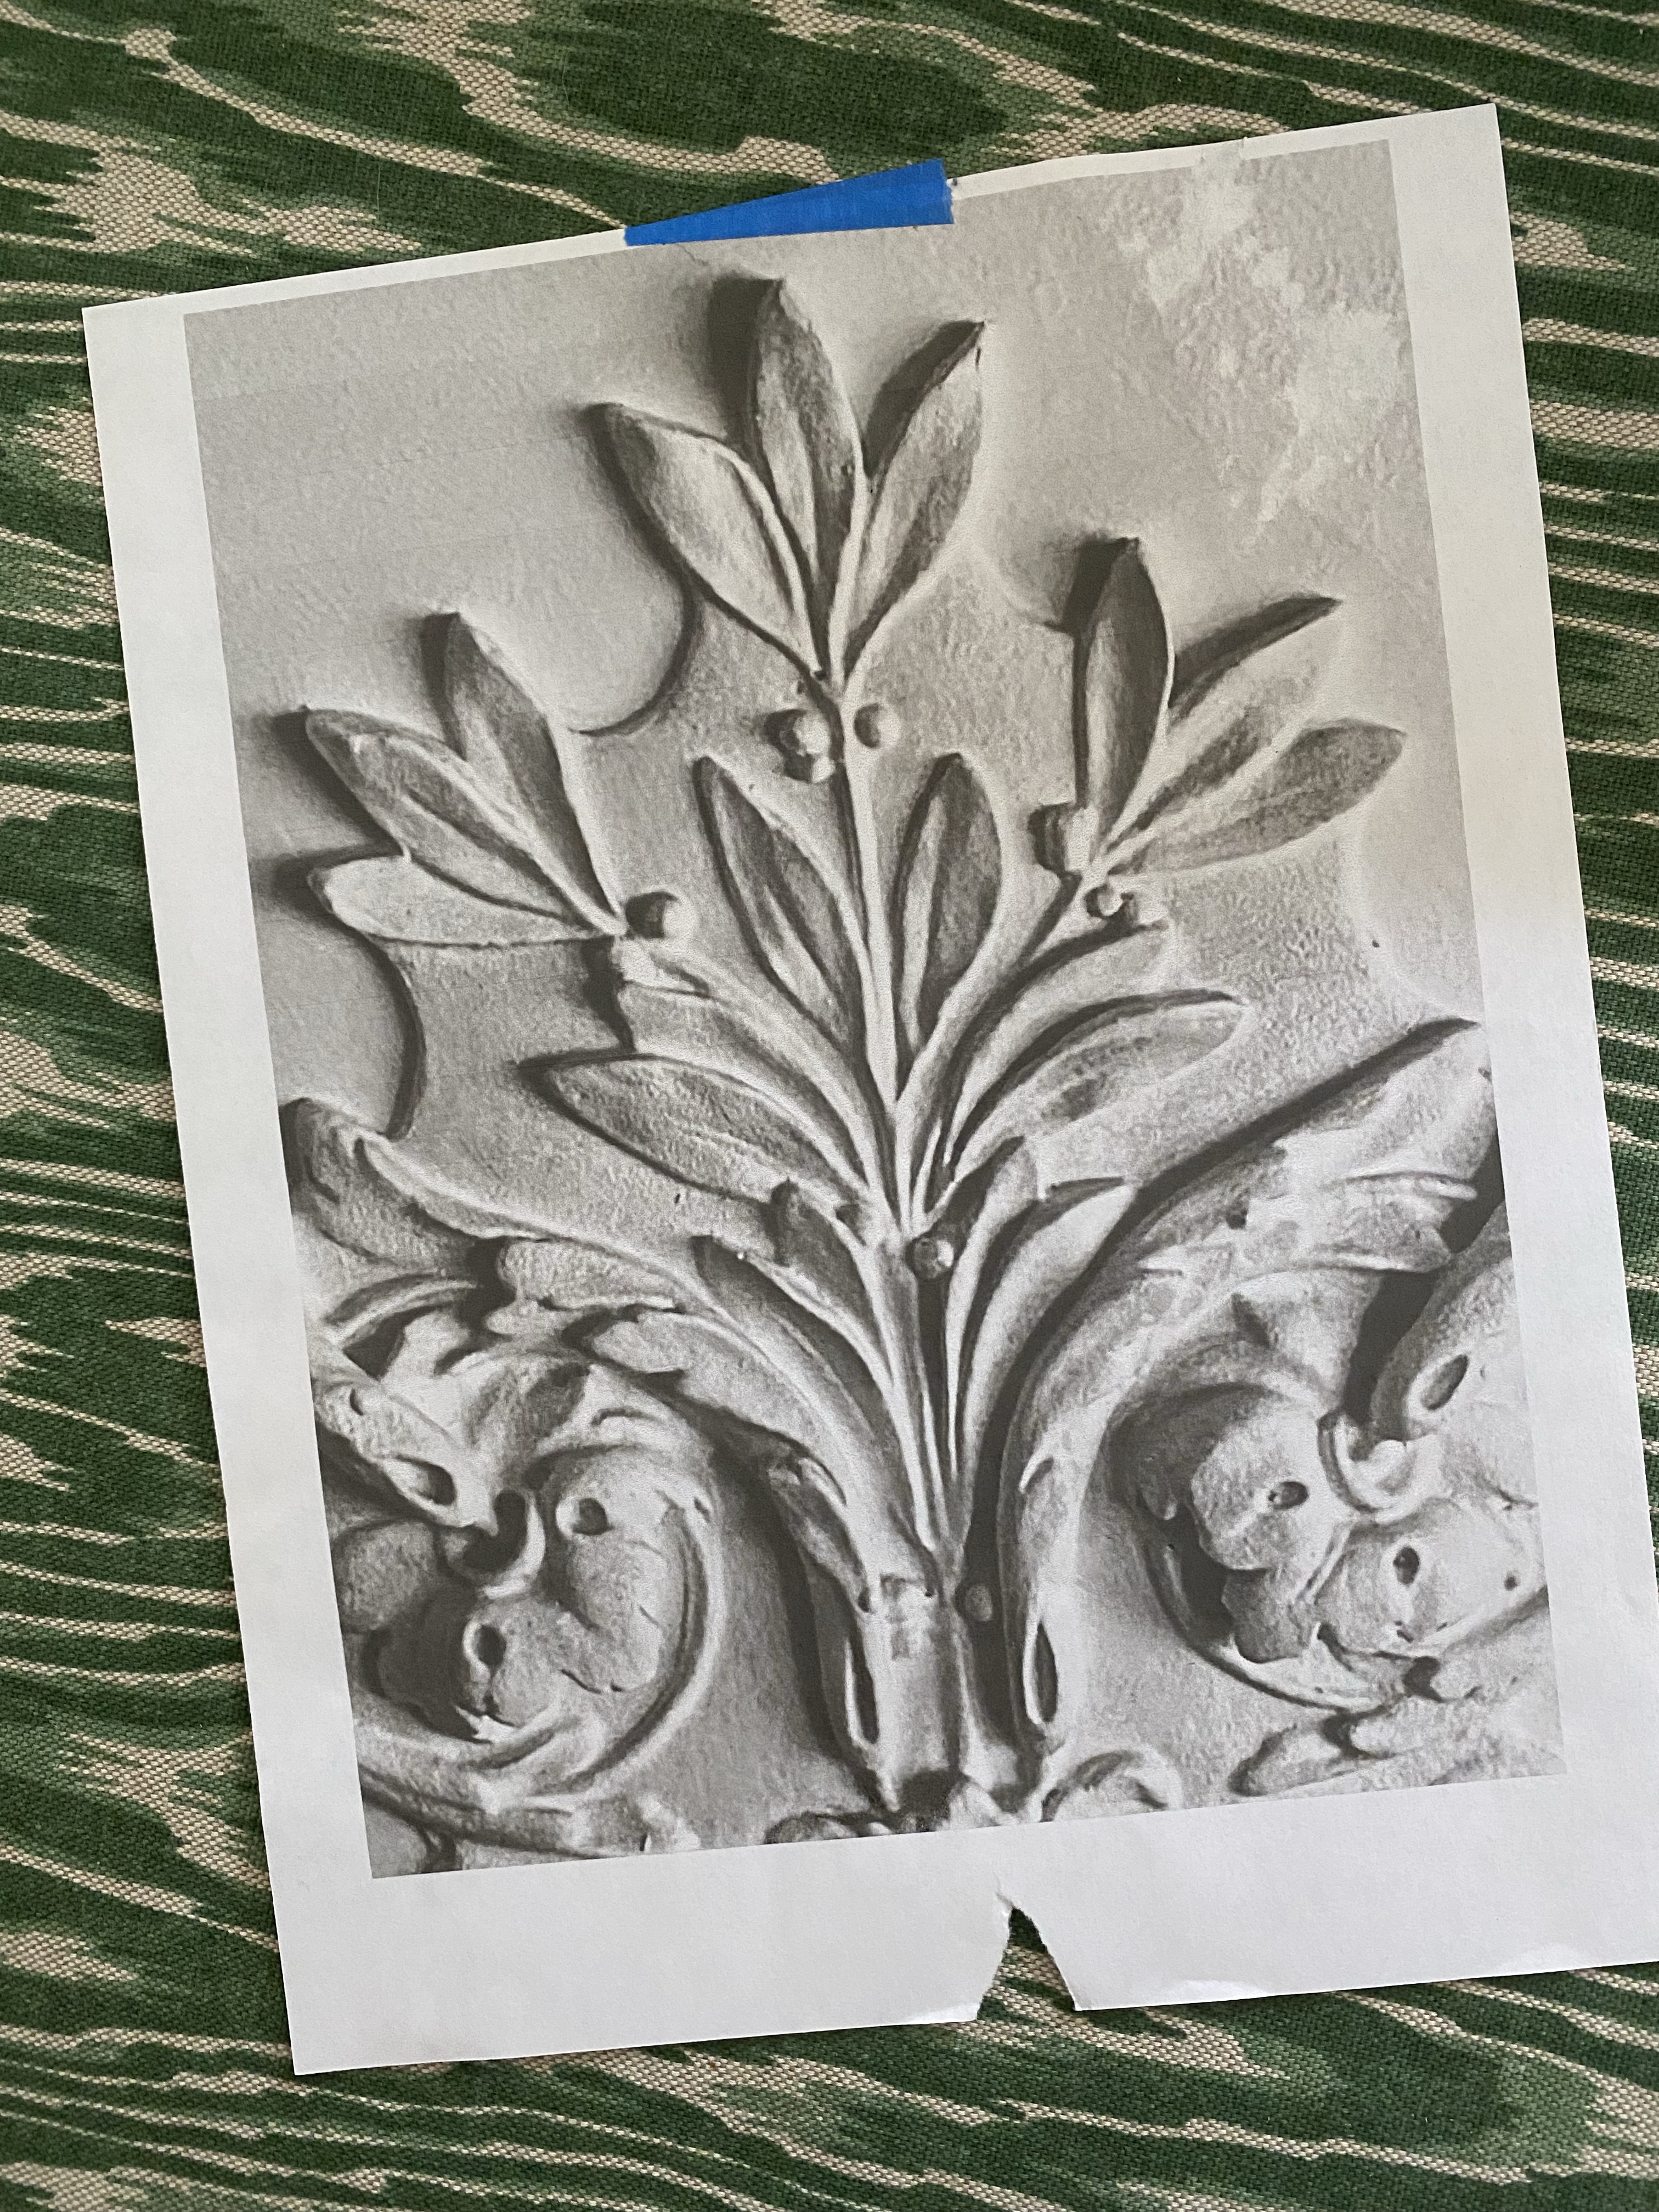
Then I took a photo of the plasterwork, increased the contrast in my phone, and printed it in black and white. That gave me a great outline to work from.
This was the first tracing I took from that printout.
But it had too much detail and parts of the design were too close together, which would be difficult to translate into a stencil. A stencil needs to have defined parts – you can add back detail later, or with a second stencil to save time.

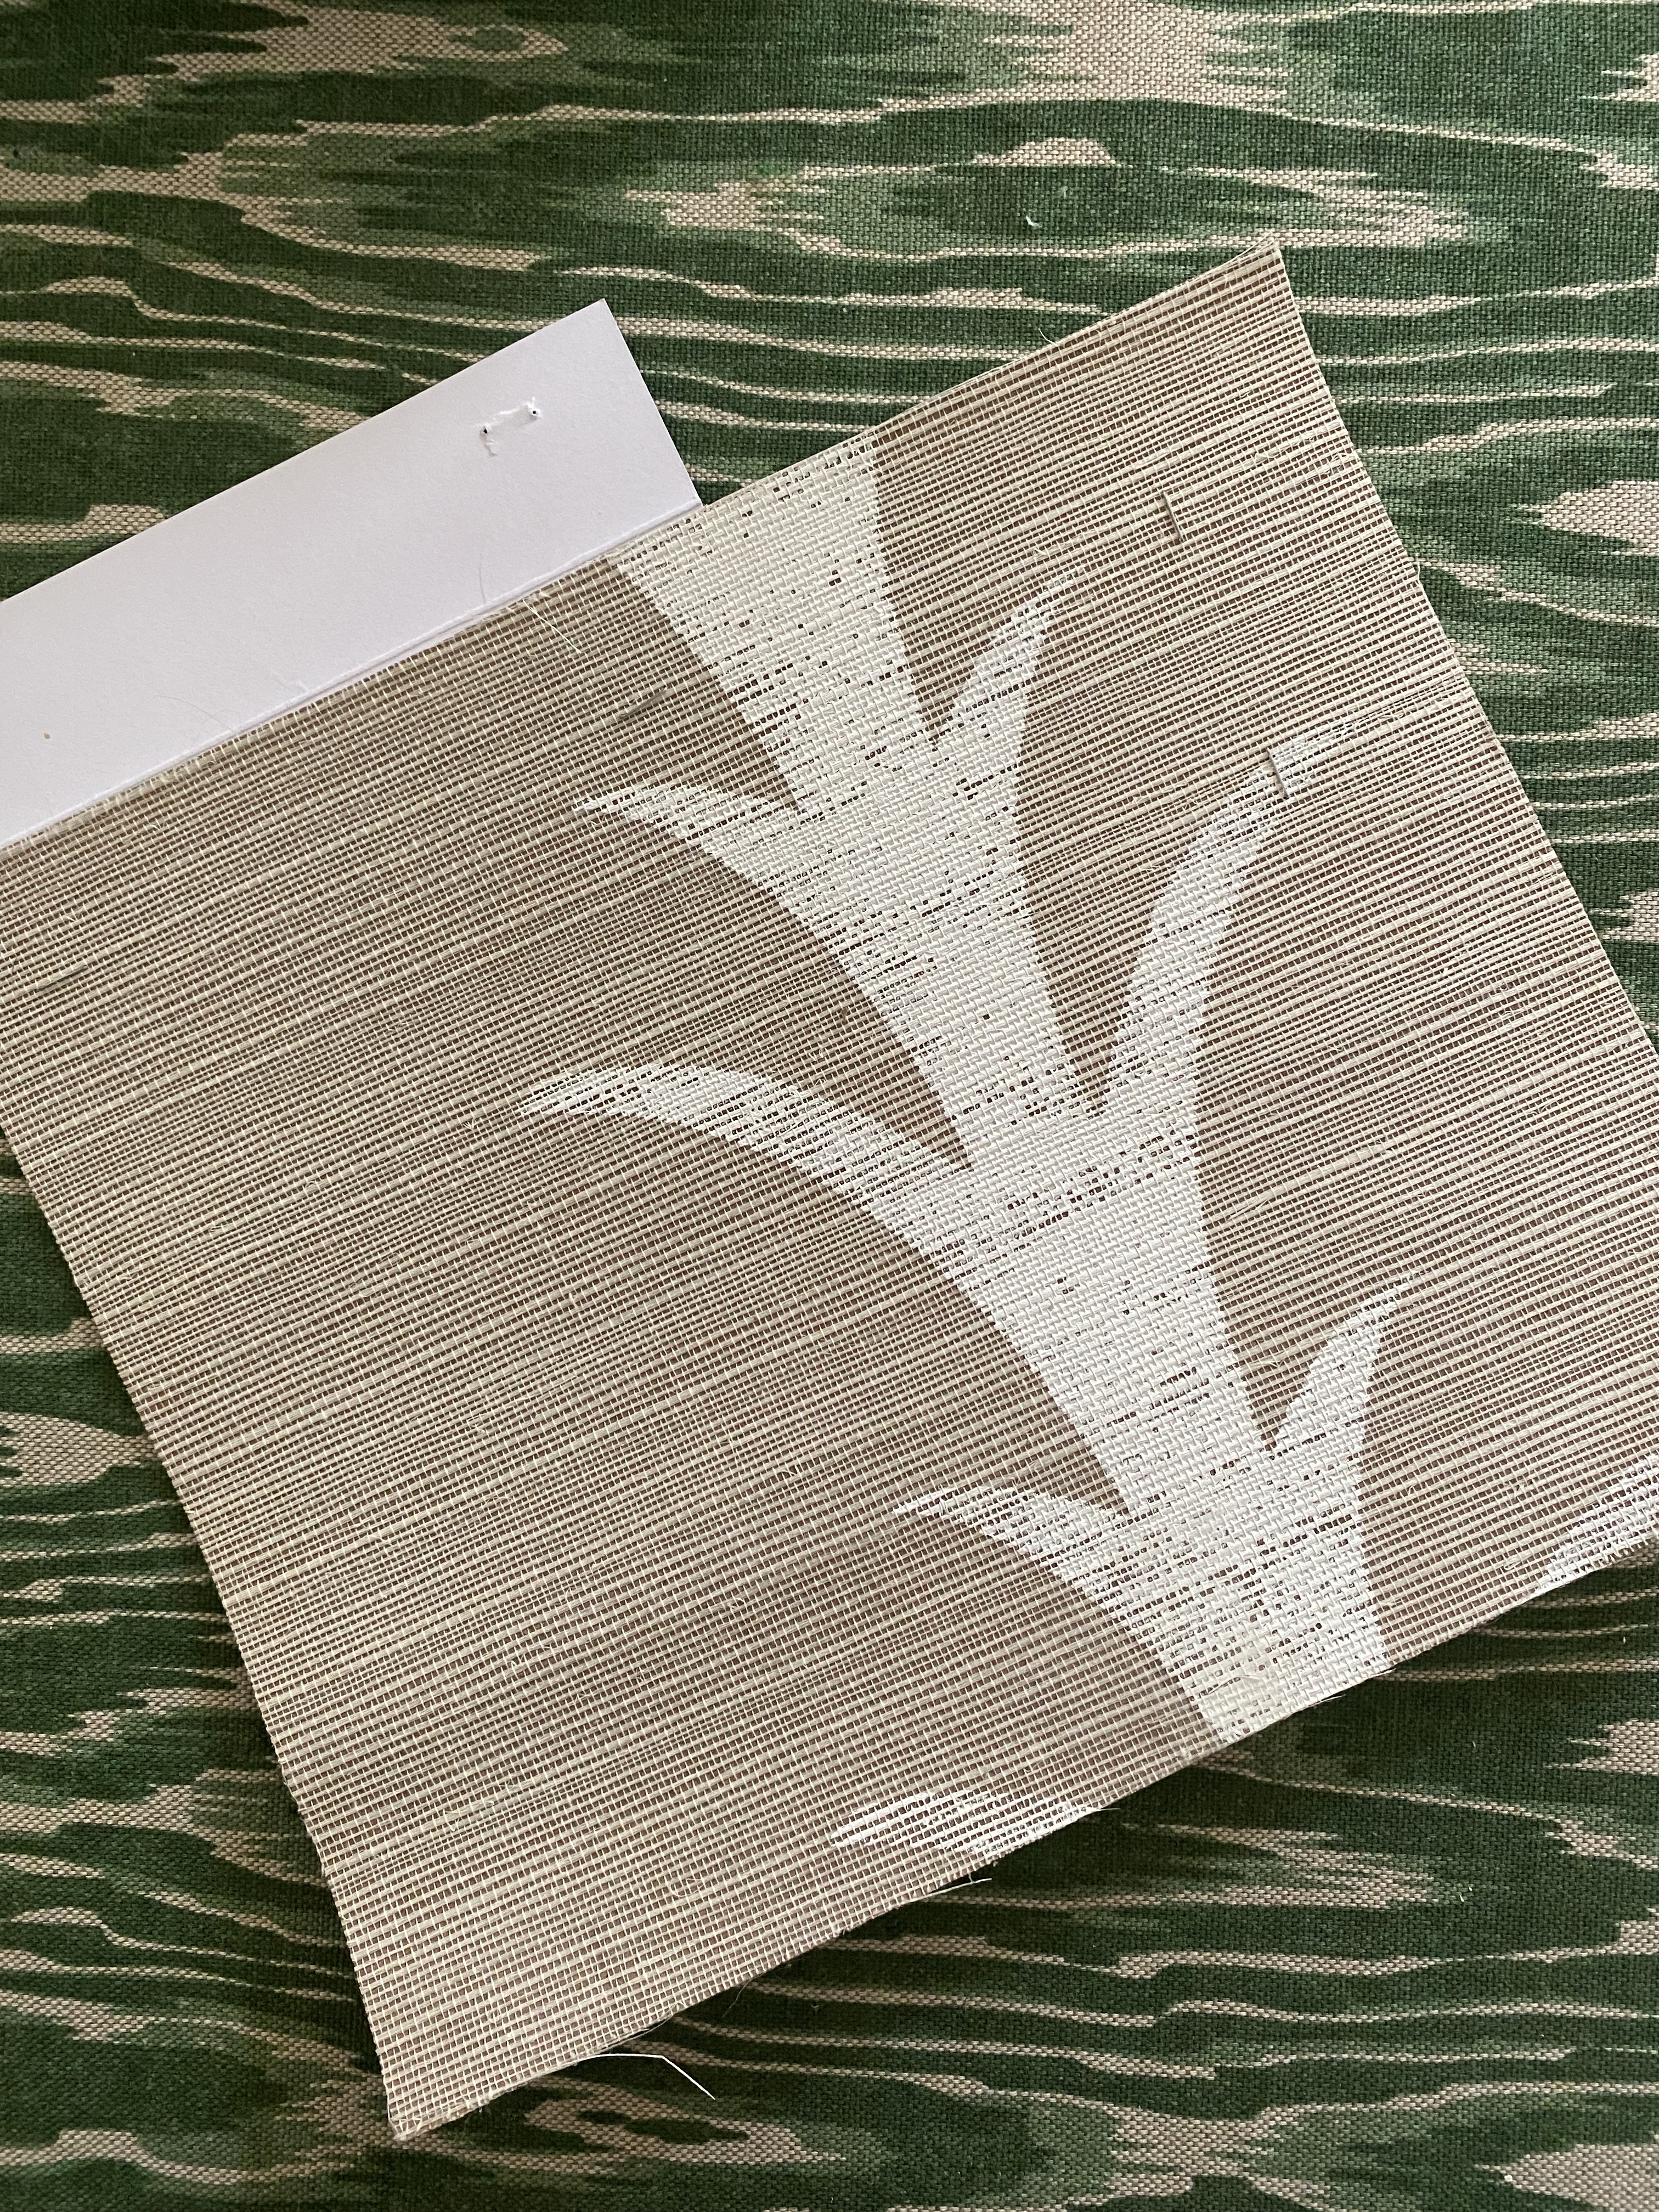
Placing my tracing paper underneath a sheet of Mylar (all on top of a cardboard sheet to protect my tabletop), I taped it all in place with painter’s tape and traced the edges of the pattern onto the Mylar with a sharpie. Then, I removed the tracing paper from underneath and taped the Mylar on top of the cardboard, and carefully cut out the pattern with my Exacto knife.
But the overall pattern was too wispy looking – I wanted it to be bolder – larger and with more space between the leaves for definition.
So I took my original photograph, cropped it to include just the parts I would include in the stencil, enlarged that to fill the page, and printed it out again.

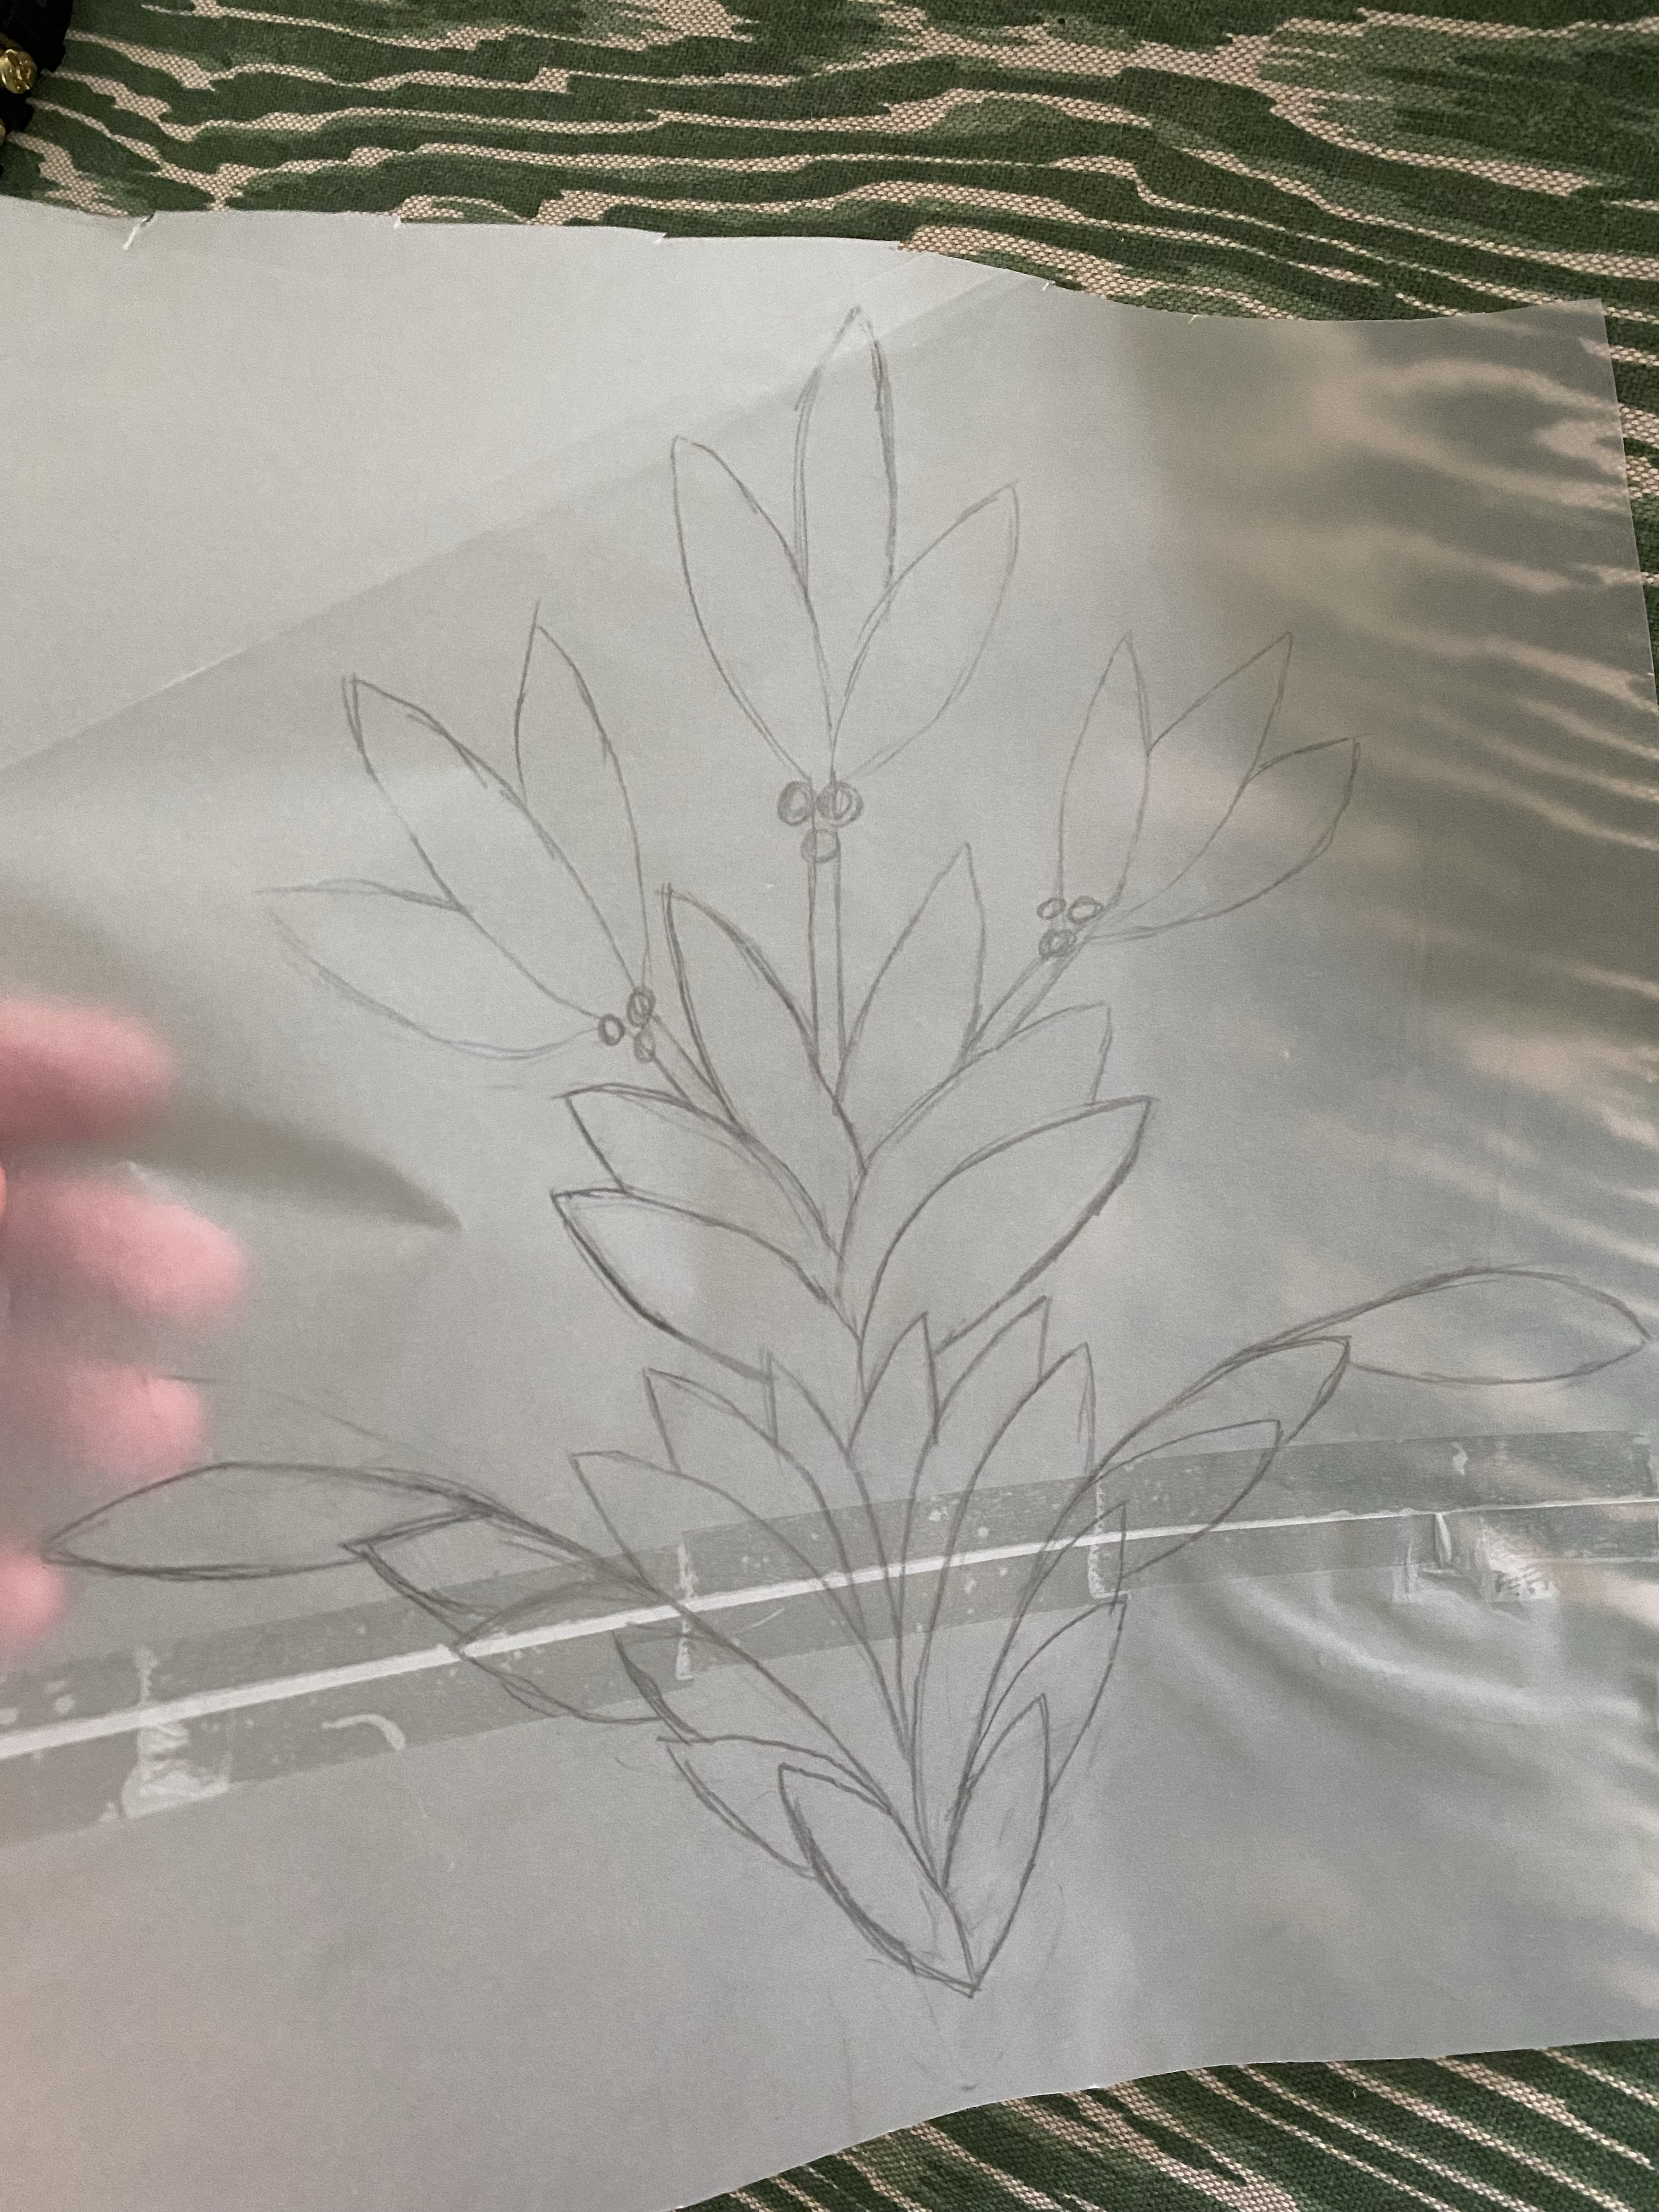
This was the tracing I took from that photo: I left out the smaller details like the berries, and concentrated on getting the bare bones of the pattern’s edges.

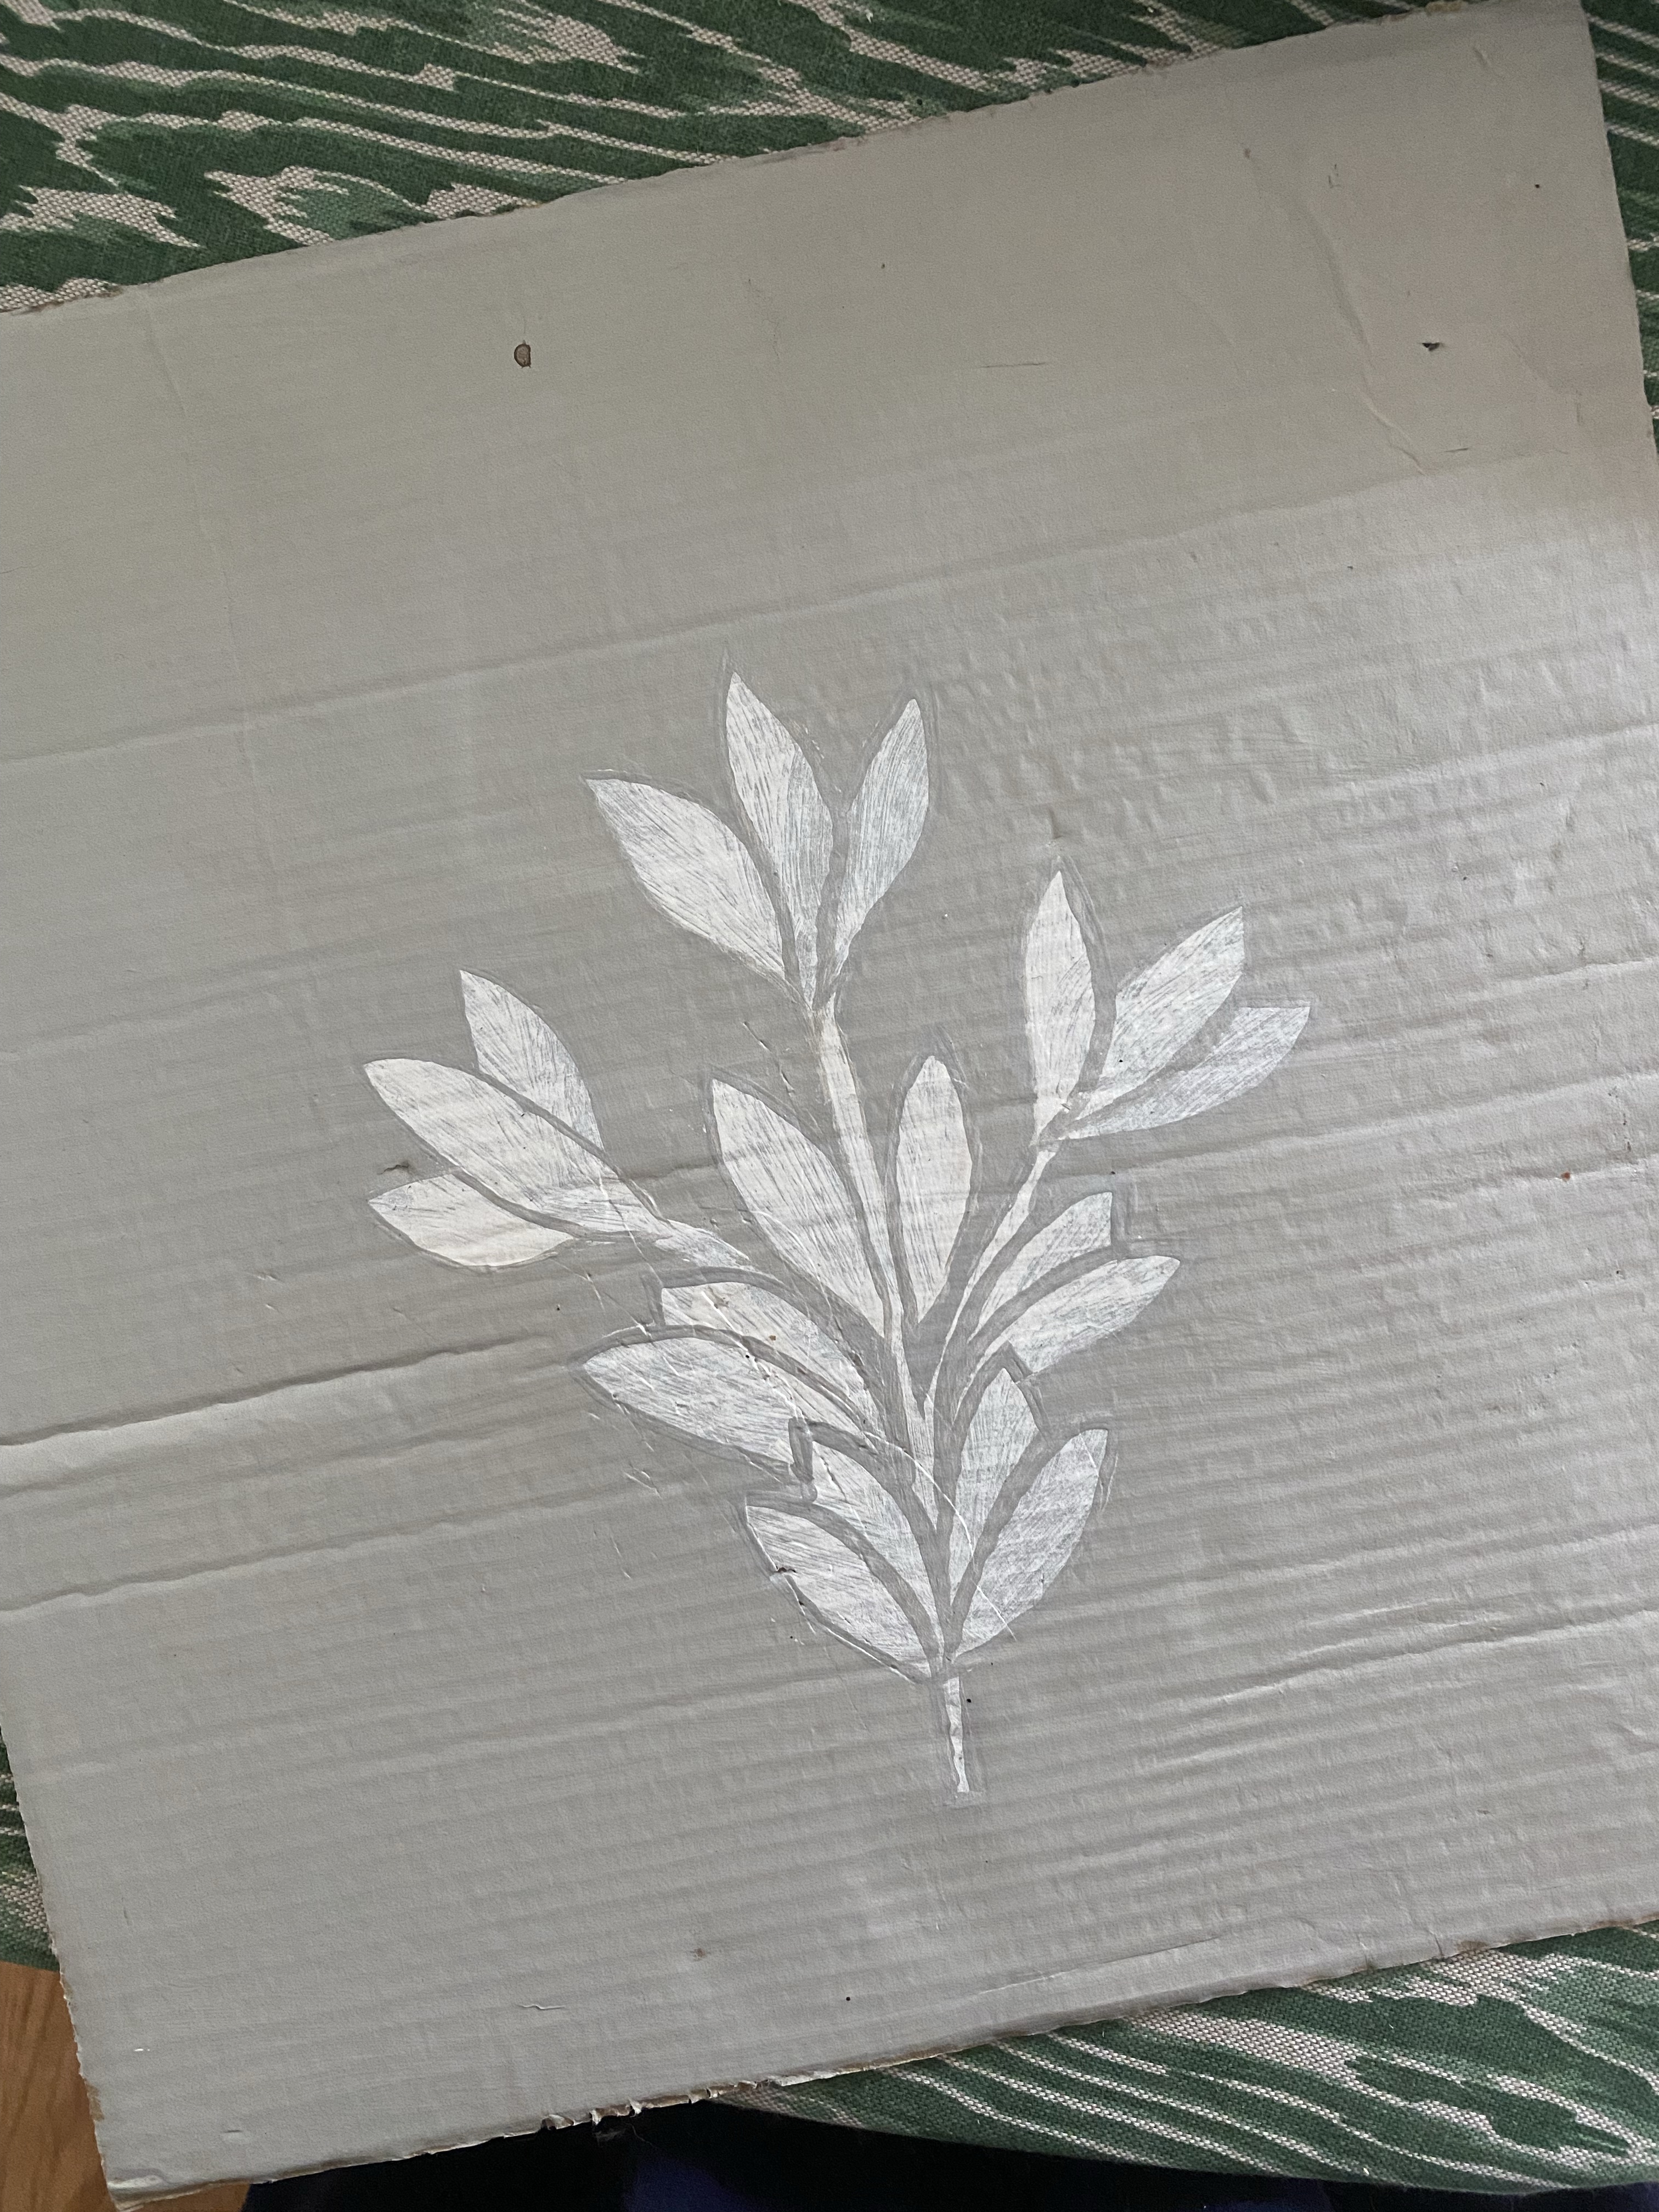
Then, I painted the stencil on a piece of cardboard painted with my wall color to test it out. After it was dry, I went back in and painted the background color around each leaf to define it. It was really close to what I wanted, although I knew I’d do the leaf outlines a little differently.
Then it was time to start putting the stencil on the walls. If you’re doing any pattern on your walls – wallpaper or stencil — it’s important to choose the focal point in your room where you want the pattern centered. I wanted mine centered over the living room fireplace, so I measured the center of the mantle and made pencil marks at intervals down the middle. I started my first full stencil at the top of the mantle, and then worked upwards. If you have a laser level, you can use that for your vertical line and you won’t need to make pencil marks.

I taped the stencil to the wall with painters tape. I poured a small amount of my paint (Sail Cloth) in a painter’s tray and dipped a stippling brush lightly in the paint, dabbing it off on the tray before applying it to the stencil. I applied it to the wall using a stippling motion so that the paint did not go underneath the stencil (if it does go underneath you can fix that afterwards with a small paint brush). I have also seen people use a roller for wall stencils, but I liked the less uniform look the stippling brush created.

Once I got to the top of a row, I would stop when no more full stencils would fit. You can go back afterwards with partial stencils to finish off the top and bottom and corners of your room where full stencisl won’t fit (don’t try to bend the stencil into a corner, it will just make a mess!).
Since my pattern was going to be a stripe, I needed to decide how far to space the columns. I settled on 14 inches center to center. To line up my next row, I measured over 14 inches from the center of each flower and made a little pencil mark to line up my next stencil. I started at the fireplace mantle to make sure they were lined up horizontally as well.
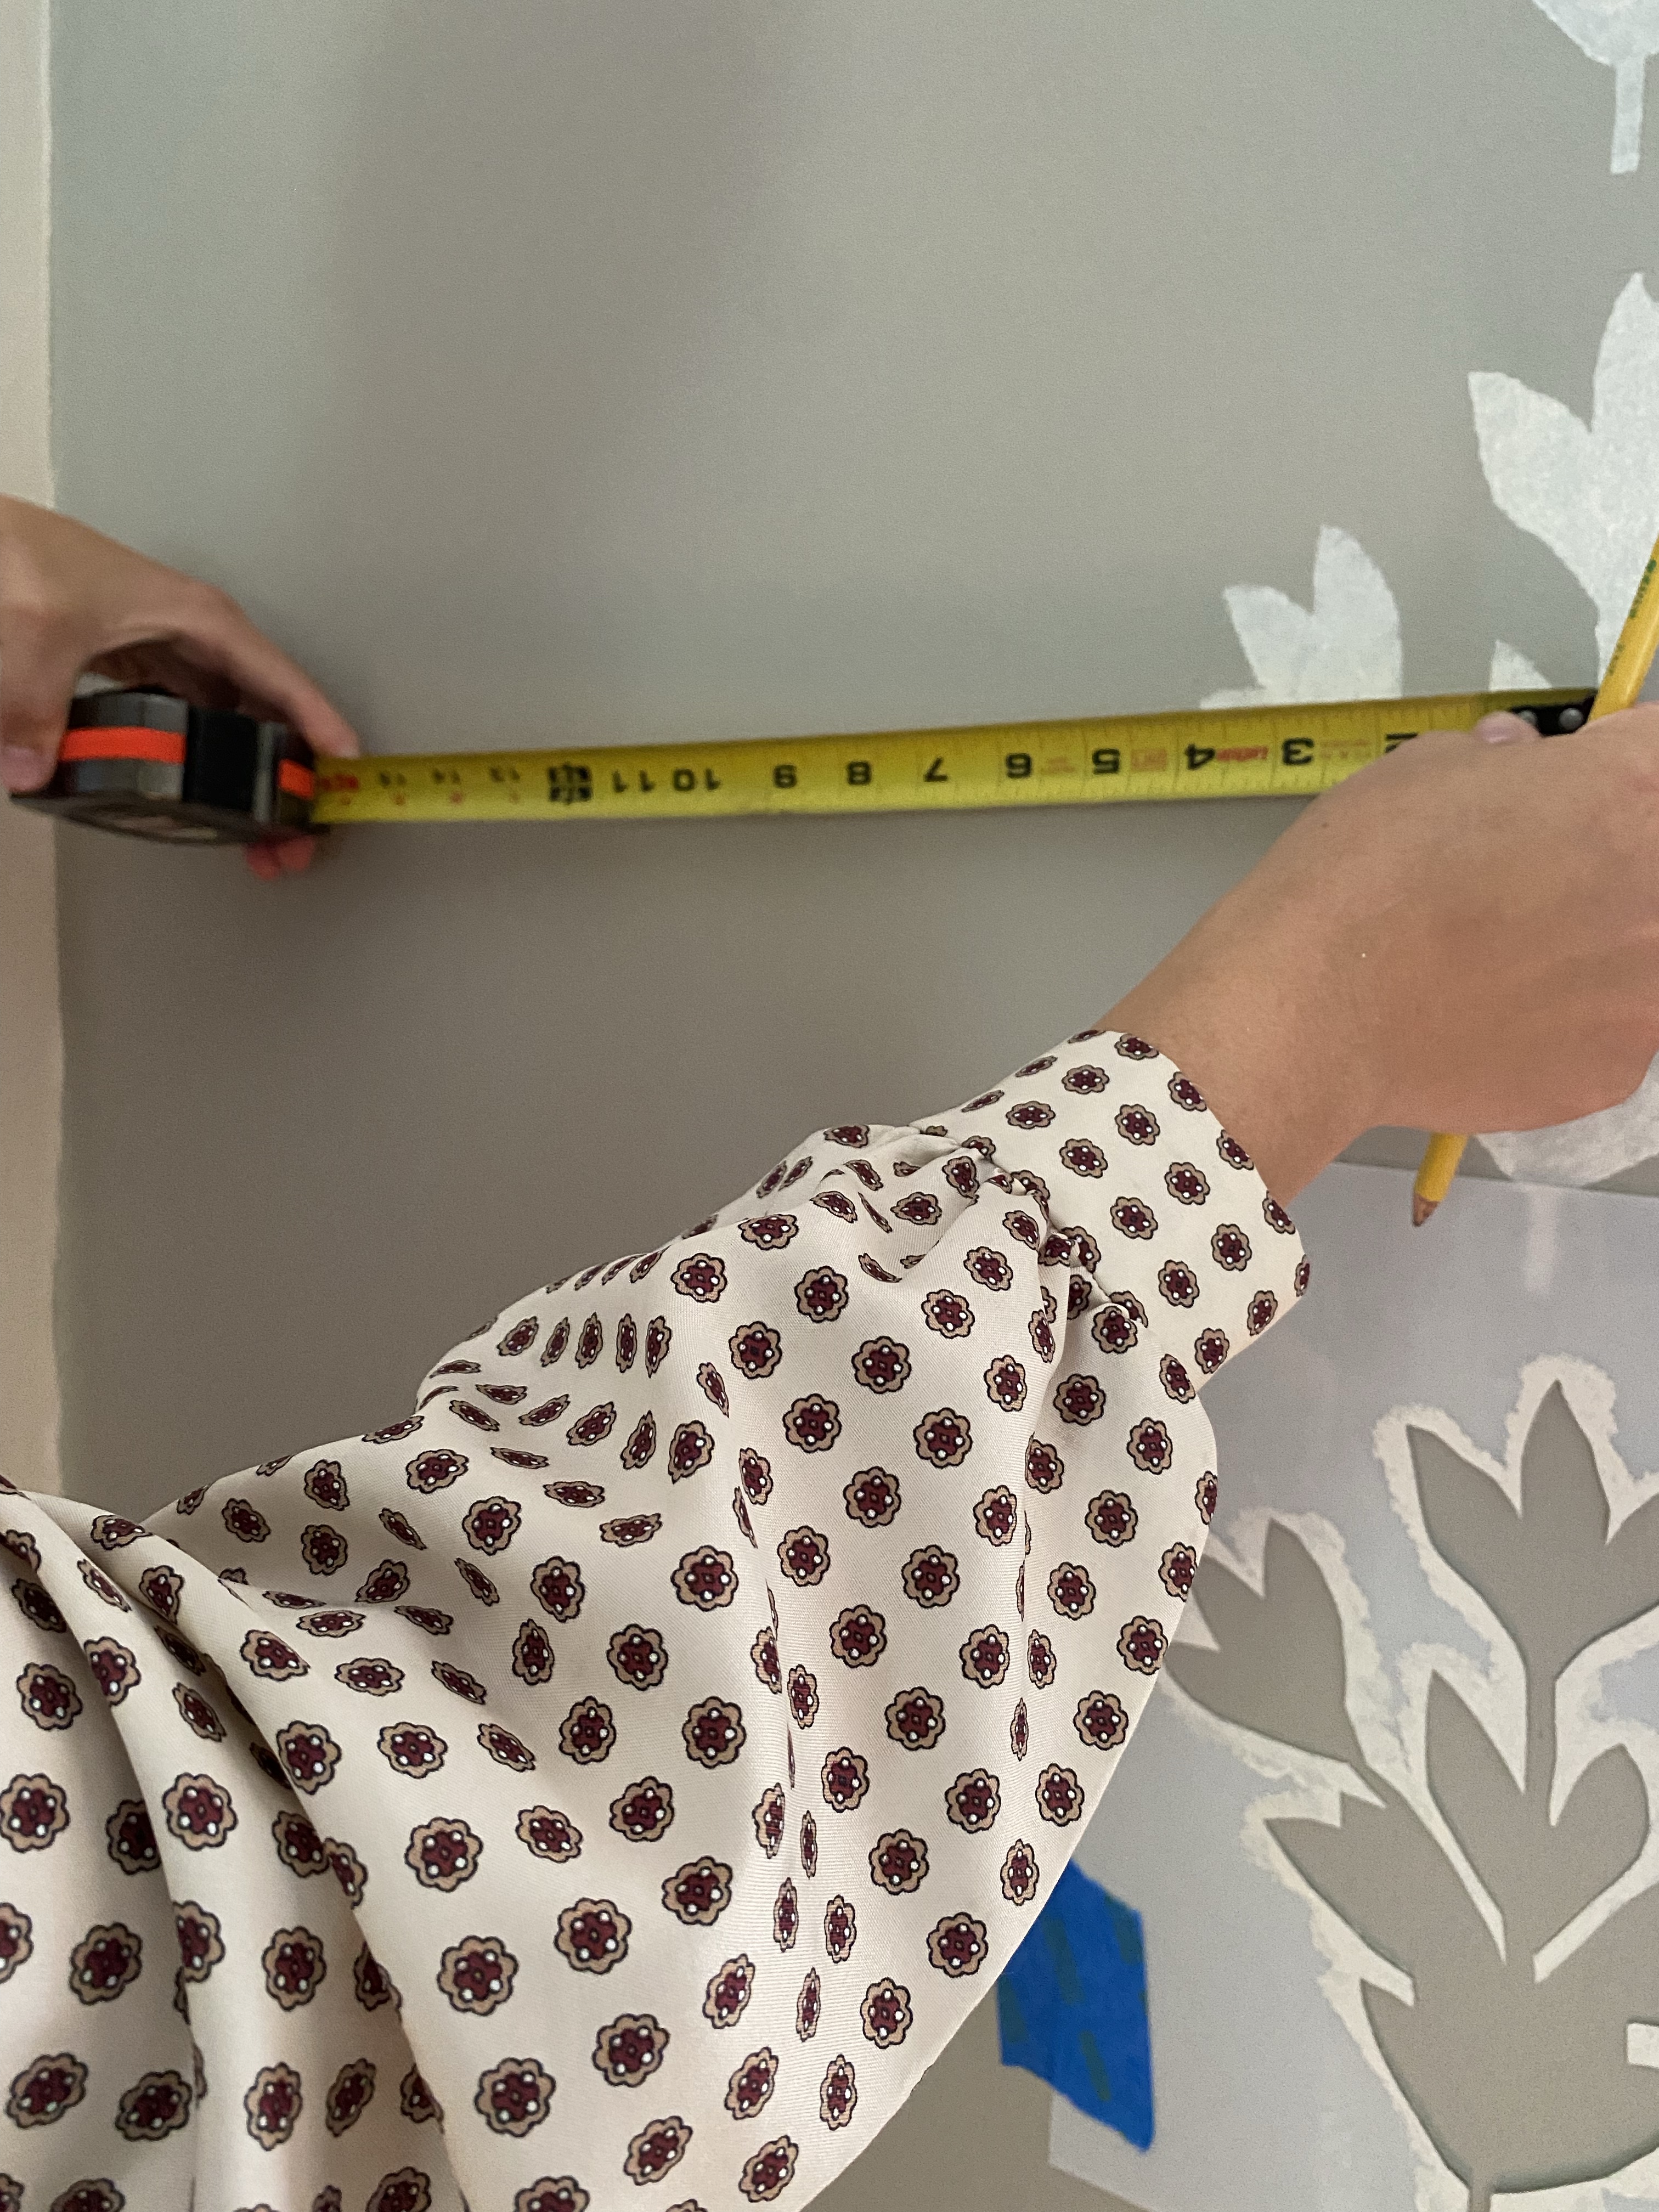
When I moved on from the fireplace area, I measured over and then lined up the pattern horizontally using a level. Again, you can do all of this with a laser level.

I conintued this across the room, washing the stencil after each row. No matter how careful you are, the stencil will get messy and paint will start to seep under the edges.
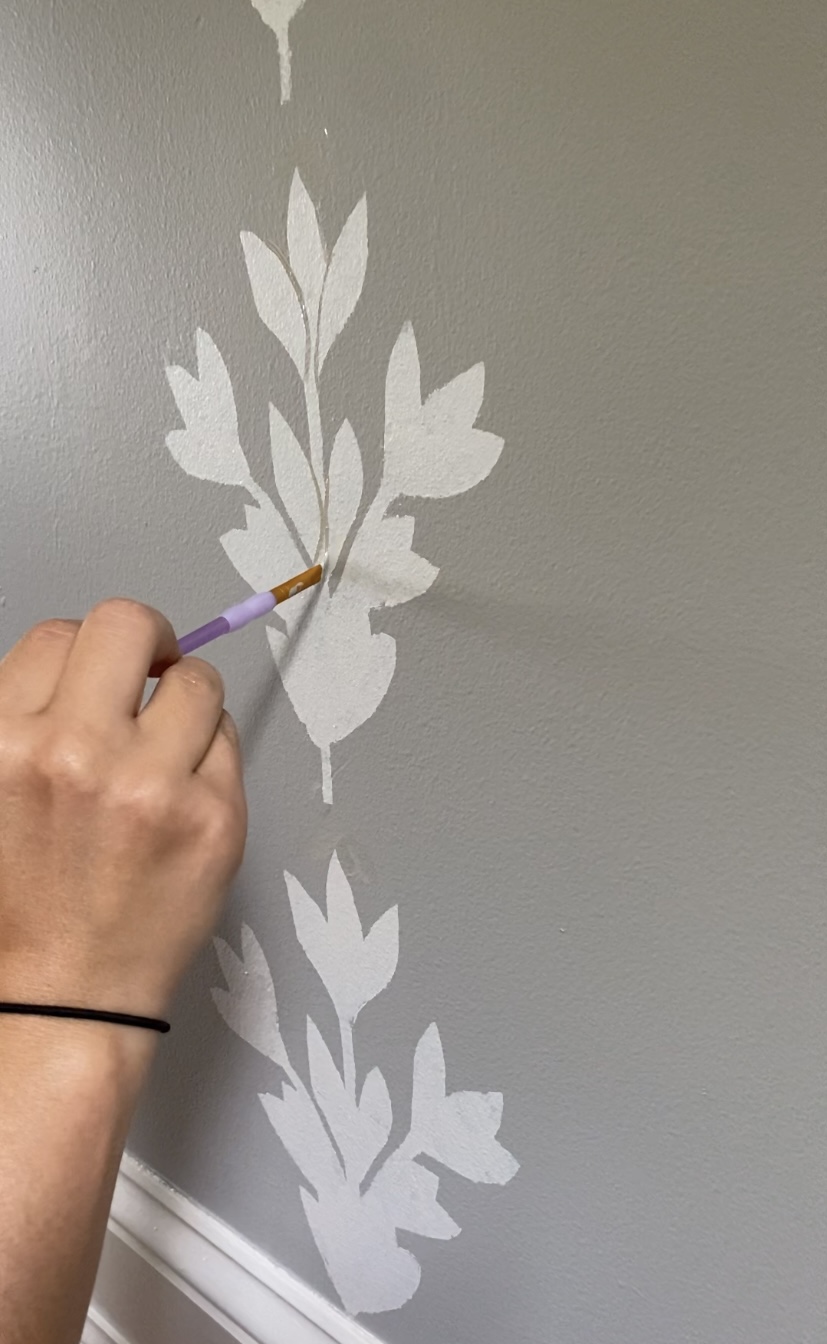
After getting the basic stencil on the walls, I went back to add details using my fine tipped brushes. I used the wall paint (Northern Cliffs) to add the edges of the leaves where they overlapped each other and the stem.

Then I used a pencil eraser to add berries like the ones in the plaster inspiration on the ceiling, using the white chalk paint. I think that adding the freehand details really elevated the whole look and made it feel more custom (because it is!).


As I mentioned before, you can also add details with a second stencil to save yourself time. Just place a sheet of Mylar over your existing design and draw where you’d like shading or lines, and cut those out. Then layer the second stencil over the design on your wall once it’s dry and paint in the details. I wanted my lines a little more delicate and I enjoy painting freehand, so that’s why I didn’t use a second stencil.
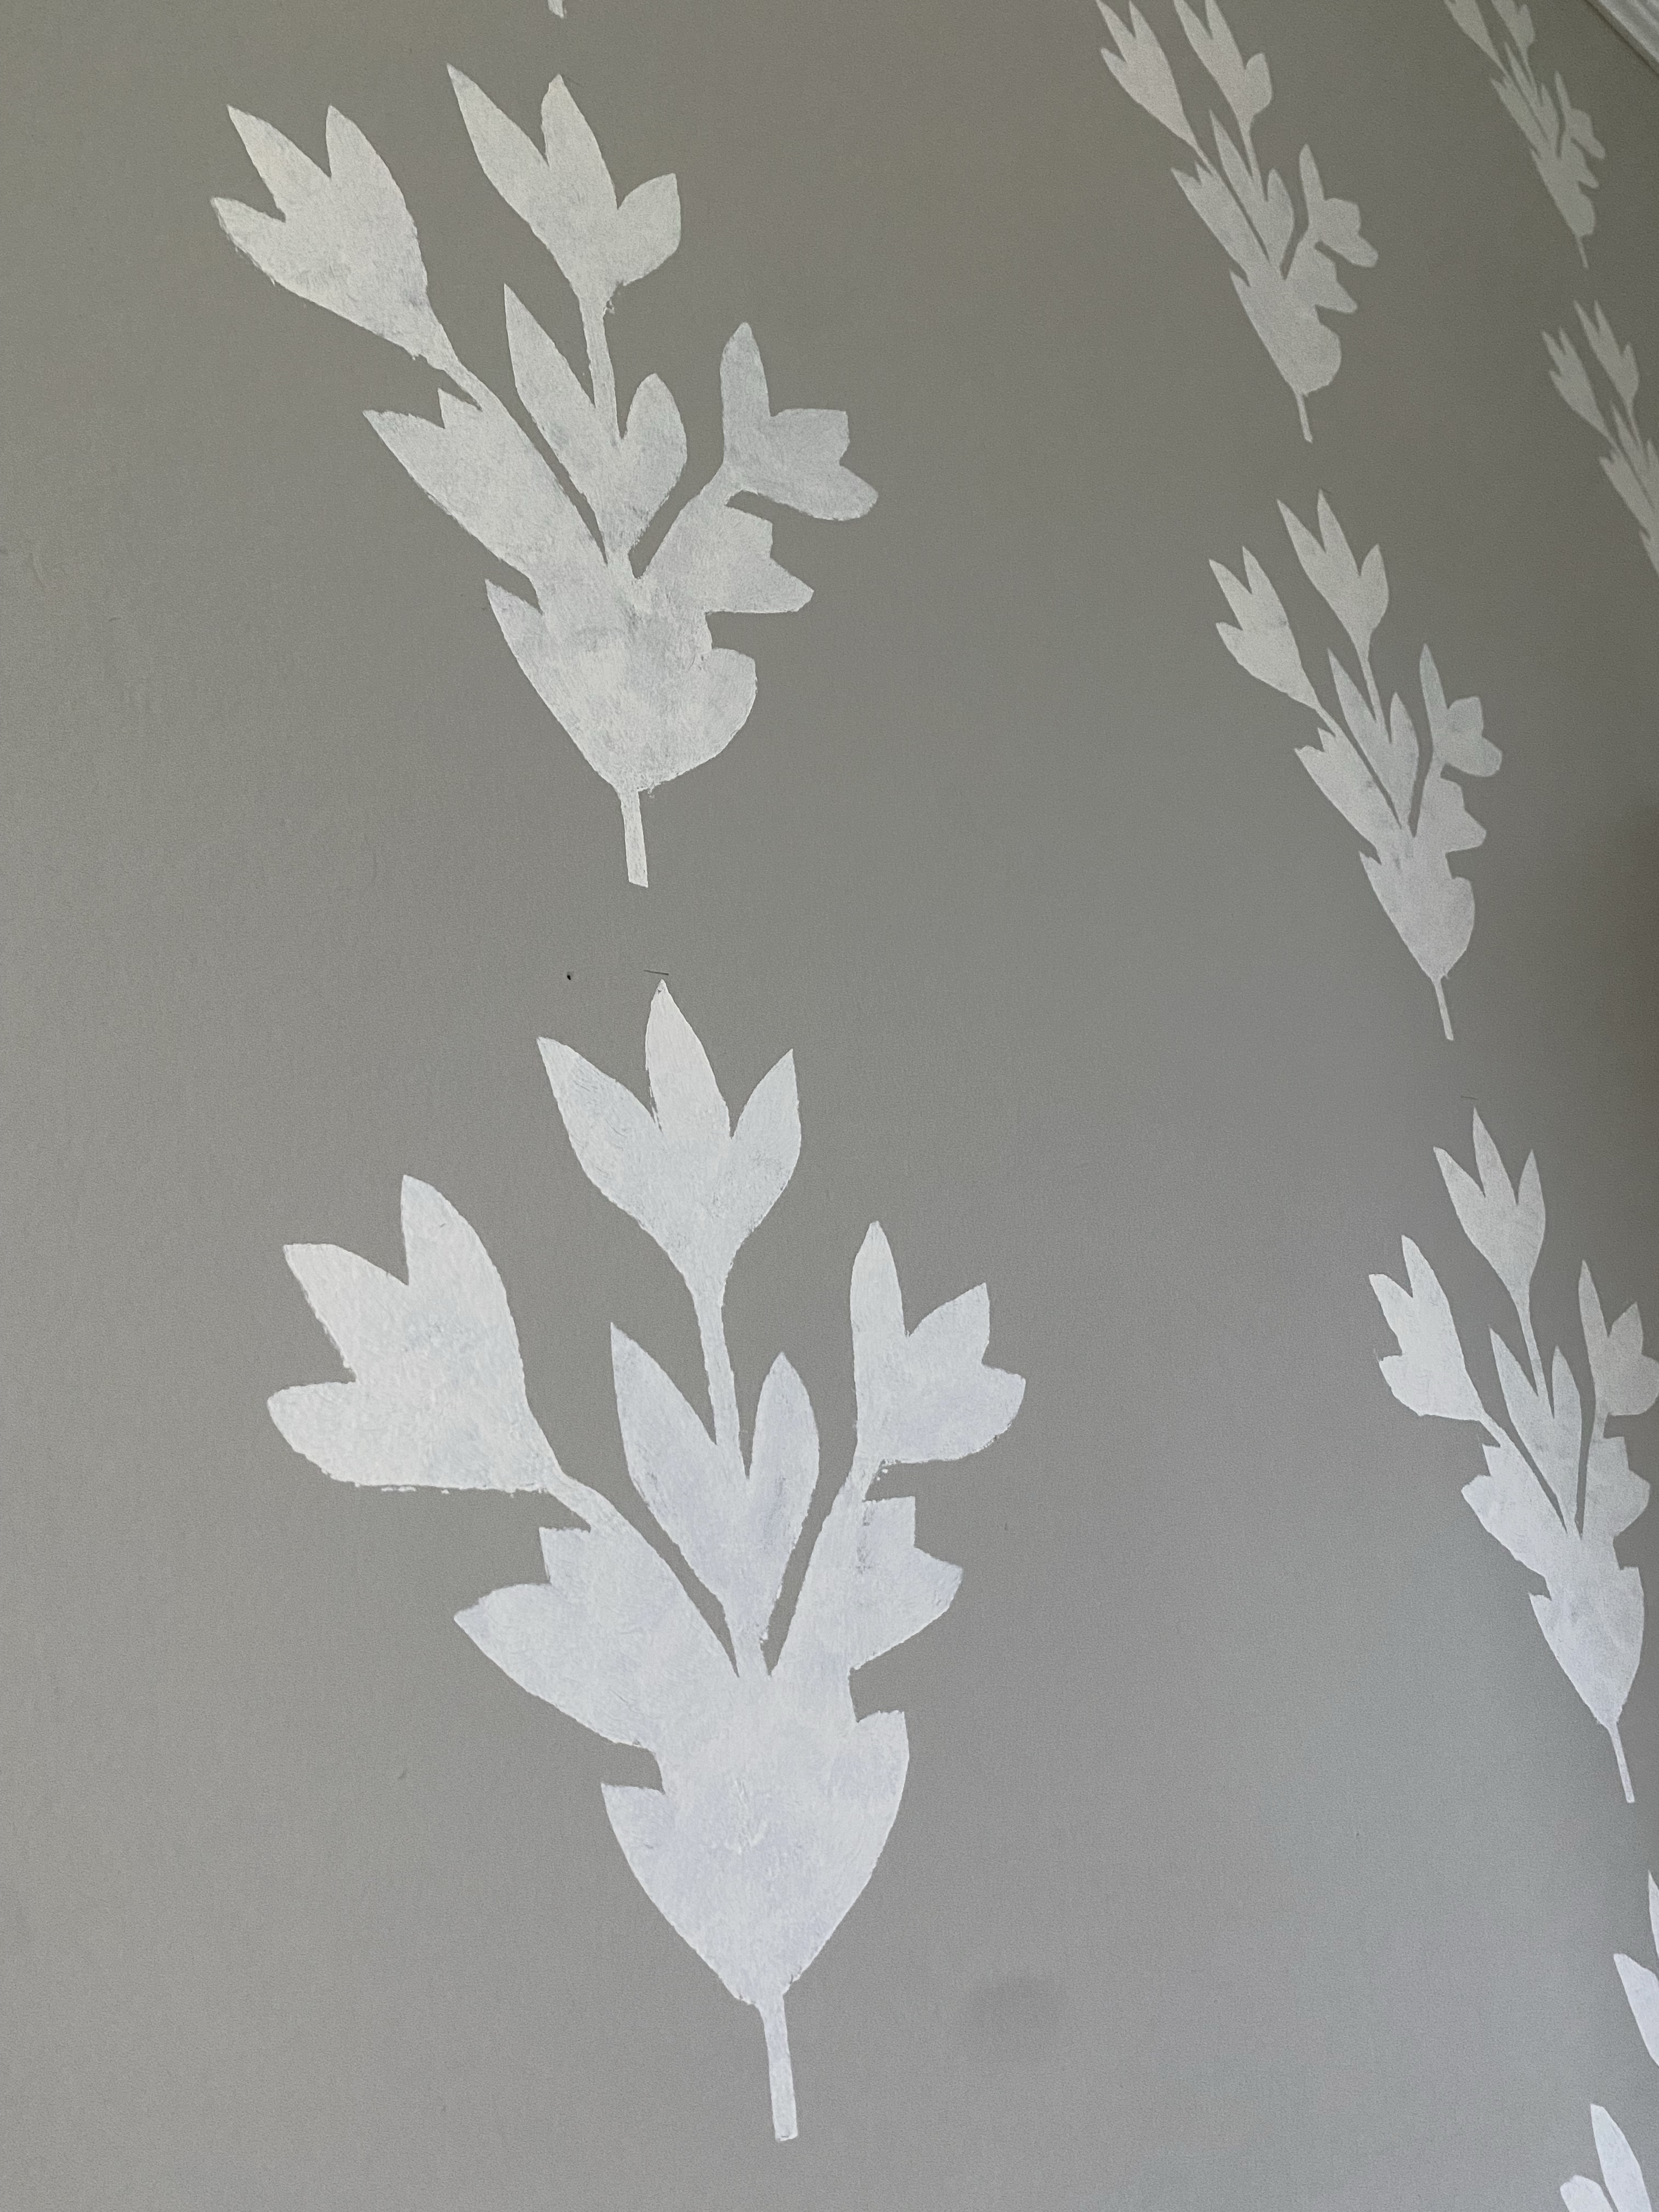
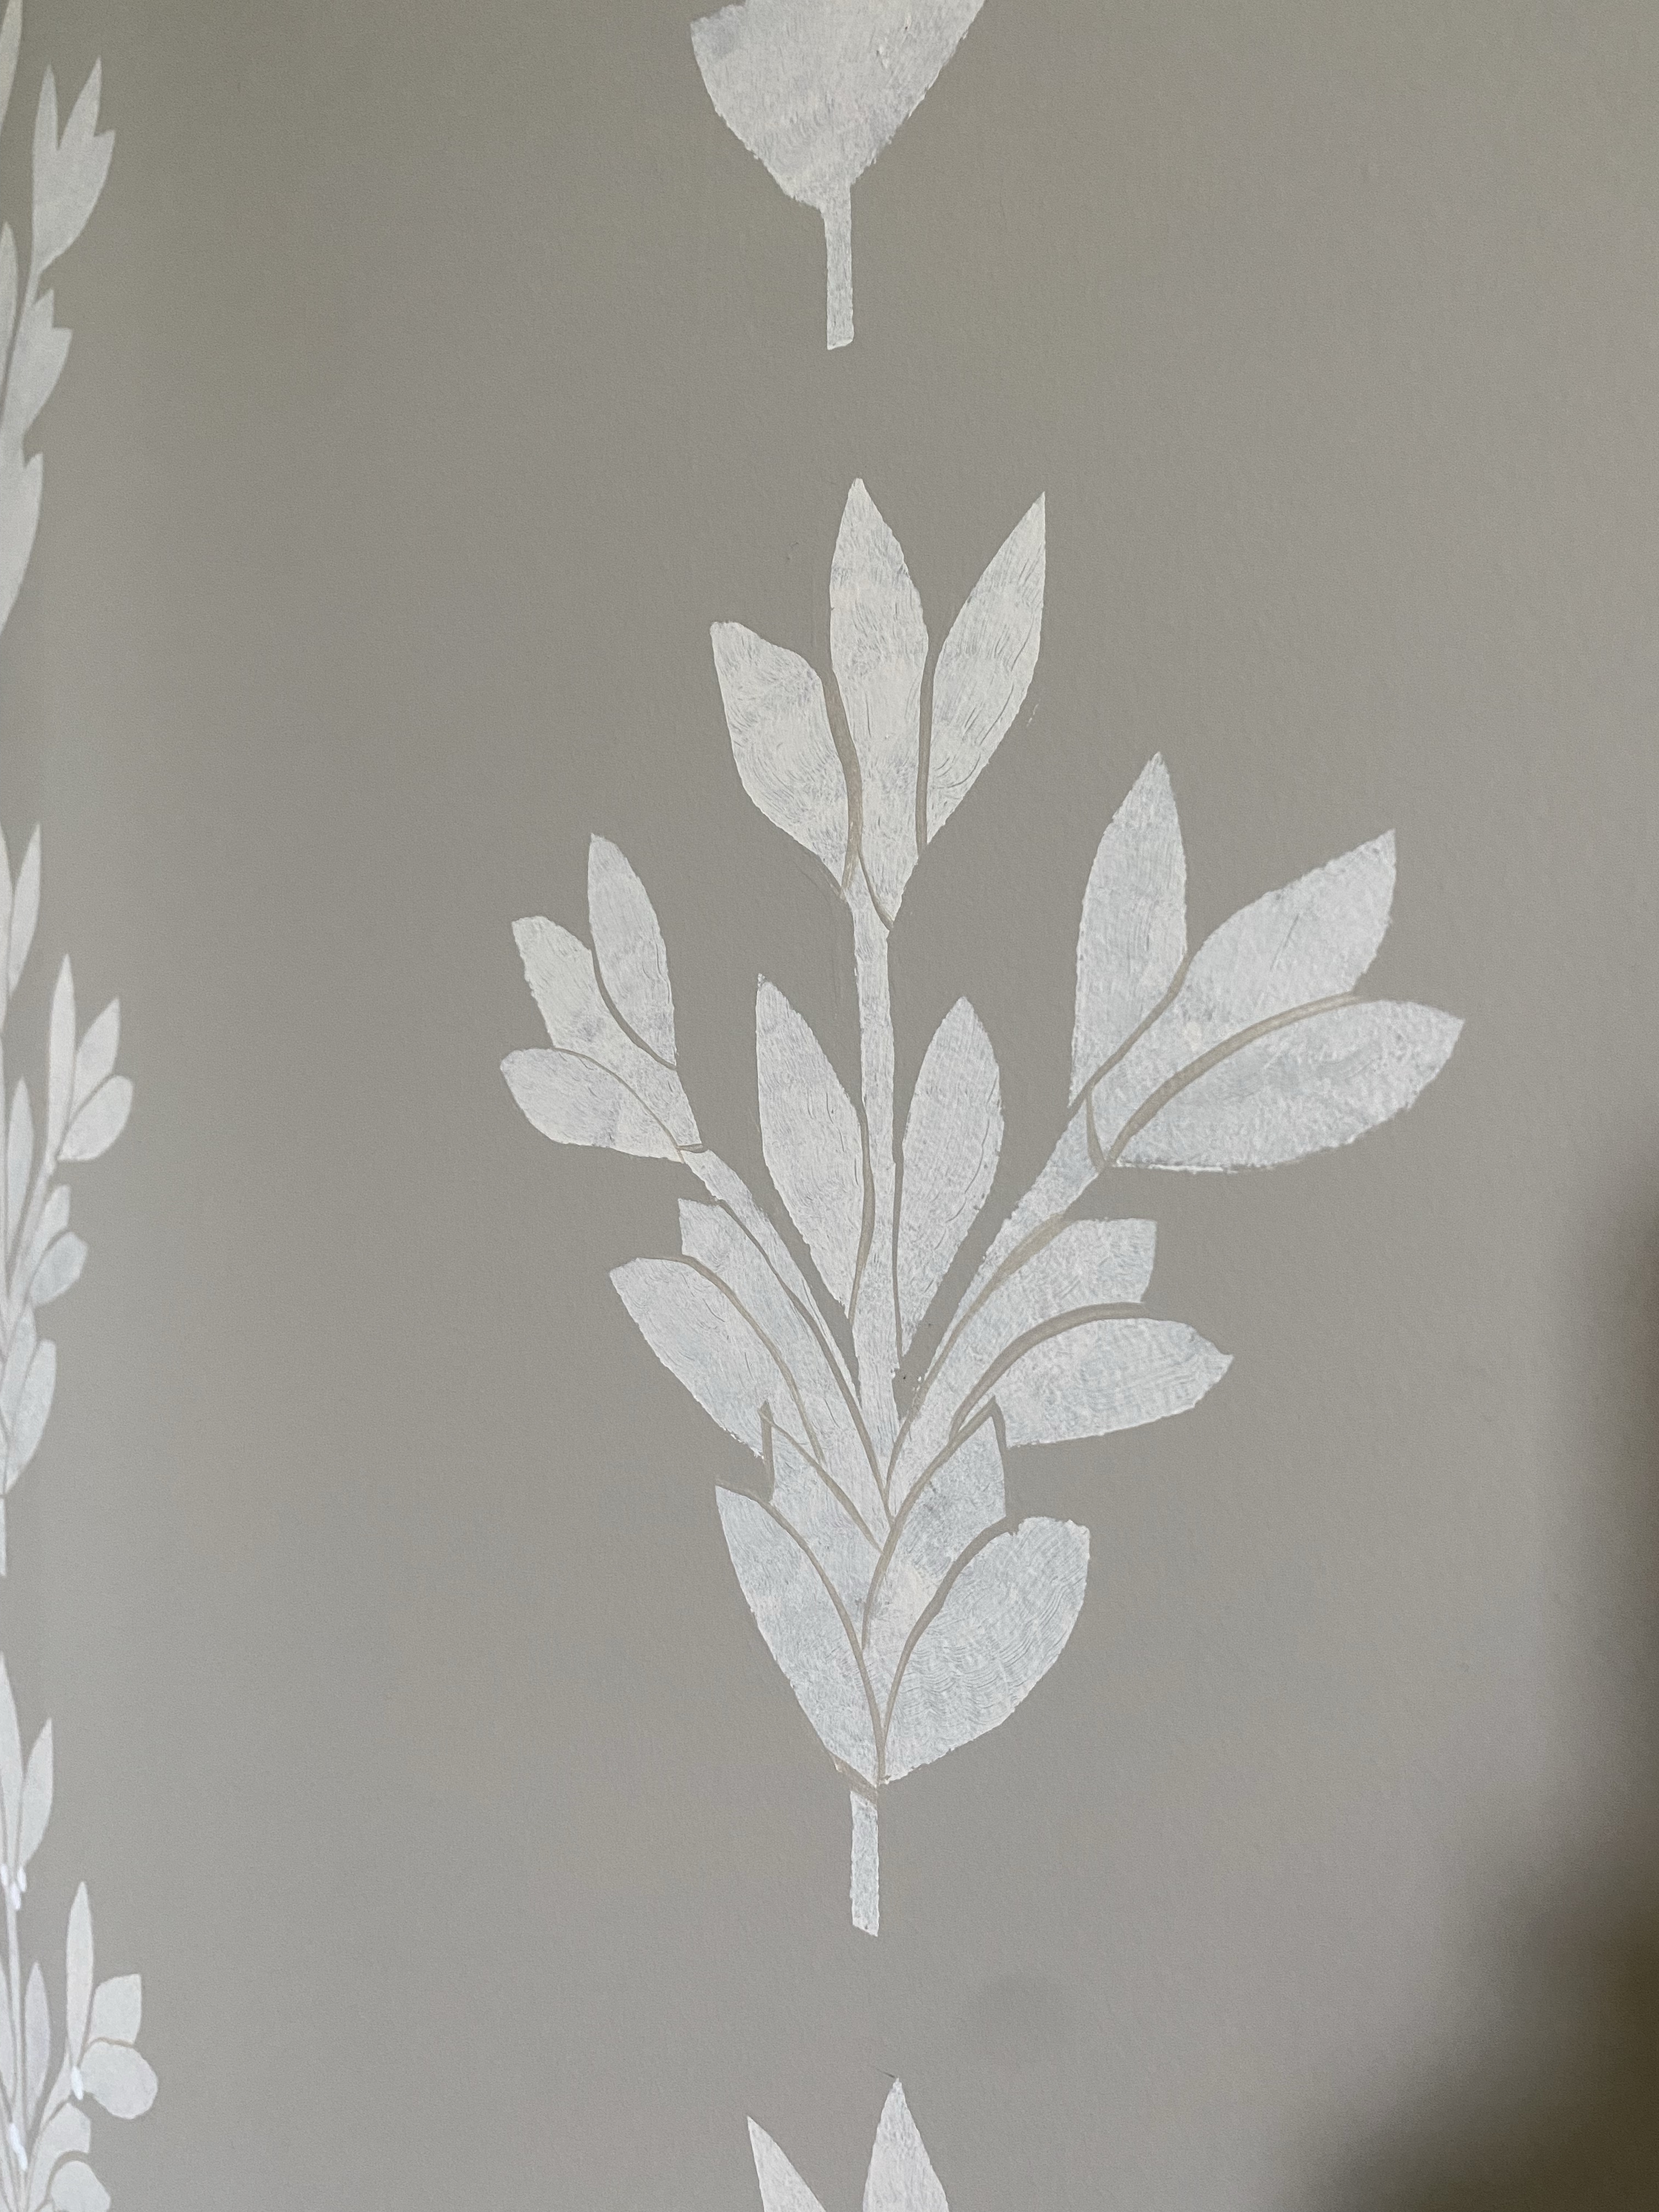
And here we are! This is how the fireplace wall looks fully stenciled. I haven’t finished the stencil in the whole room yet, but I will share that when I do.


What do you think? Would you create your own stencil?

You’re brilliant. I have enjoyed your project enormously, and my admiration for you grows and grows. 🌿💖🌿
Thank you so much, Eve, that means a lot to me!