
When S and I moved into our first apartment (which we still remember lovingly — it was so charming) (and we might still be there if G hadn’t come along!), we had a lot of empty space that needed filling. One of those spaces was a covered porch balcony where we loved to drink our coffee. After a few months of living there, my now mother-in-law found us the sweetest little bistro set with a table and two chairs at an estate sale. The only problem was the peeling white-ish paint and worn yellow floral vinyl cushions. I went straight to Jo-Ann Fabrics and found a pretty blue and white floral outdoor fabric to reupholster the cushions, and surprisingly, found a spray paint that matched the blue exactly. We loved how they looked on our little porch after being spruced up, and they got a lot of use in the time we lived there.
But that was about four years ago, and the chairs desperately needed some attention again. I didn’t get to the project last year, but I did manage to find two chairs that matched almost exactly (and both had the same off-white paint job and yellow floral vinyl fabric on the cushions!) at an estate sale (the holy grail estate sale of a possibly crazy antiques hoarder that I went back to twice and then sent my mother-in-law back to buy more things because it was that good). So, I decided that I should tackle reupholstering and painting all four chairs and the table to match before G’s party, so we could use them for extra seating.
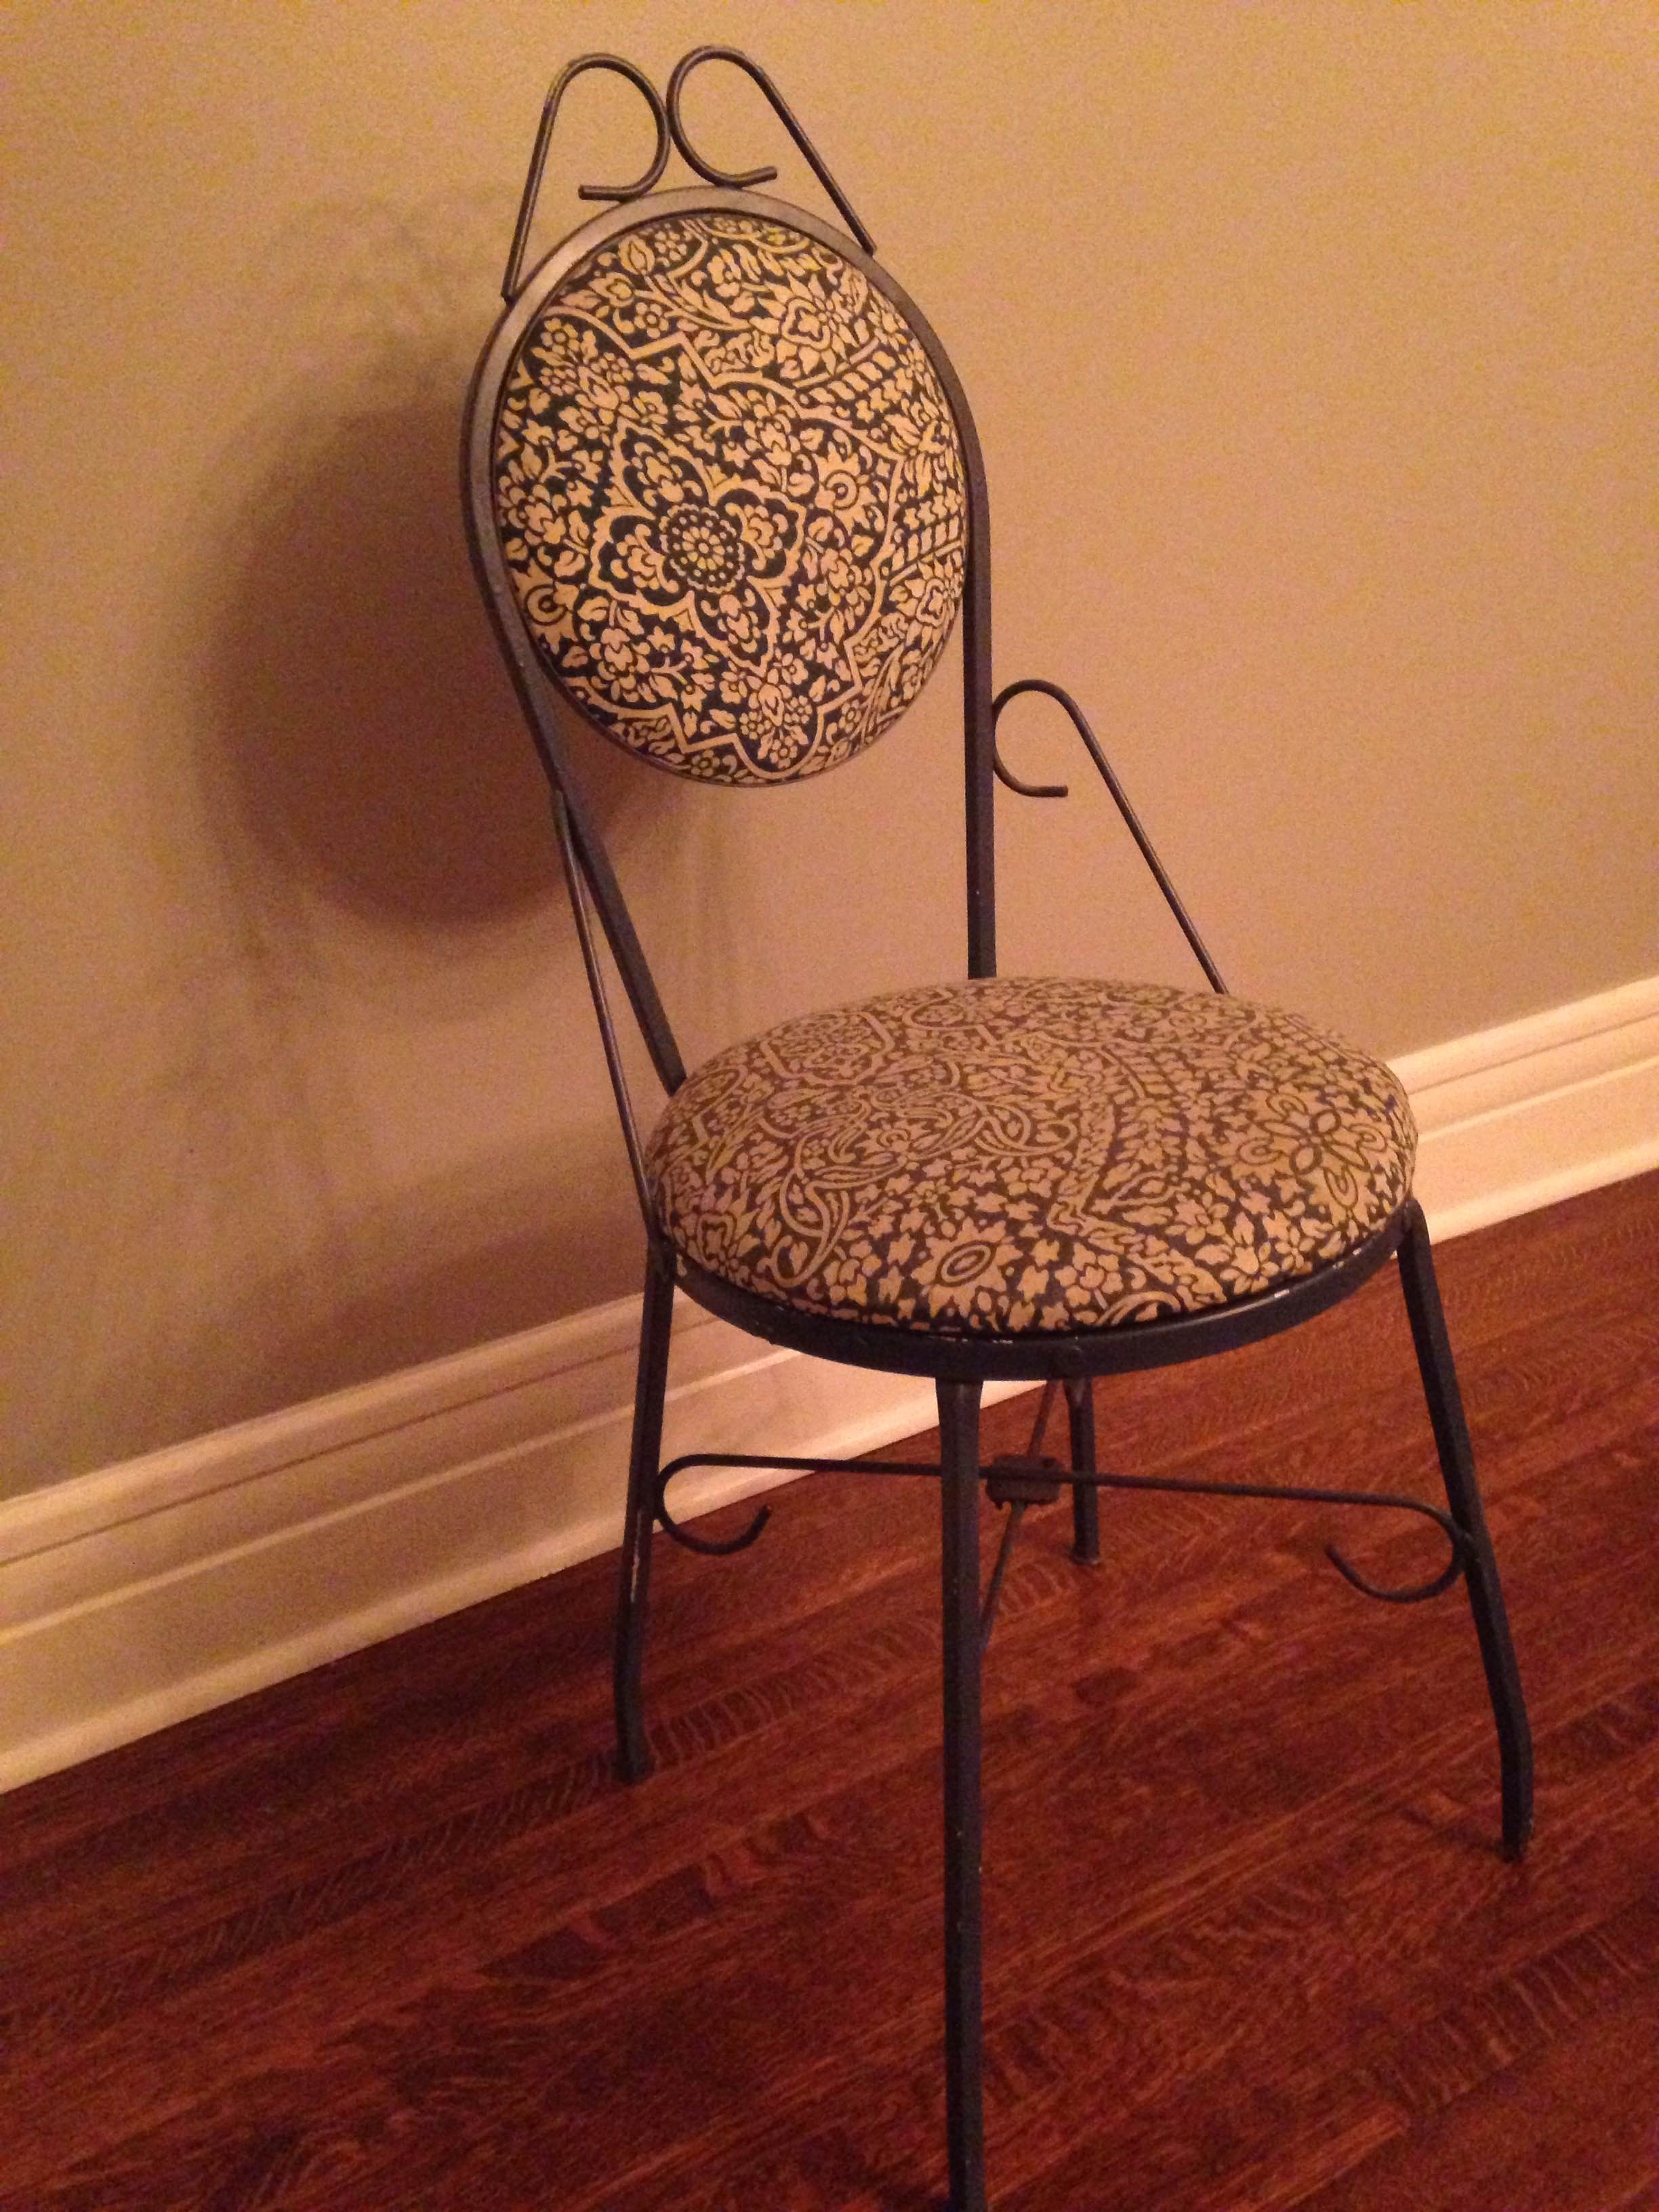
Here’s what the chairs looked like before:

And the table:

When I reupholstered the first two chairs, I left the vinyl, foam, and the underlying boards as they were and just reupholstered over the top. This time, I wanted to replace everything. As you can see below, one of the backboards was cracked, and all of them were this strange, disintegrating particle board that shed crumbs on whatever it touched — not appealing.

I measured the diameters and had my dad cut new circles for the top and bottom of each chair out of 3/4 inch plywood, because that’s the size he had lying around.
For upholstery fabric, I was originally going to use a print, but I decided on a mint-green duckcloth at the last minute because I didn’t want to choose something I would get sick of. With clean white frames, I thought the mint would look delicate and pretty, like the frames themselves.
I sanded down the edges of the discs with an orbital sander before upholstering so they wouldn’t cut into the foam and fabric. I used one-inch foam on all the cushions, attaching it with spray-adhesive first so that it wouldn’t move while I did the upholstery.

On the seat cushions, which saw the majority of the wear and tear after the last upholstery job, I put a layer of thick plastic underneath the duckcloth. I’m not sure if this is an acceptable technique for keeping outdoor furniture looking fresh/preventing mildew, but I thought it wouldn’t hurt to try it. I won’t include a lot of detail about upholstering the seats with a staple gun because there are likely a million tutorials out there for that.


After the seats and chair backs were finished, I sprayed them all twice with Scotchguard to try to prevent stains on the relatively light fabric. If irreparable stains do happen, or if I do get sick of the mint green, I may try my hand at painting upholstery, which I’ve always wanted to try!
Here is the finished product!


One thought on “Outdoor Furniture Redo”